
Writing Maester tests using AI - From idea to Pull Request
On this page
I love Maester. No doubt about that. I’ve made several contributions to this open-source project before, but it took me a lot of effort to learn how the underlying structure worked as a non-developer, and this challenge can be hard for a lot of Entra or Microsoft 365 admins out there.
Lucky for those (including myself), we have AI that can help us, but even when you prompt your favorite AI tool to write Maester tests, it can be quite messy. We need guidelines and instructions, so I built a local skill using trial and error. Then I realized I probably wasn’t the first person to think of this, so I reached out in the Maester Discord channel and found out that Sam Erde has already done a great job on this.
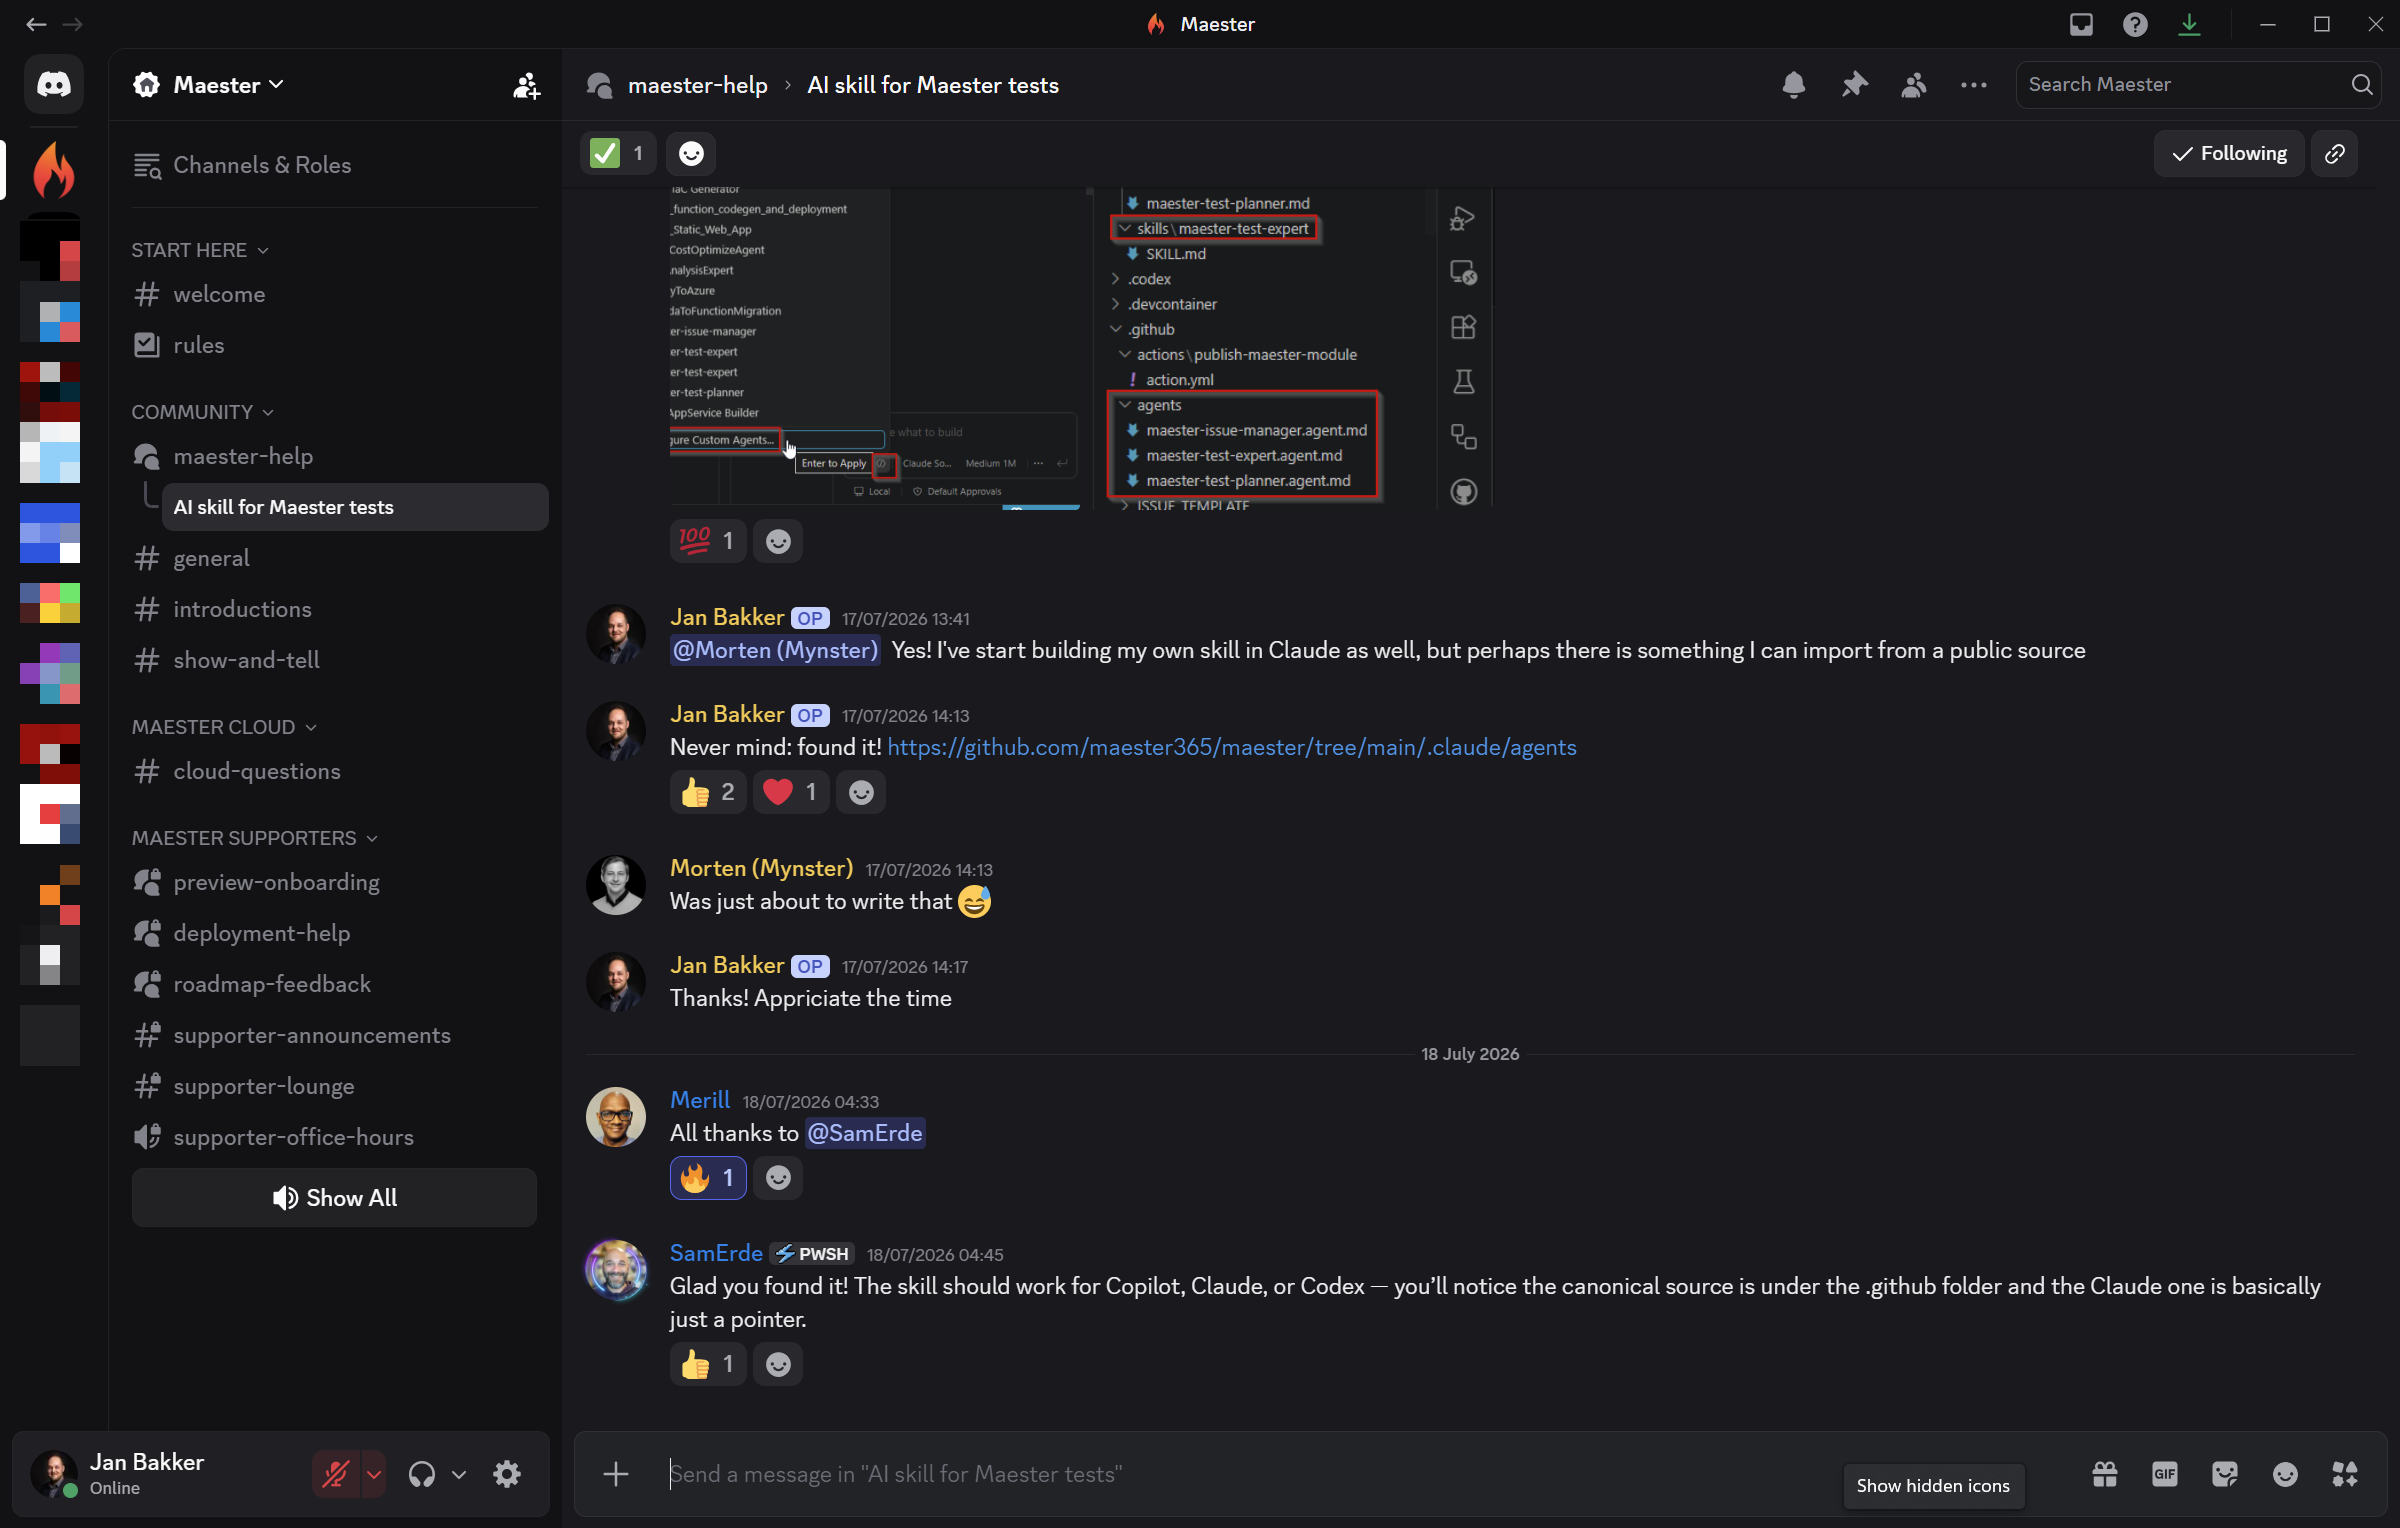
Using this skill, AI knows exactly what to do when it comes to Maester tests and can do all the heavy lifting.
Simply download the markdown files here and import them into your favorite AI agent tool. This should work for Claude, Copilot, and Codex, amongst others.
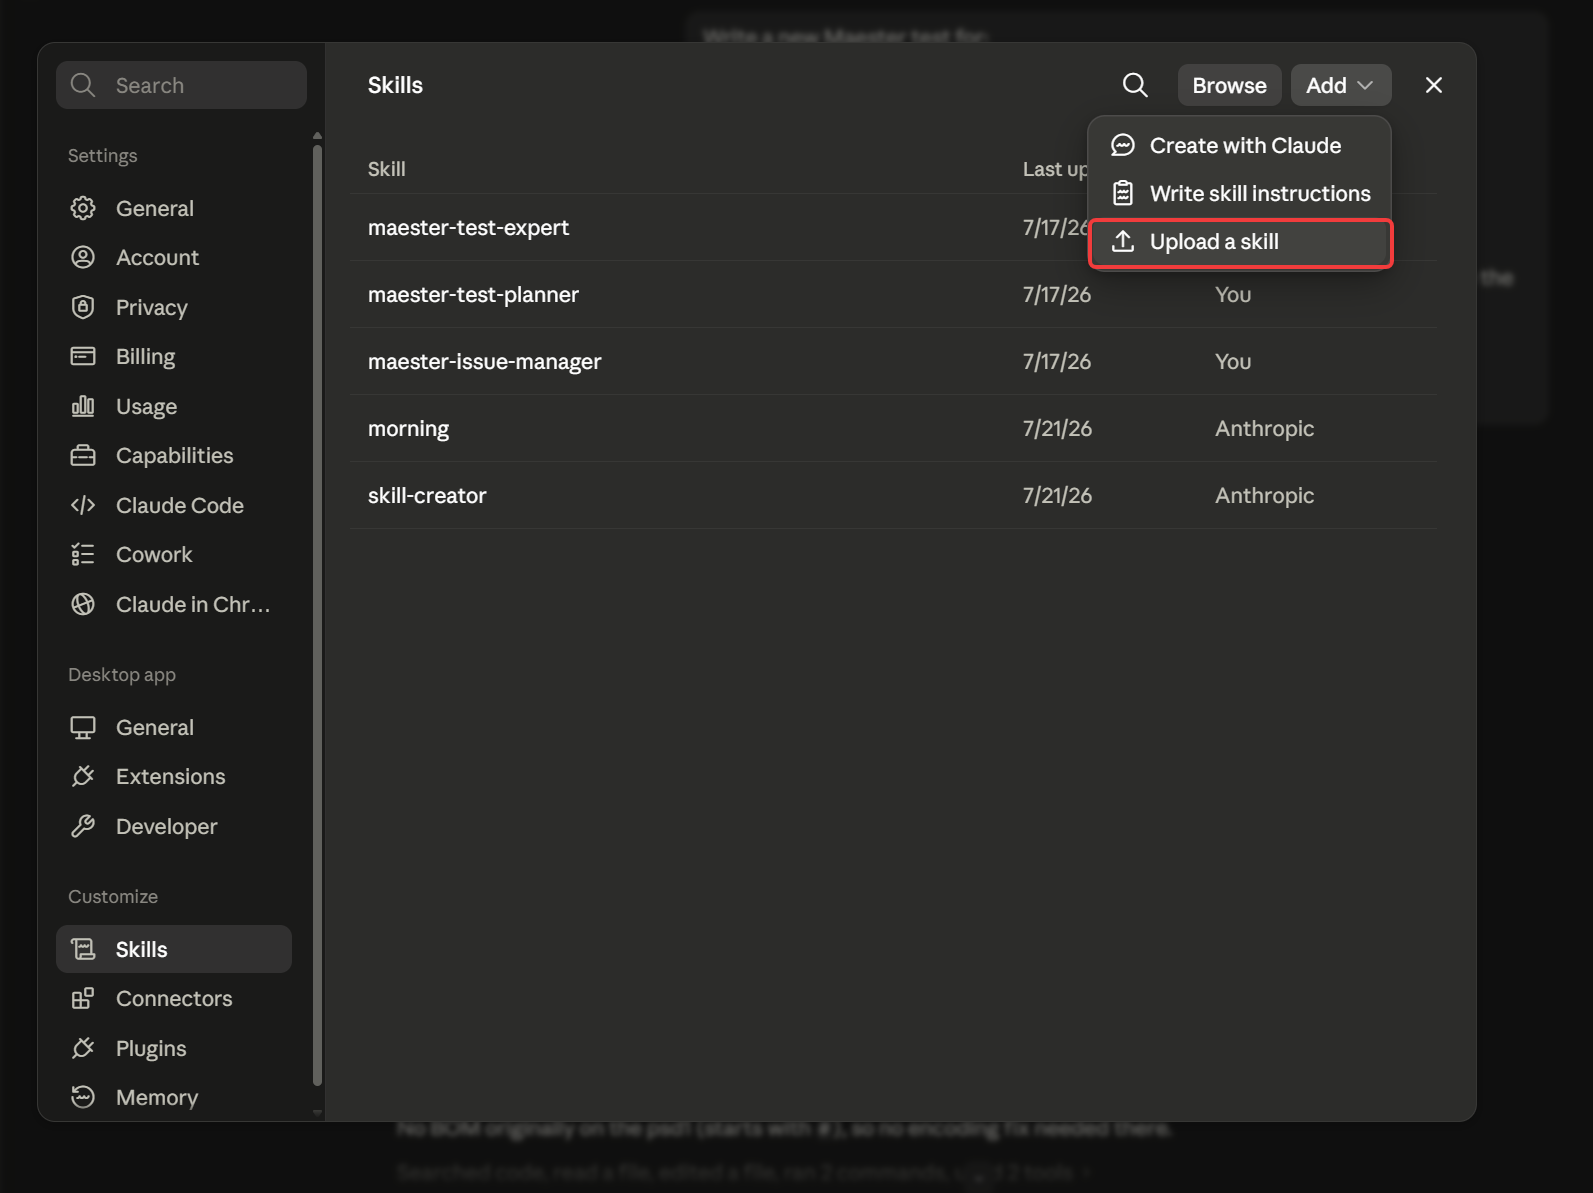
With these skills at hand, you can simply prompt your idea. Example:
Interview me to create a new Maester security check that checks for the blockMsolPowerShell setting in the Entra Authorization policy. Shouldn’t that be blocked by now?
Write a new Maester test that checks if the allowOnPremUpdateOfOnPremisesObjectIdentifierEnabled parameter in the onPremisesSynchronization is set to false.
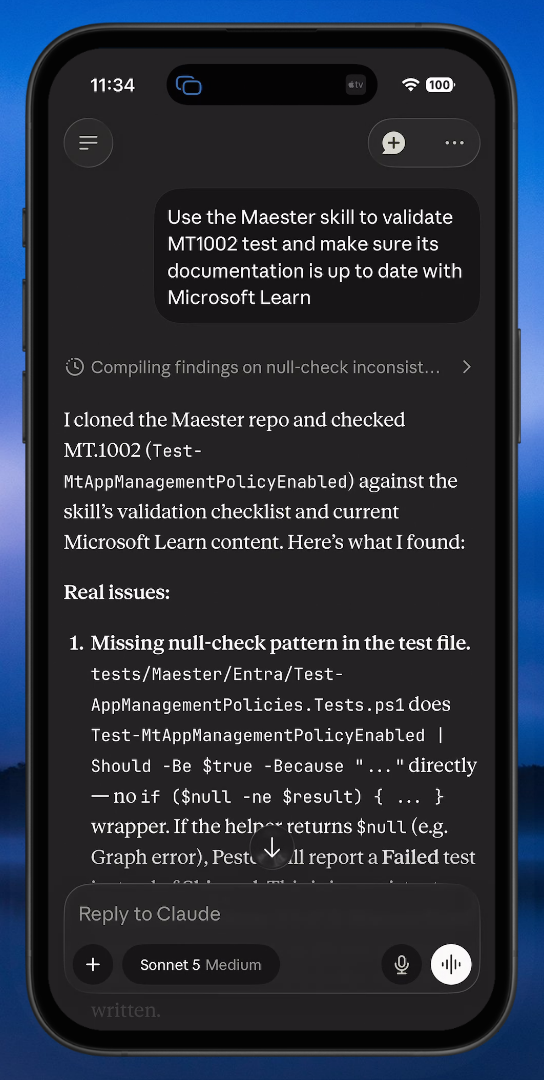
“Use the Maester test expert skill to validate the [test name] test and make sure its documentation is up to date with Microsoft Learn docs.”
I also connected my GitHub account, so Claude (in my case) can run the entire flow from start to finish. I had a few ideas stacked up, so I could finally turn them into PR’s realativly quick. It even found a bug in the existing test logic, and put out a fix for that as well.
| PR | Description |
|---|---|
| #1949 — MT.1183 | Checks that the temporary bypass for Entra ID’s on-prem hard-match security protections (allowOnPremUpdateOfOnPremisesObjectIdentifierEnabled) is disabled, so it isn’t accidentally left open after a migration or recovery scenario. |
| #1950 — CIS.M365.5.1.4.6 | Checks that non-admin users are restricted from self-service recovering BitLocker keys for their own devices, mapped to CIS Microsoft 365 Benchmark control 5.1.4.6. |
| #1951 | Bug fix (not a new test) — 7 Conditional Access tests called Add-MtTestResultDetail -Error with a parameter that doesn’t exist, causing an unhandled crash instead of a graceful skip whenever their catch block actually fired. Corrected to the working -SkippedBecause Error -SkippedError pattern. |
| #1953 — MT.1184 | Flags Conditional Access policies that have no target resources configured (no apps, user actions, or authentication context) — a policy that looks active in the portal but silently enforces nothing. |
| #1972 — MT.1185 | Checks that the legacy, retired MSOnline (MSOL) PowerShell module is blocked from authenticating to the tenant via the blockMsolPowerShell authorization policy setting. |
From idea to PR, the process looks like this:
- Figure out exactly what you’re checking. You start with a plain idea, like “make sure setting X is turned off,” and turn it into something specific: the exact property in Microsoft 365 that needs checking, which product area it belongs to (Entra, Exchange, Intune, and so on), how serious it is if the check fails, and what should count as a pass, a fail, or a skip.
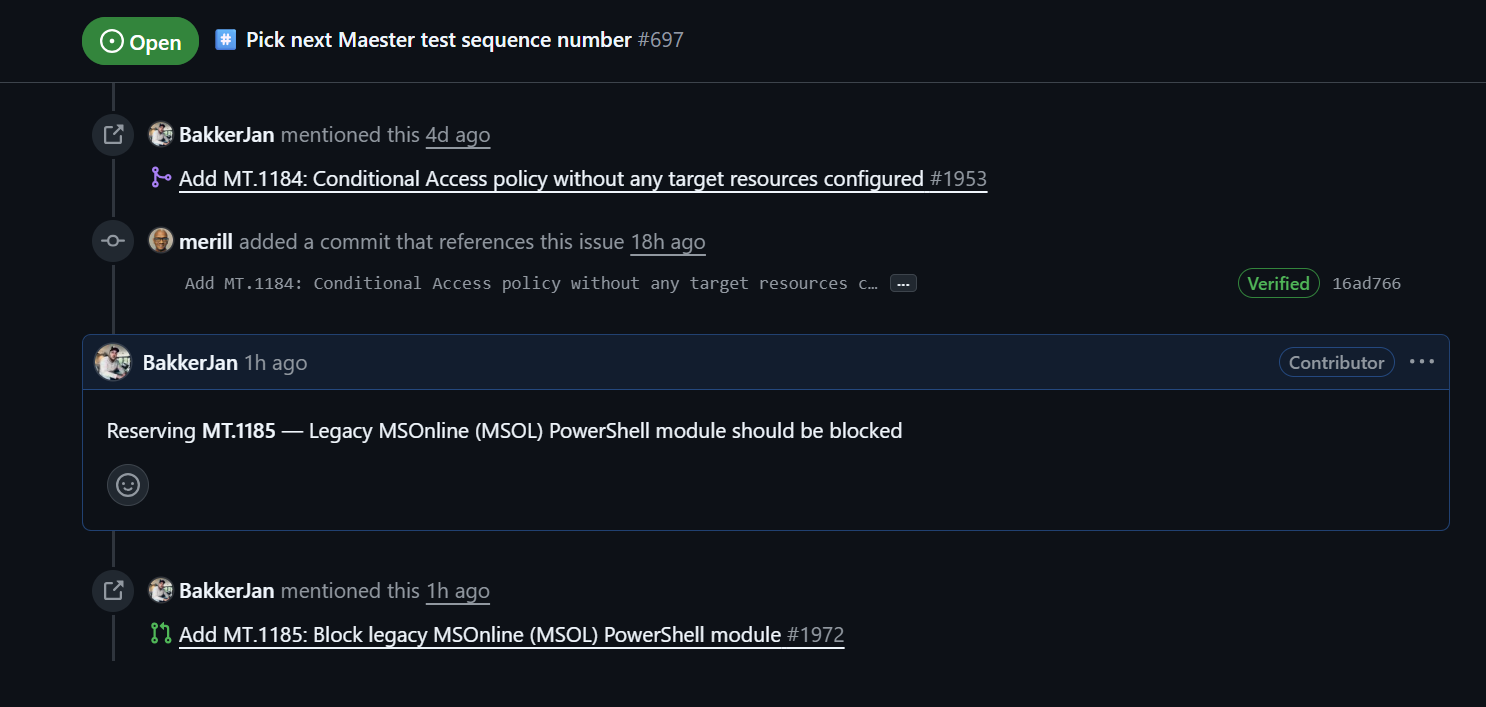
- Claim an ID number for the test. Every Maester test has its own number, like MT.1234. You reserve the next available one by leaving a comment on a specific tracking issue on GitHub, so two people don’t accidentally pick the same number.
- Write the actual test. This is a small script that connects to Microsoft Graph, looks up the setting, checks whether it’s configured the safe way, and reports back a pass, a fail, or a skip if something couldn’t be checked. It has to follow the project’s formatting rules closely, since a linter and test suite will catch mistakes.
- Write an explanation for end users. This is a separate document that gets shown in the test report. It describes what the test checks, why it matters, and gives step-by-step instructions for fixing it if it fails.
- Register the new test in a few places. The test needs to be listed in the module’s list of exported functions, given an entry in the test runner, and added to the tenant configuration file, so the whole system recognizes it exists.
- Check everything works. Before submitting anything, you run a code checker, a build step, and the full test suite to catch problems early rather than after submitting.
- Submit the change for review. This means pushing your work and opening a pull request with a clear description of what the test does and confirmation that everything passed.
- Read through the automated review. The project has a bot that reviews new submissions automatically. It’s worth checking its suggestions carefully rather than accepting them outright, since it can sometimes be wrong about how current Microsoft settings actually work.
When you authorize GitHub, the sequence number and PR are done automatically. Simply lovely.
Let’s wrap up#
So, if you’re out there with some good ideas for Maester tests, but you have no idea where to start, this might be a good option for you. It can also help you write a custom test, specifically for your tenant or use case.
You’re not even bound to a desk, as this will also work from a mobile device!
If you want to learn more, join the community on Discord, and make sure to bookmark this page: Maester
May the AI-force be with you!
Comments
Comments load when you scroll here.