
Selfservice for hardware (OATH) tokens in Entra ID.
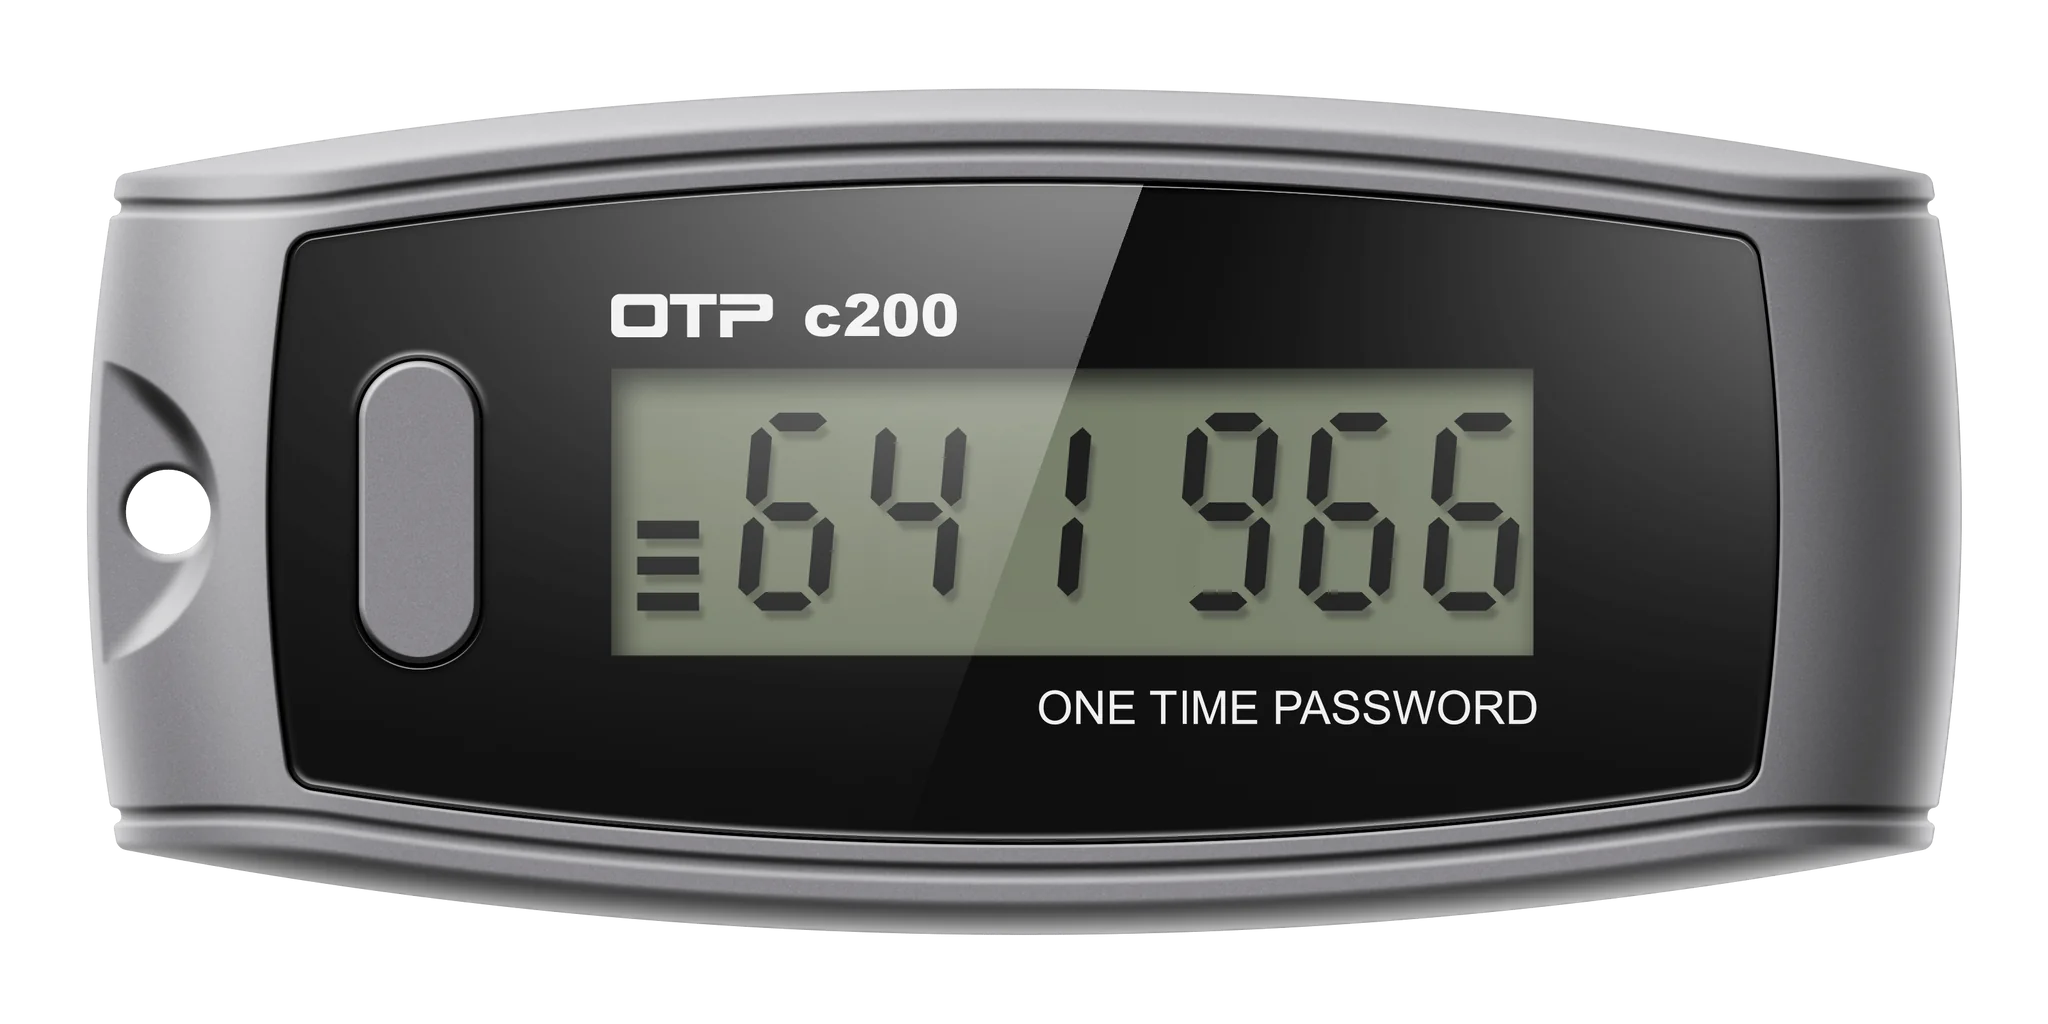
One of the longest-running previews in Entra ID is the support for hardware (OATH) tokens. Hardware tokens can create OTP tokens that can be used to satisfy MFA requirements in Entra ID.
That said, I also must point out that this method is not phishing-resistant. (T)OTP tokens can easily be stolen using AiTM attacks. But that’s for another time. This post will focus on the management of the hardware keys itself.
According to the documentation, this feature has received several improvements that, in my opinion, went a bit under the radar.
- Global administrator requirements have been removed (about time)
- End users can self-assign and activate tokens from their Security info page
That last one got my attention, so let’s see how that works. The refresh is only available using Graph API, so there is not much you can see from a UX standpoint. Most that you see in the Entra admin center belongs to the “legacy” preview, if that makes sense.
In this post, I will show the scenario where an admin uses the new hardware token repository so that end-users can self-assign a new token to their account using the My Security Info page.
Enable the authentication method#
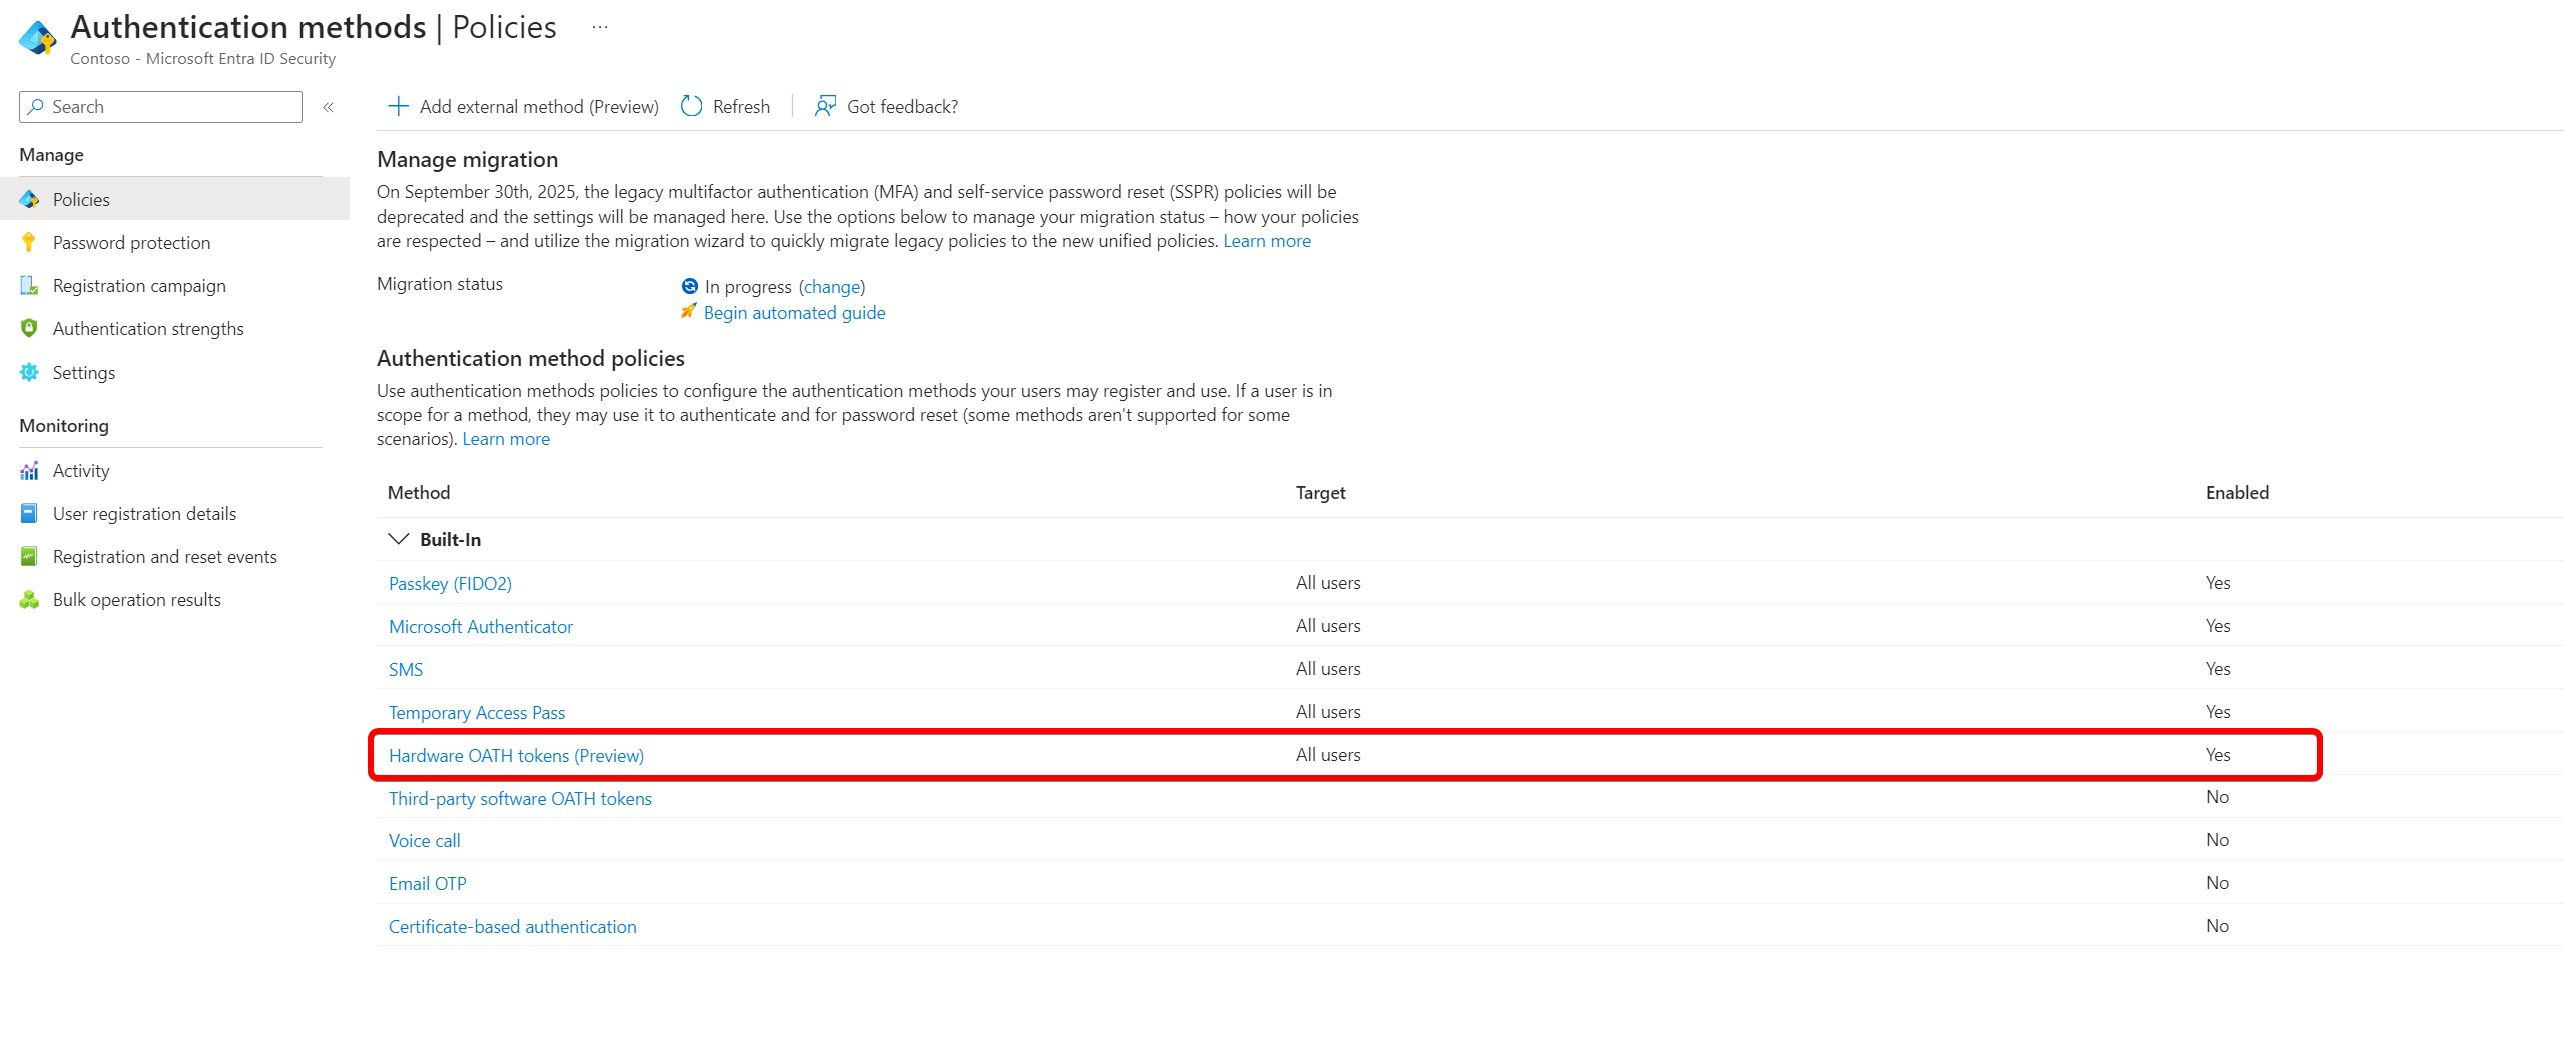
First, ensure that hardware tokens are allowed in your tenant. The configuration location depends on whether you’ve migrated to the new authentication method policies. If that does not ring any bell, please read this post first.
I assume you already migrated, so you will check that the method is enabled for either all users, or a group of users that is using hardware tokens.
Upload new tokens to the tenant#
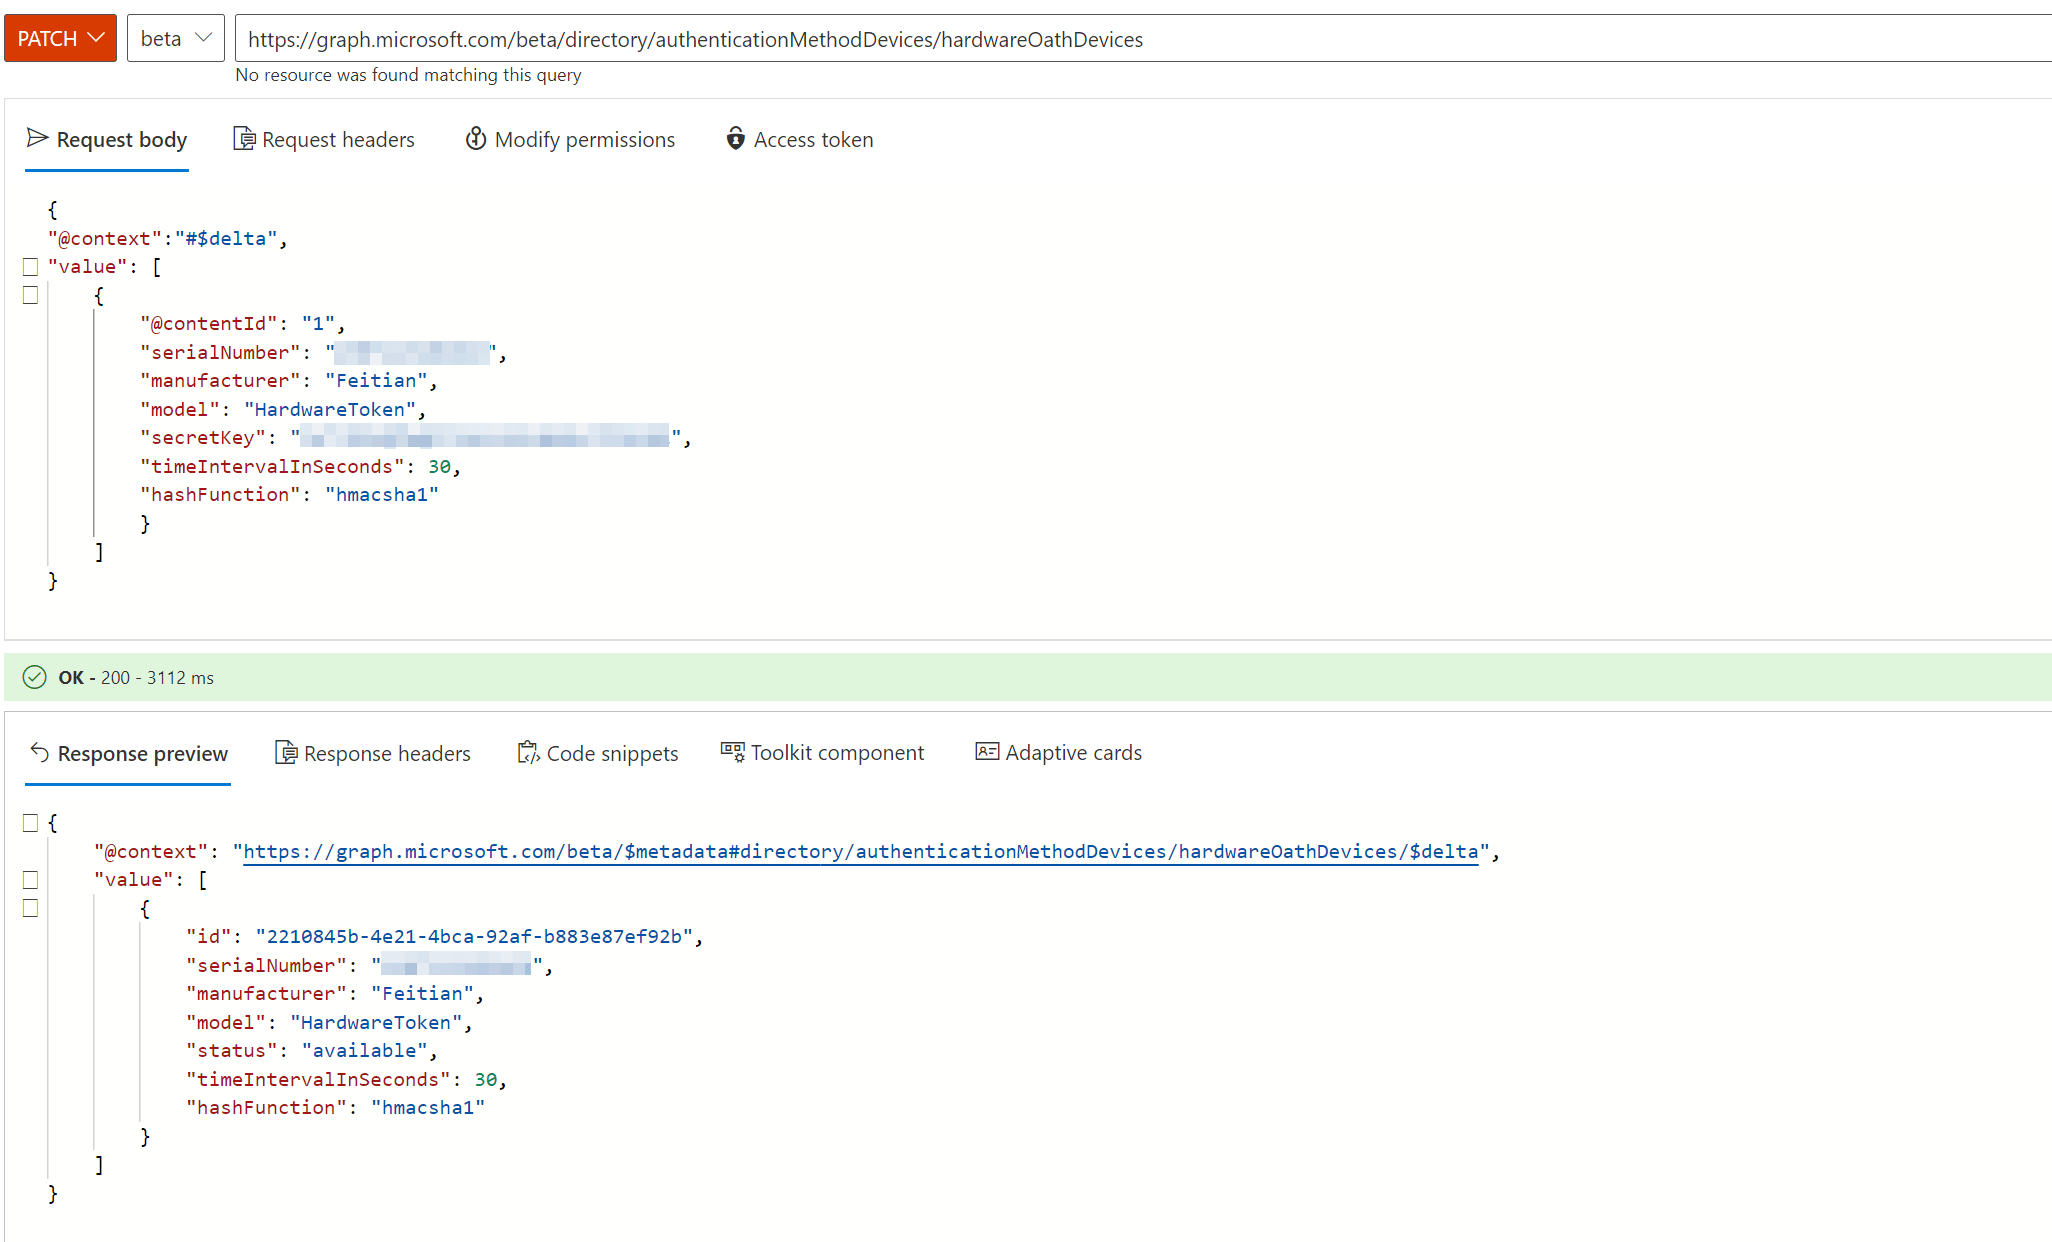
In this step, we will add a new key to the tenant, making it available for self-service. We will not directly assign it to users but rather make it available in the “public repository” of your tenant. In this example, I use Graph Explorer for convenience. You’ll need the serial number and the secret key of the hardware token.
PATCH https://graph.microsoft.com/beta/directory/authenticationMethodDevices/hardwareOathDevices

{
    "@context": "#$delta",
    "value": [
        {
            "@contentId": "1",
            "serialNumber": "*************",
            "manufacturer": "Feitian",
            "model": "HardwareToken",
            "secretKey": "******************************",
            "timeIntervalInSeconds": 30,
            "hashFunction": "hmacsha1"
        }
    ]
}
The key will be available for self-service as soon as it is uploaded. You can always check the current repository by running:
GET https://graph.microsoft.com/beta/directory/authenticationMethodDevices/hardwareOathDevicesEnd-user experience#
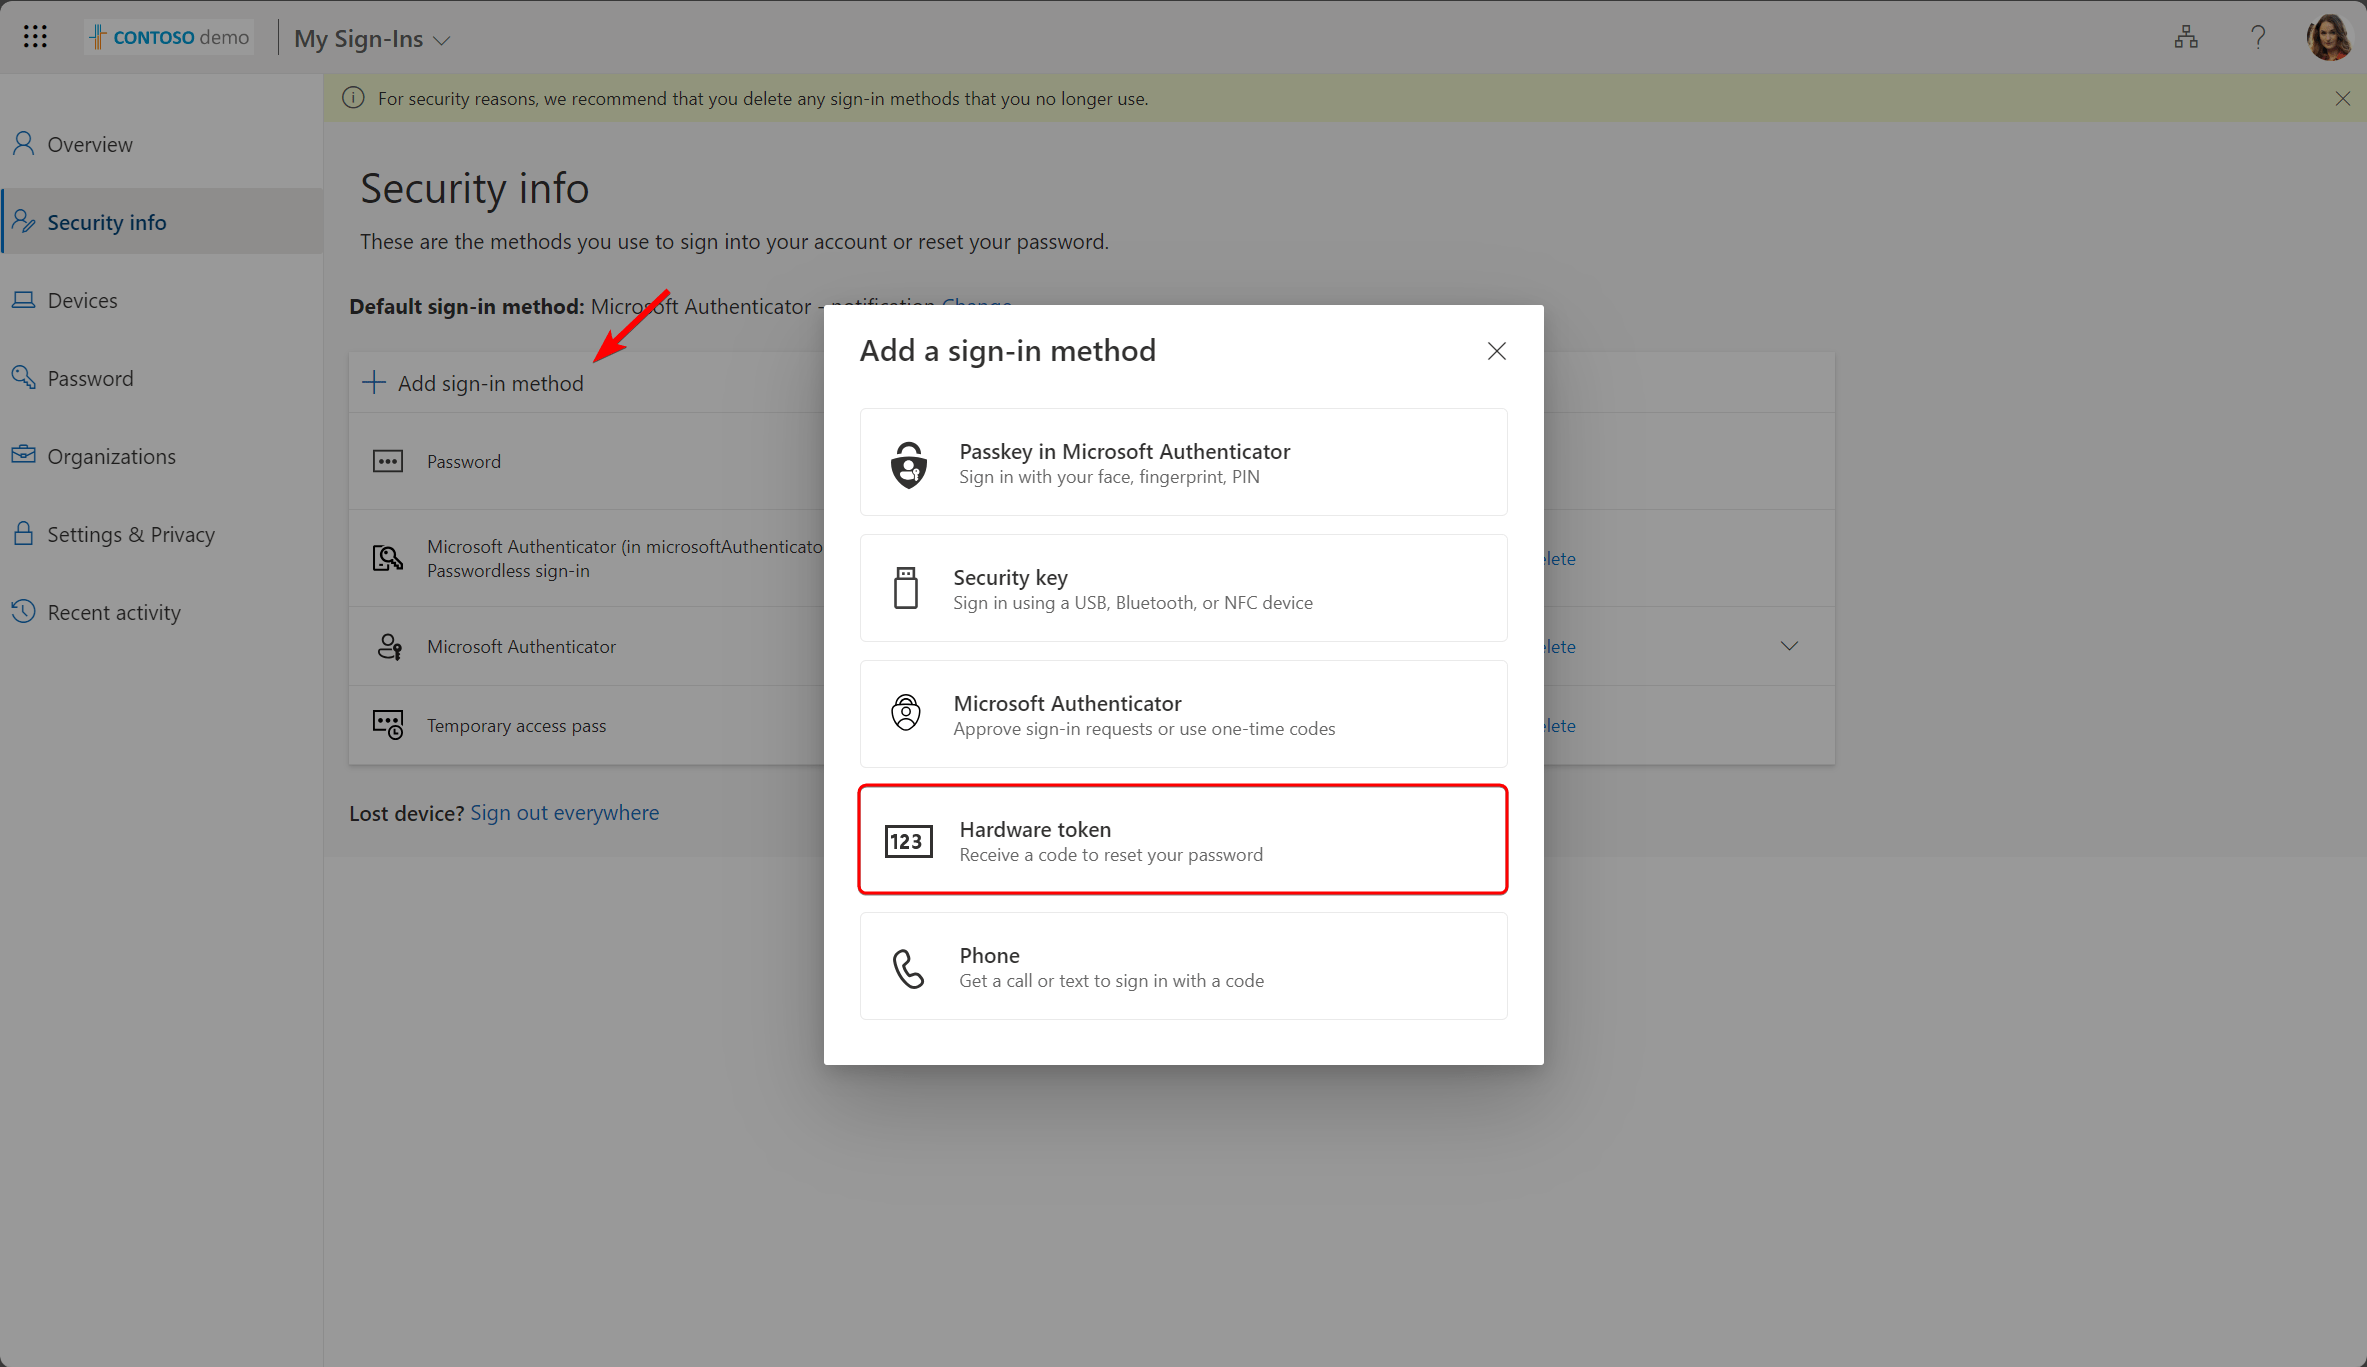
For the end-user, the process is pretty straightforward. From the My Security Info page, the user will add a new sign-in method and select “Hardware token”
Next, the user is asked to enter the serial number. This is usually found on the back of the key itself.
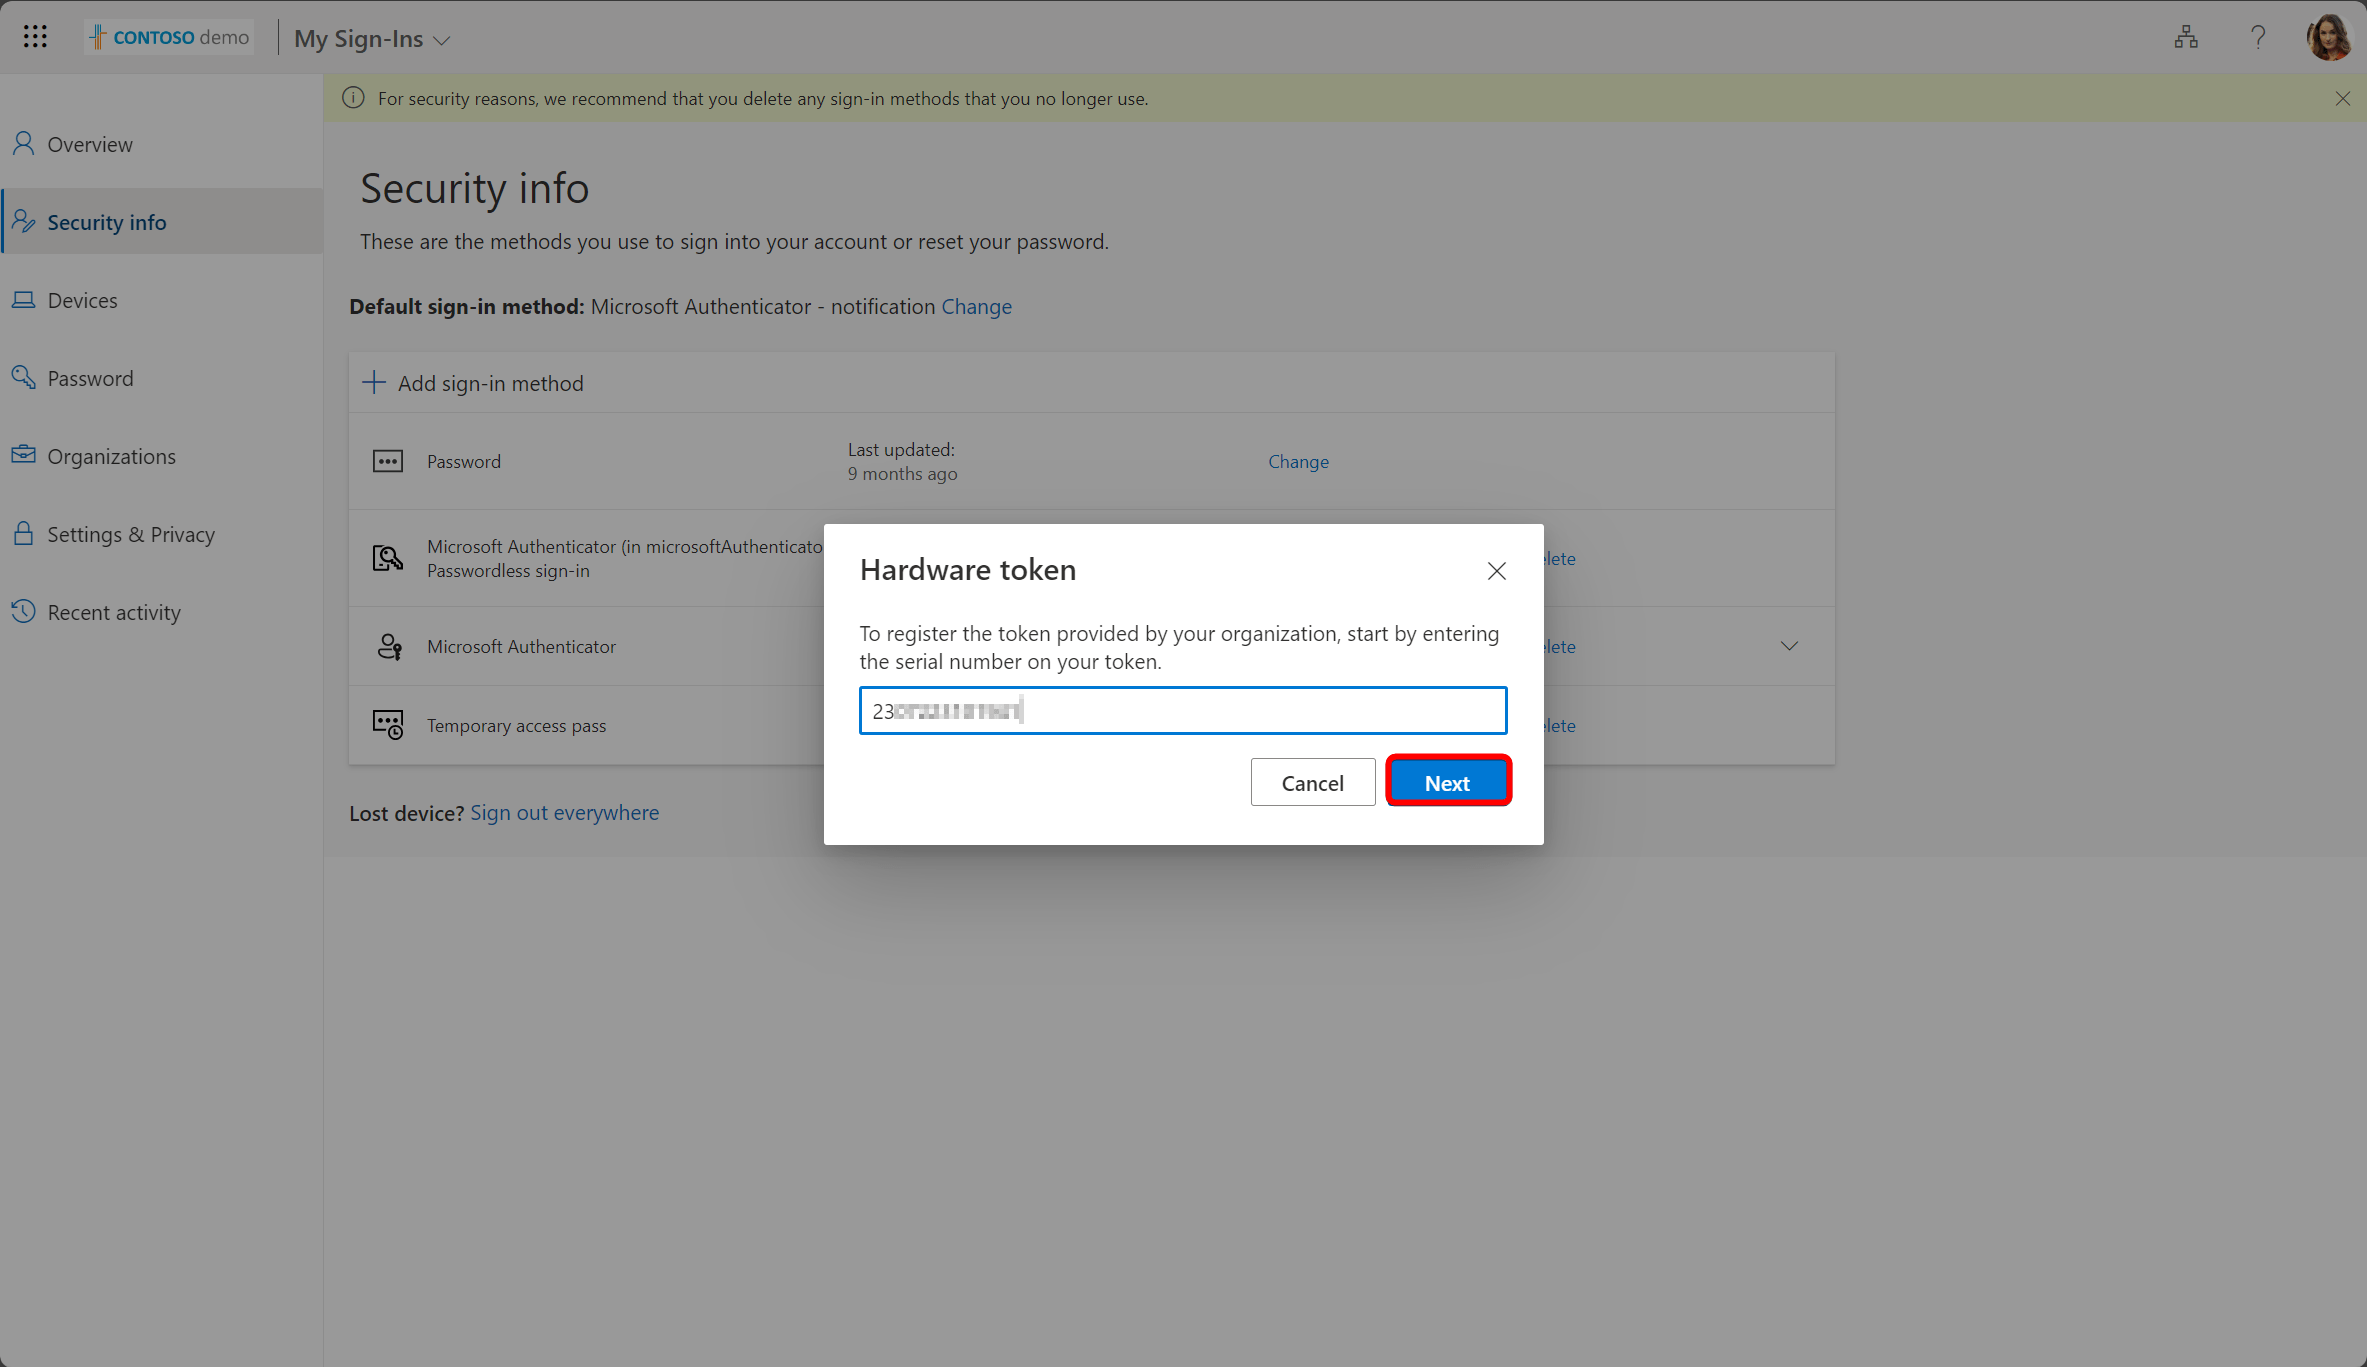
After that, the user can pick a name for the new token.
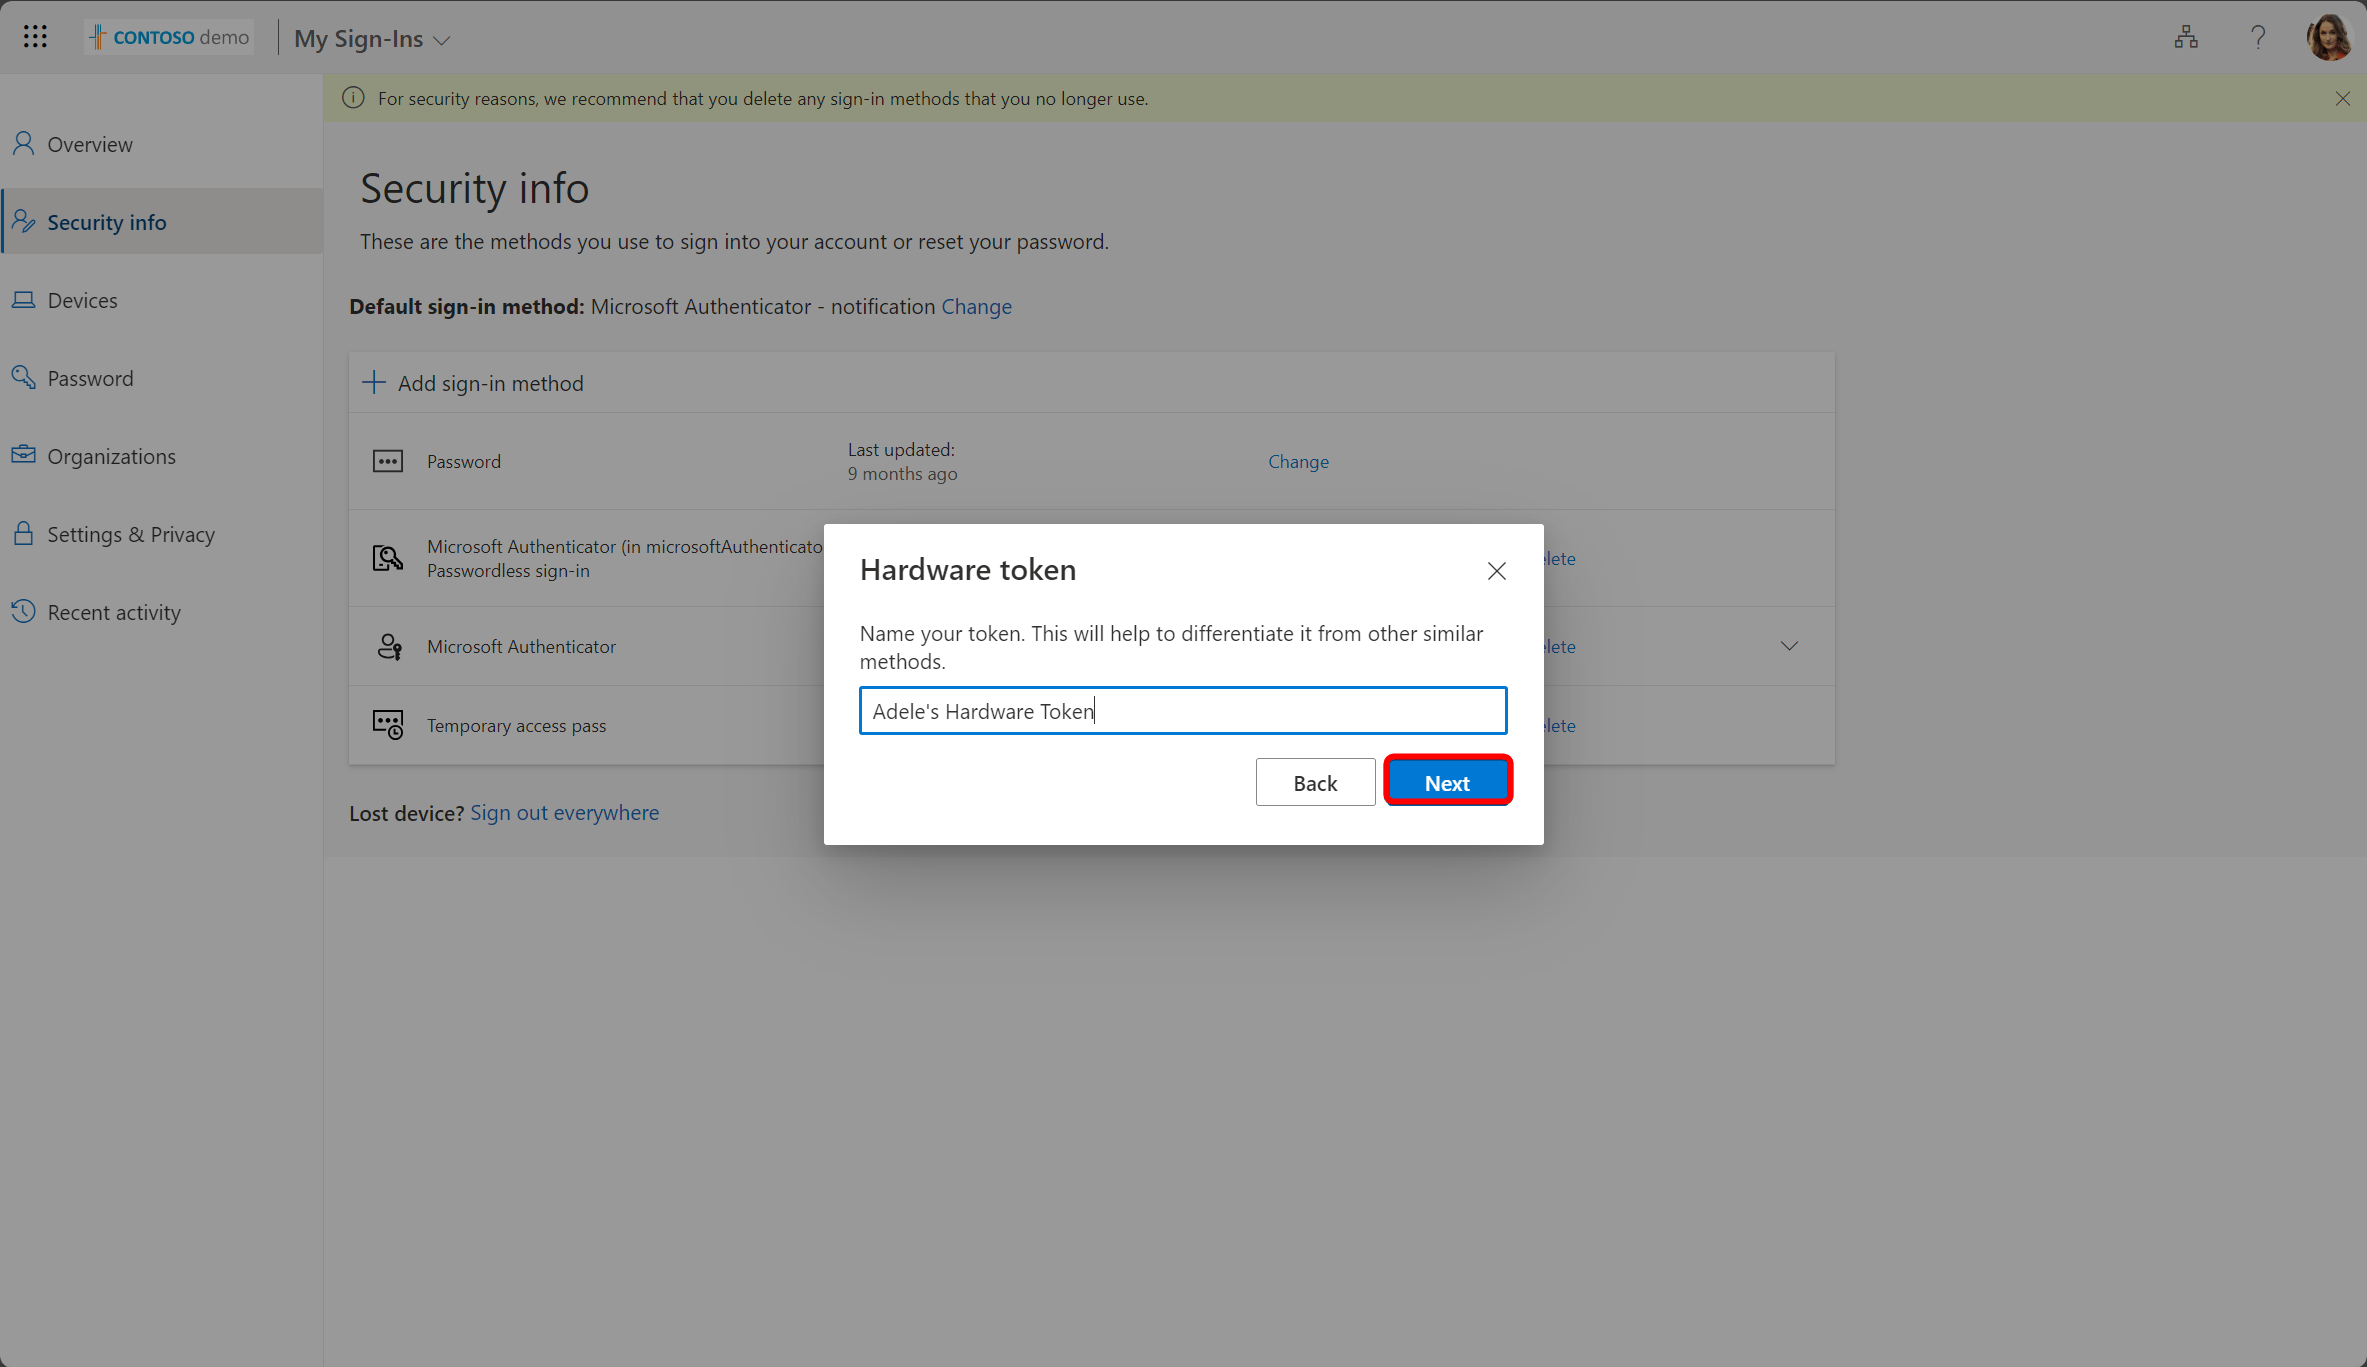
In the last step, the user must enter a 6-digit OTP code from the hardware token.
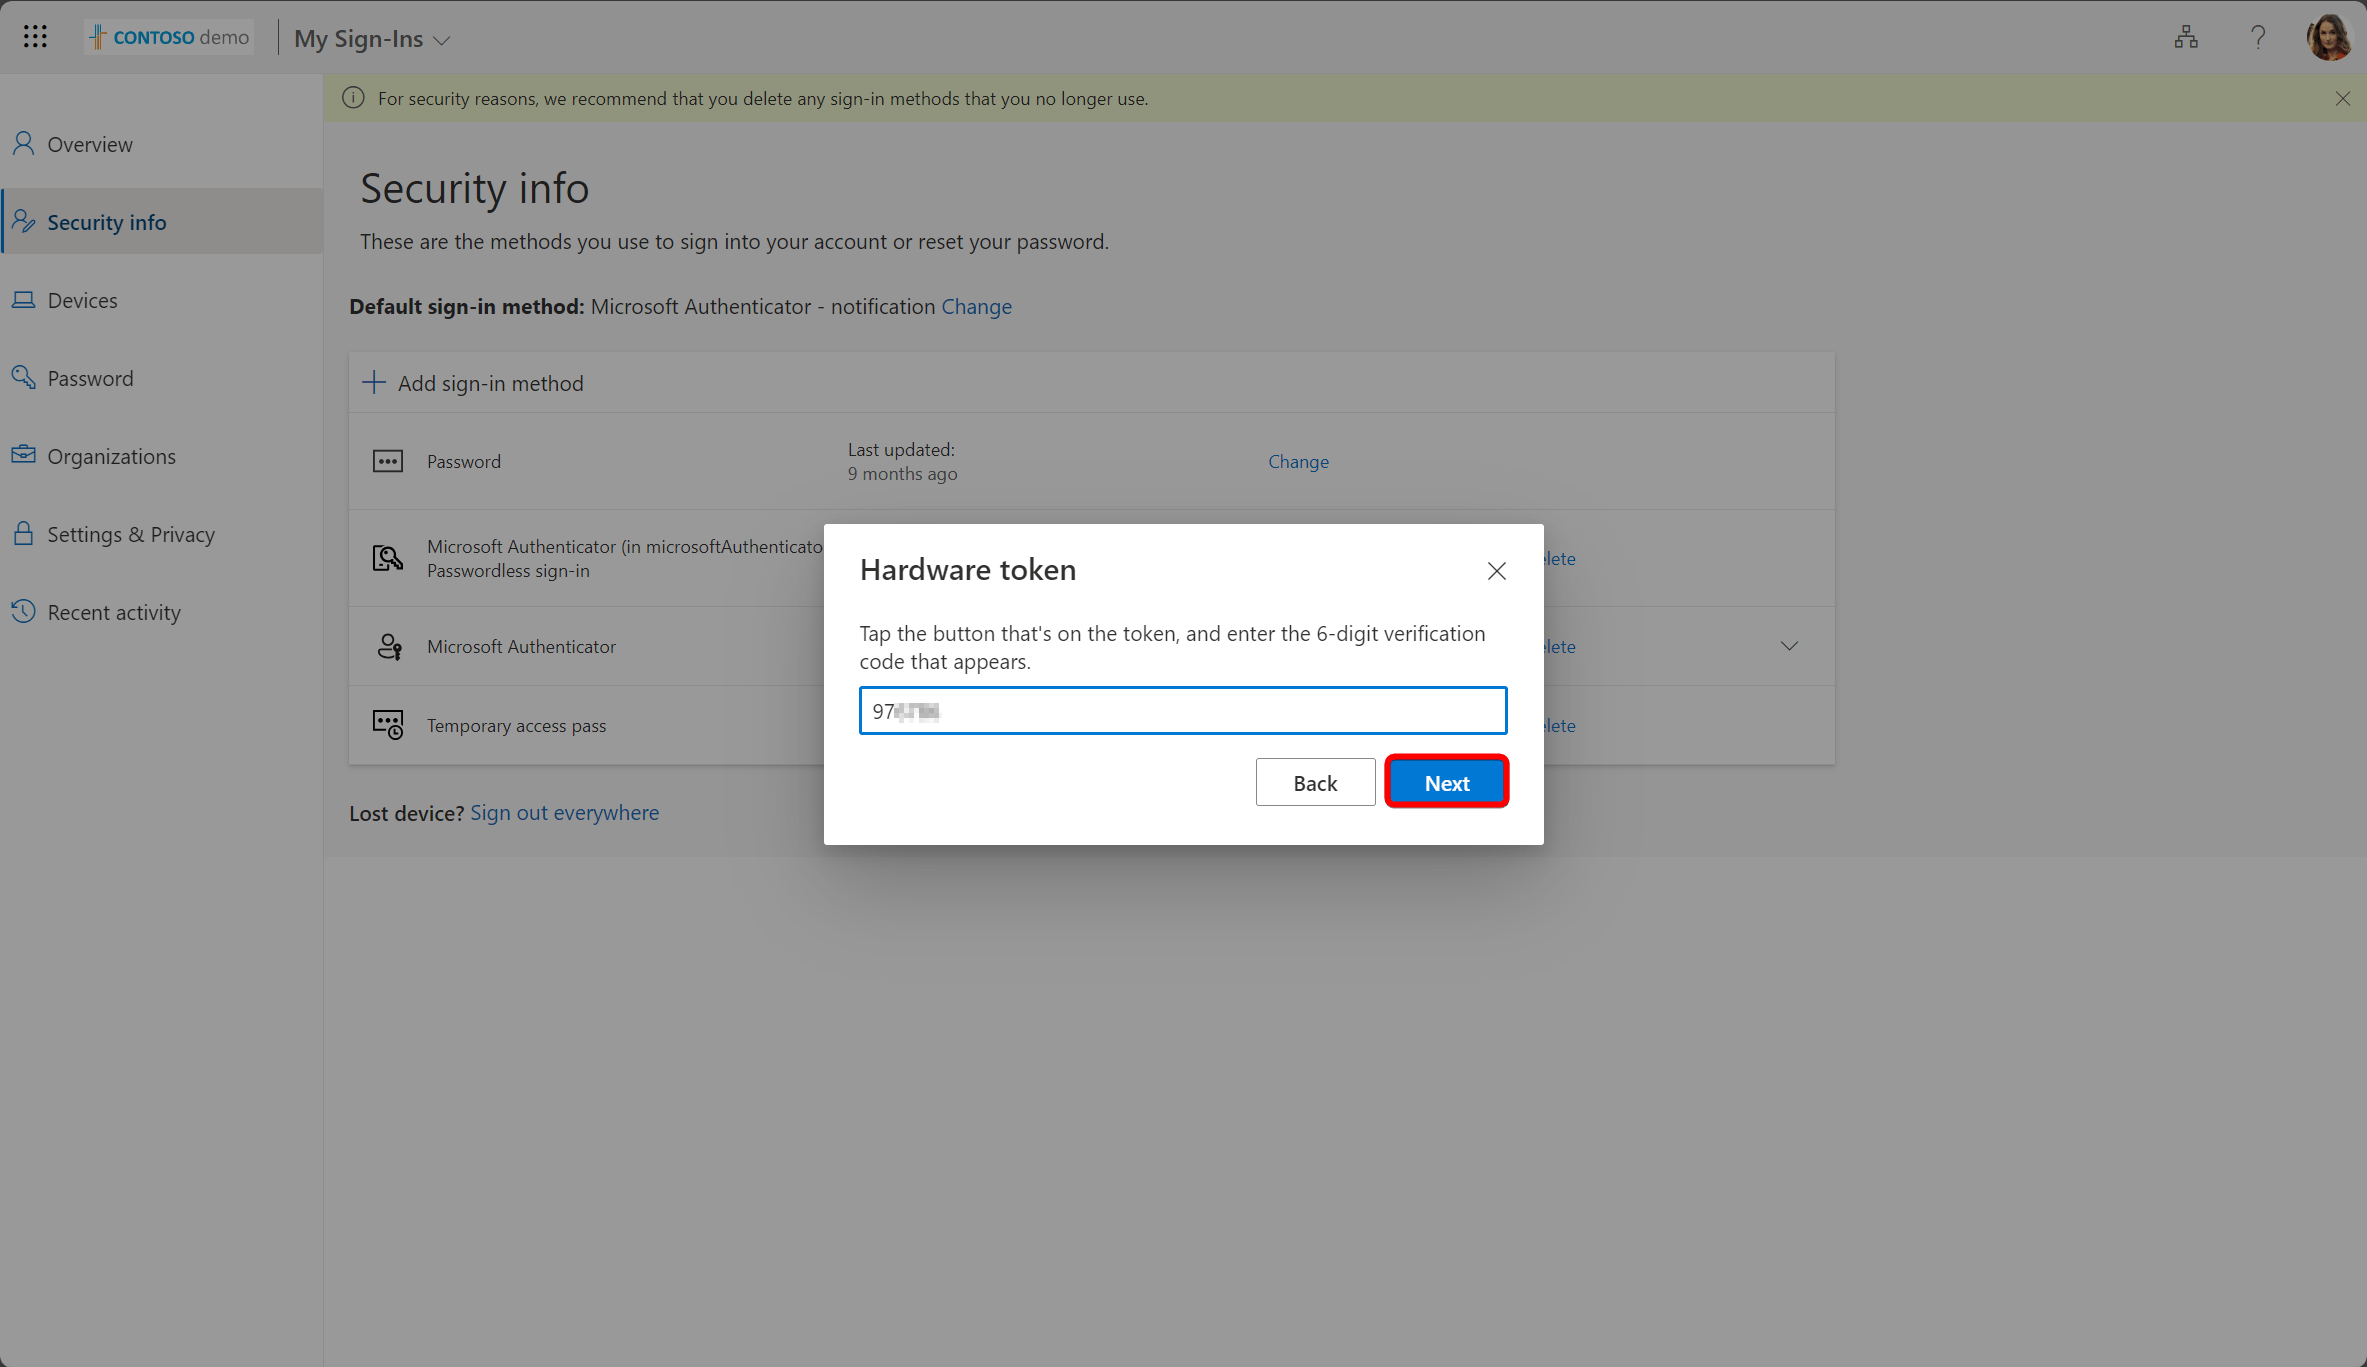
If everything matches up, the key is added to the account.
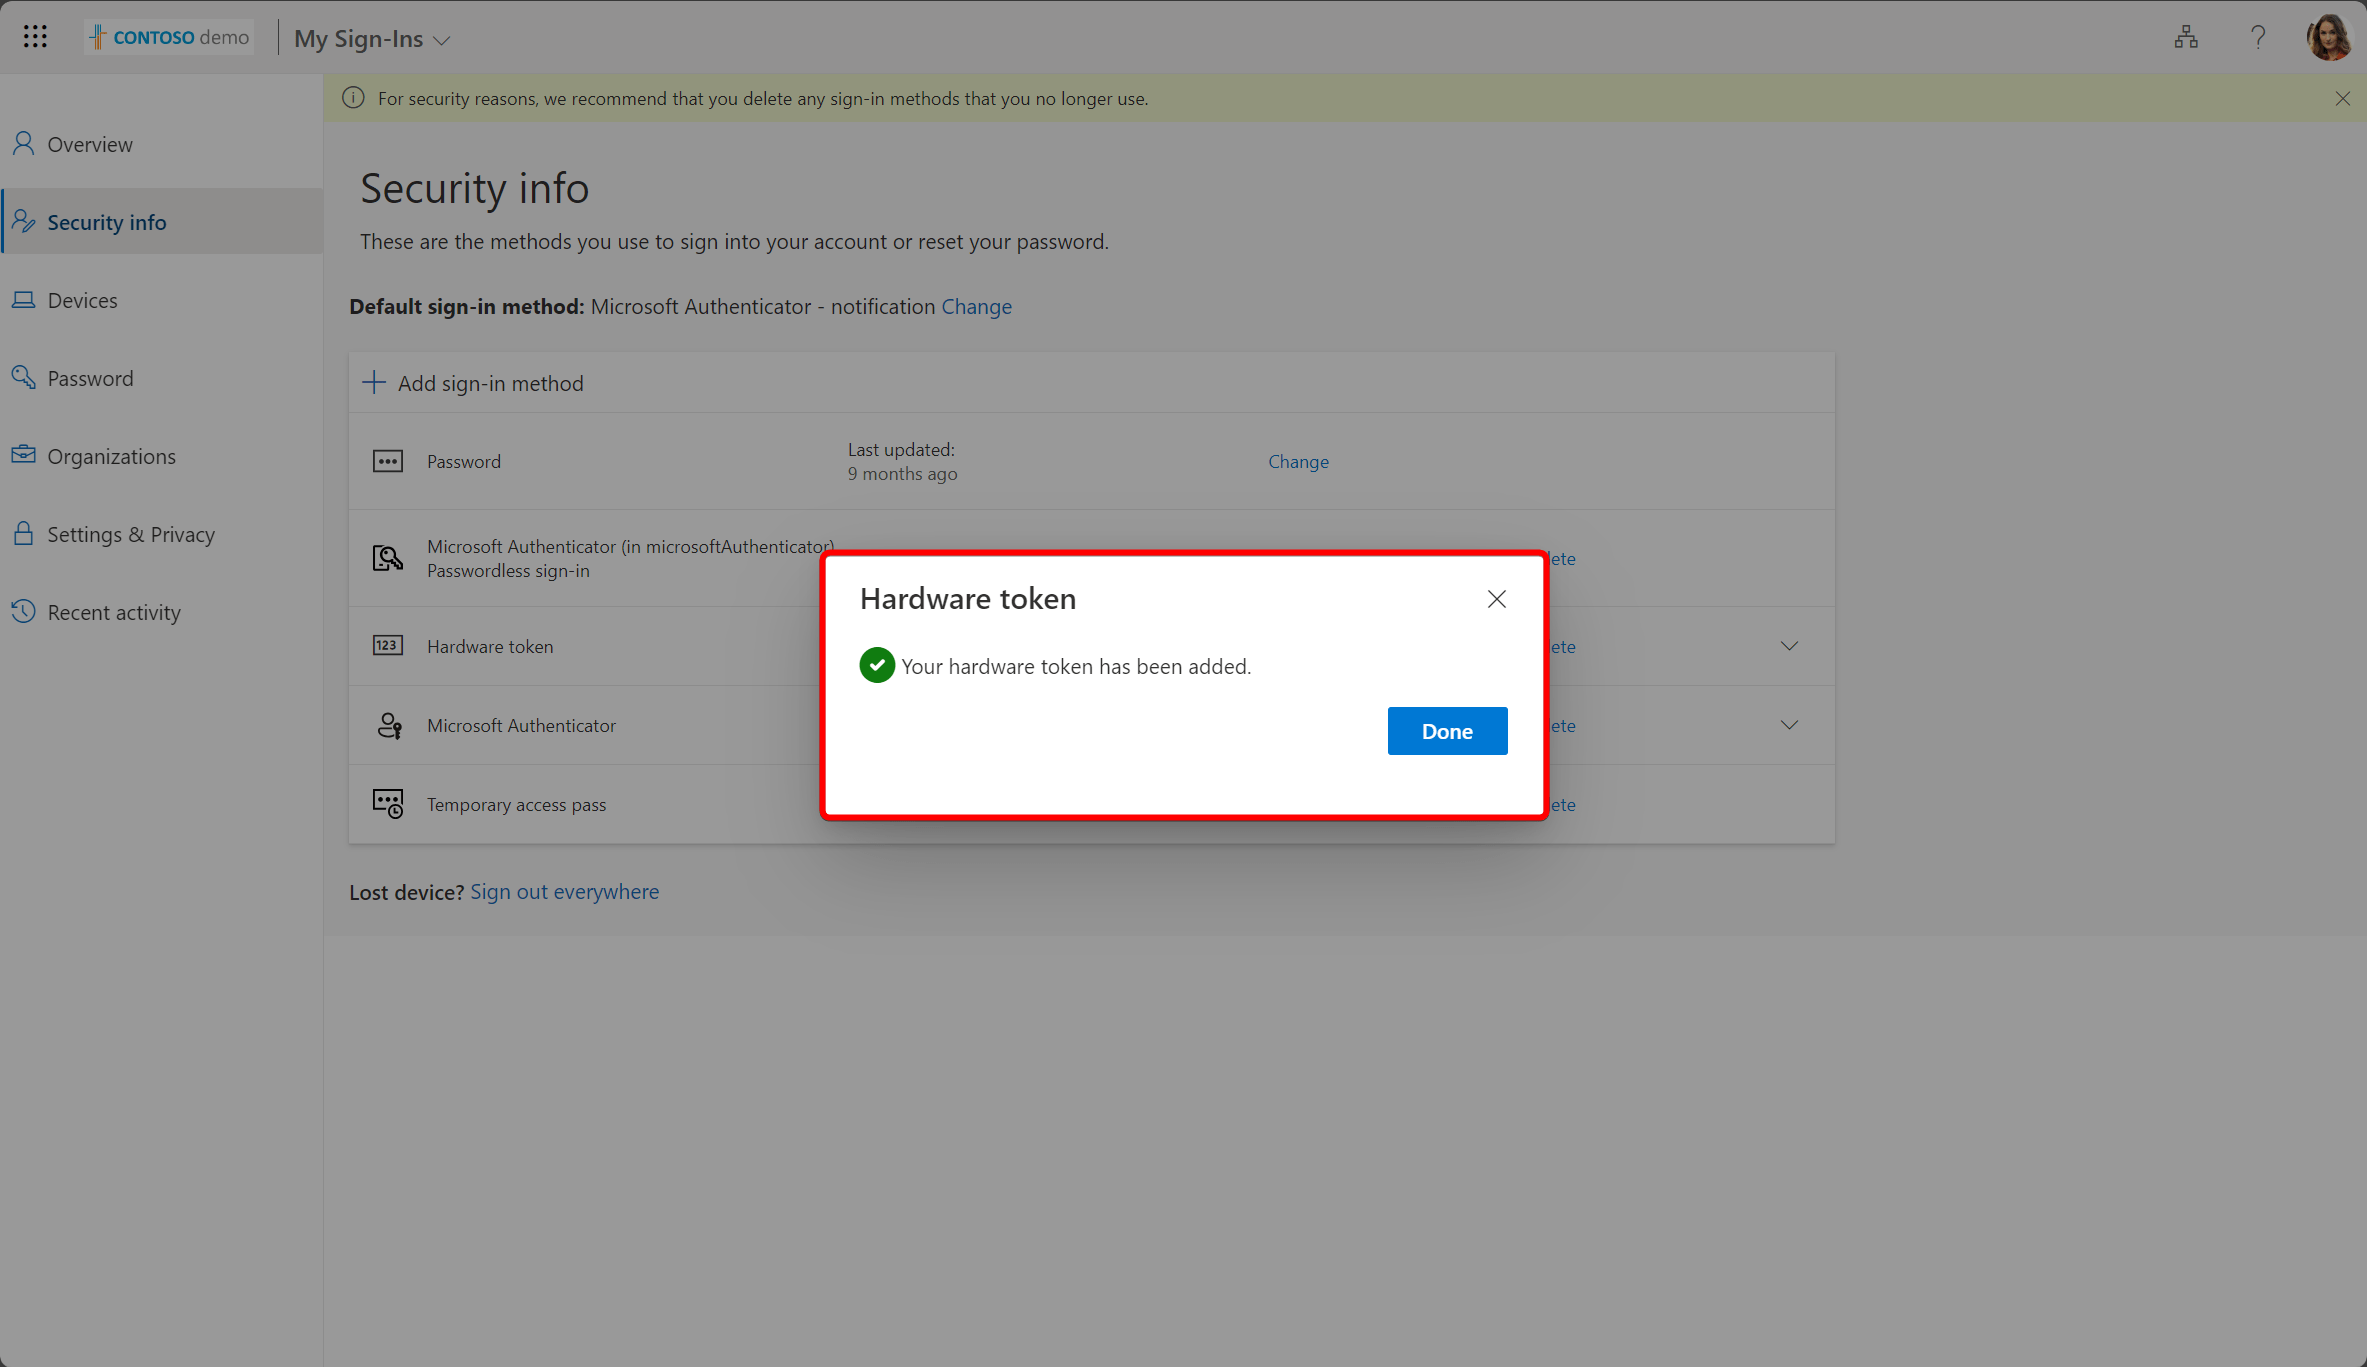
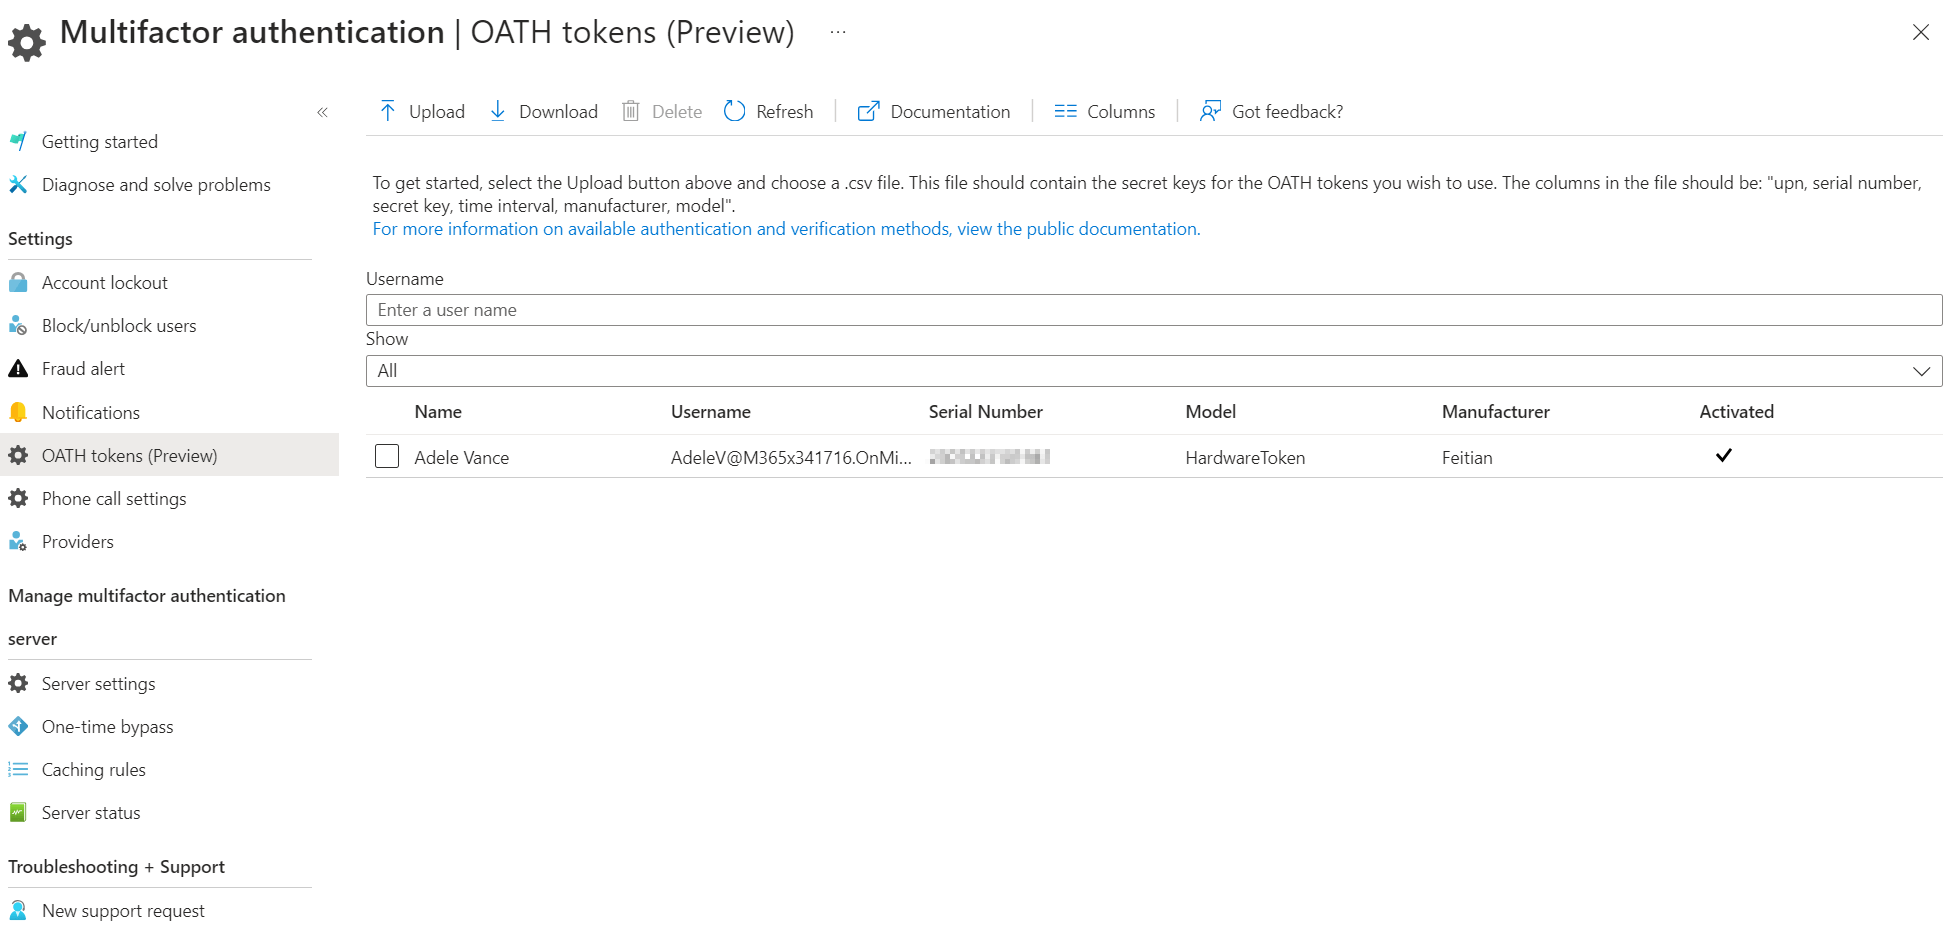
Now, we can also see the key from the Entra admin center.
Wrap things up#
Up until now, admins needed Global admin permissions and physical access to the hardware token to assign it to another user. With this new feature, management has improved greatly, as users can now self-assign the tokens to the account.
If this particular scenario does not meet your requirements, please check out the other supported scenarios for managing hardware tokens:
<Scenario: Admin creates, assigns, and activates a hardware OATH token>
Scenario: Admin creates and assigns a token that a user activates
Other resource(s):
How to manage OATH tokens in Microsoft Entra ID (Preview) - Microsoft Entra ID | Microsoft Learn
Upload hardware OATH tokens in CSV format - Microsoft Entra ID | Microsoft Learn
OATH tokens authentication method - Microsoft Entra ID | Microsoft Learn
Comments
Comments load when you scroll here.