
Running Evilginx 3.0 on Windows
On this page
In case you missed it: Evilginx 3 was recently launched to the public. This release is a quality-of-life update and has many fixes and a few new features onboard. You can find the changelog here. Big thanks to the creator Kuba Gretzky for this!
With the new release, the tool no longer has built-in phishlets onboard but is re-launched as a framework where red-teamers can build phishlets for basically any web application. Due to some changes under the hood, the current phishlets may no longer work with the new version. This is why the new release comes with excellent documentation and even an online Evilginx Mastery course, where you will learn all about building phishlets, advanced phishing methods, and remote server deployment. Evilginx 3 comes with one sample phishlet that you can use as your starting point. Of course, I expect more and more phishlets are being created by the community over time.
In this post, I will show you how you can run a local installation of Evilginx on Windows. Running Evilginx locally is excellent for two main reasons:
- This will allow anyone to demonstrate the tool without needing a hosted VM and public domain name. You can use whatever domain you like.
- Running Evilginx locally is super handy for building your phishlets, as you can quickly make adjustments and test locally. After that, you can set up your remote server for your phishing engagements.
This is all done by editing the local DNS hosts file so that traffic to your web app will be routed to your local instance of Evilginx. If you want to run Evilginx remotely instead, make sure you buy your domain a few weeks ahead to avoid being blocked. Buy your new domain(s) and VPS at Namecheap or DigitalOcean!
Preparation#
To set up your local installation, we need a couple of things.
- Visual Studio Code for building and editing the .yaml phishlets files (optional)
- Go. Download and install - The Go Programming Language
- Git for Windows. Git for Windows
Download the files to your computer, and run the installer. When installing Go, please pick Visual Studio Code as your default editor.
To check whether Go and Git are installed correctly, open the command prompt and run:
go version
git version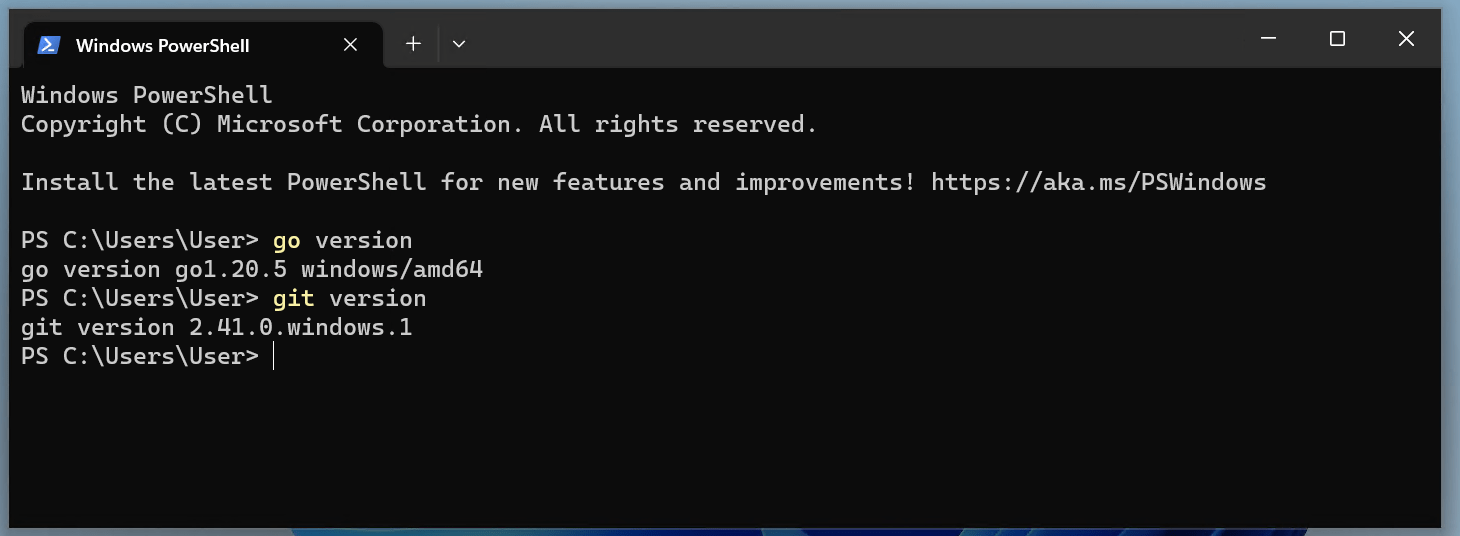
Clone Evilginx#
On your local hard drive, create a local folder. For example: C:\dev
Open a command prompt, and browse to the folder you just created. Next, run:
git clone https://github.com/kgretzky/evilginx2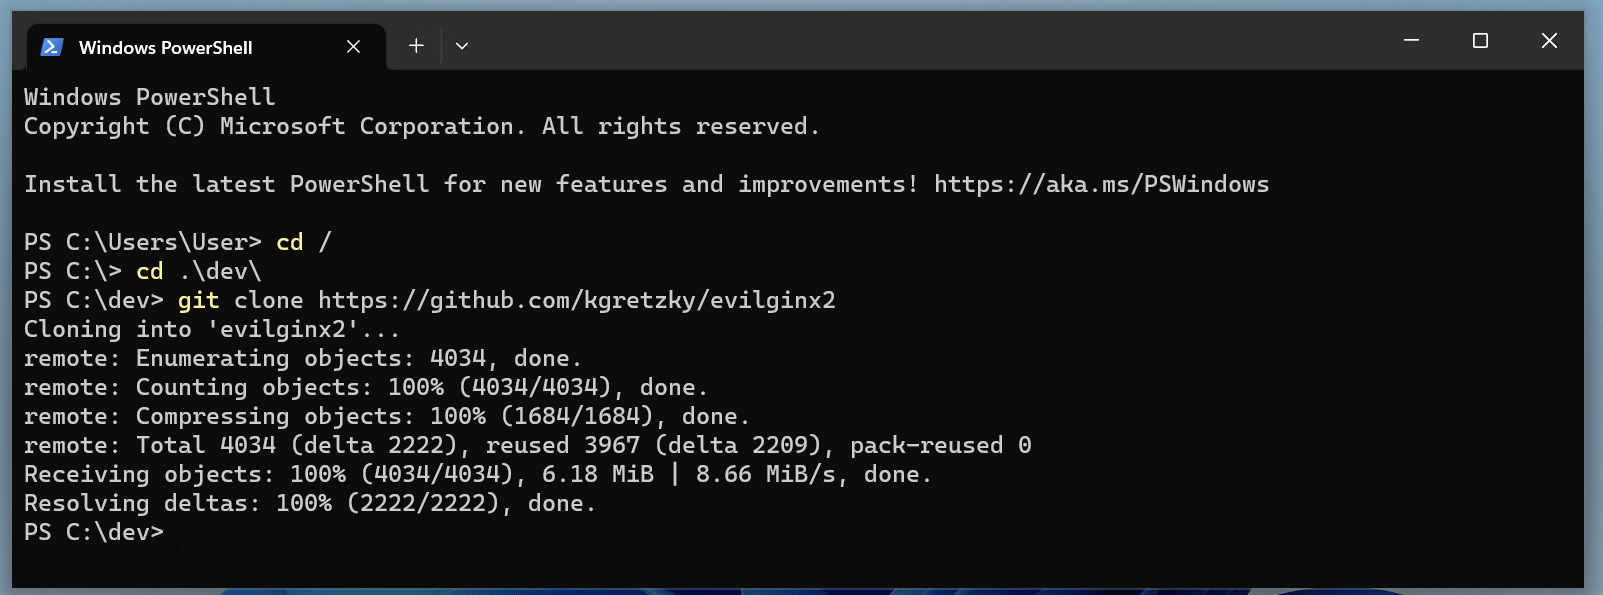
After the repo is cloned, go into the folder using the command prompt:
cd evilginx2Next, run the following command to build and run Evilginx:
build_run.bat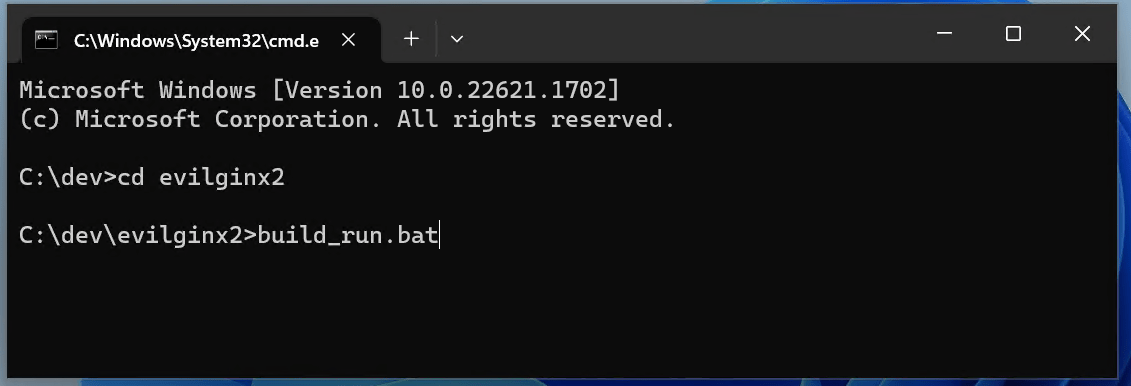
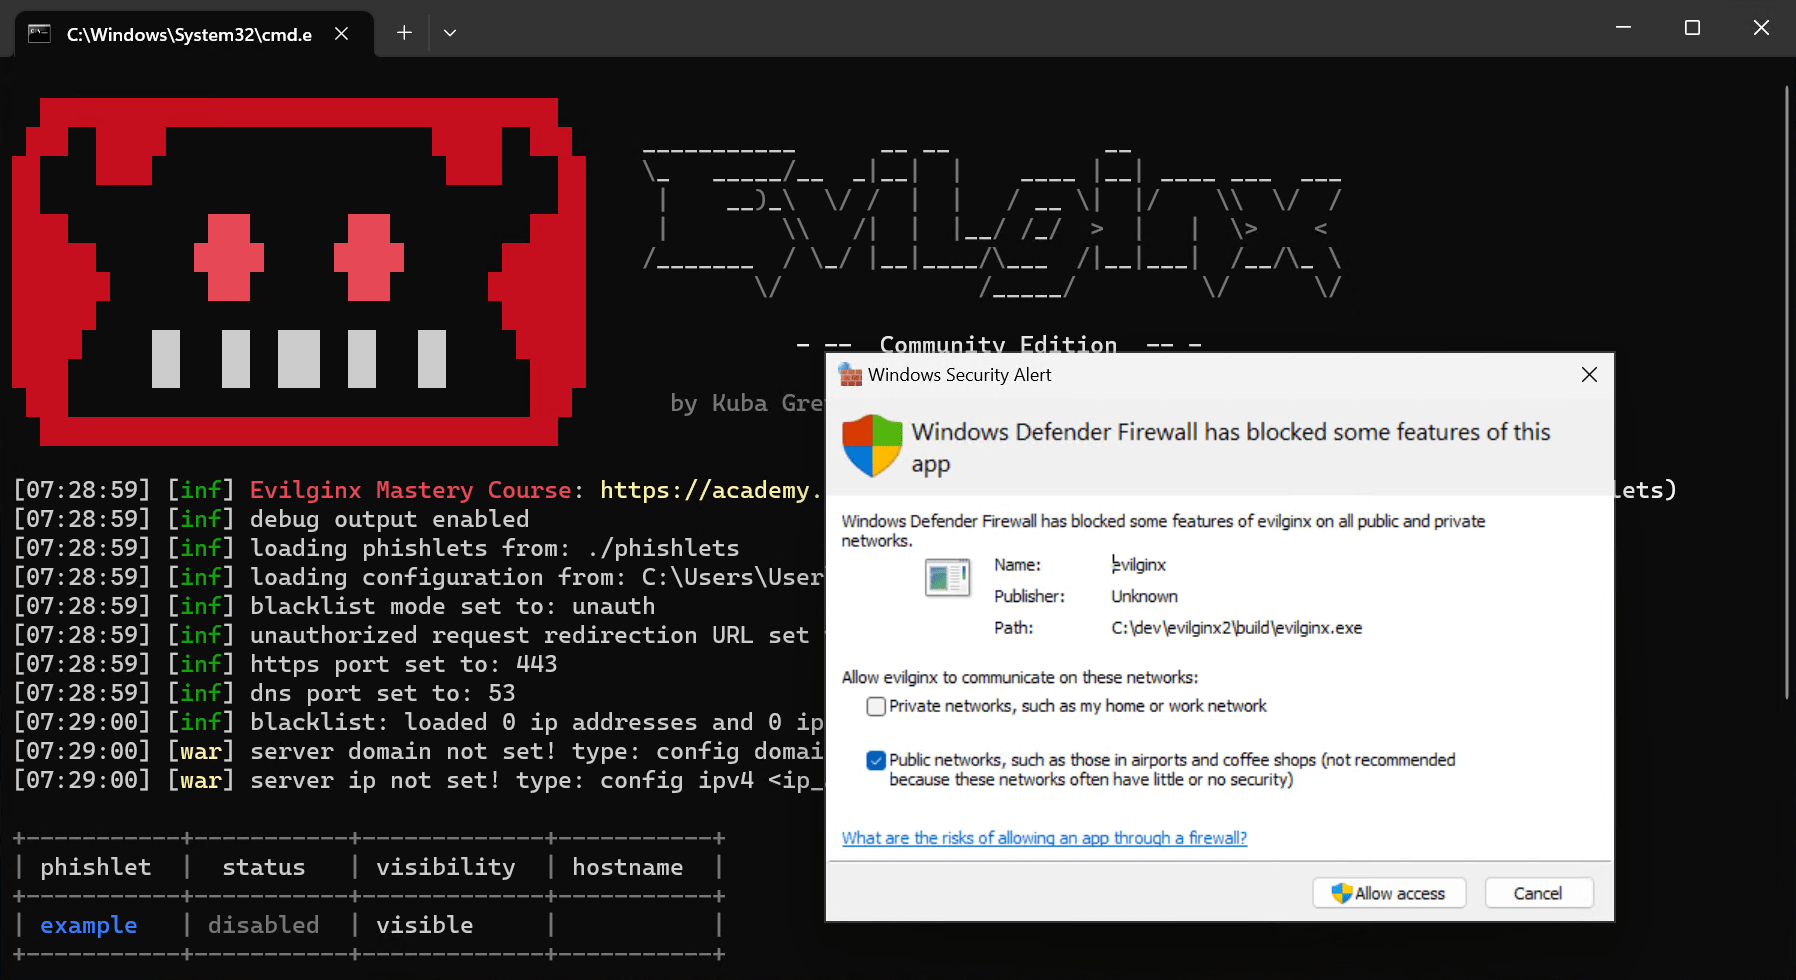
A few seconds later, Evilginx will start. The first time, Windows Defender Firewall will prompt you to allow access.
Configure Evilginx for local use#
Now that Evilginx is up and running, we’ll need to so dome additional configurations to start using/developing our first phishlet.
We set the IP address of the Evilginx instance to the local address 127.0.0.1 and the domain parameter to any domain you wish. This does not need to be a domain you actually own, as we only use this locally. In this demo, we use yourfakedomain.com
config ipv4 127.0.0.1
config domain yourfakedomain.com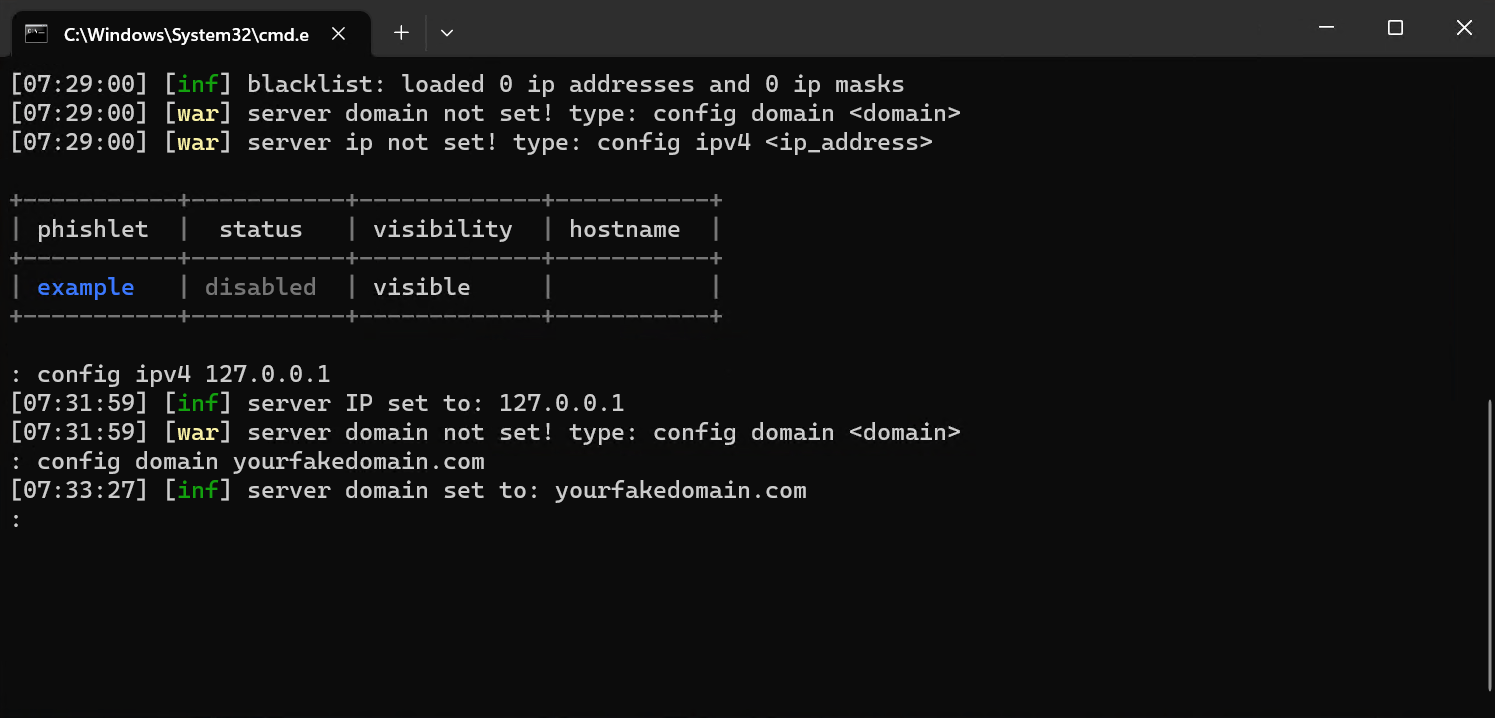
Next, we need to install the root certificate from Evilginx. This can be found in the user profile folder:
%USERPROFILE%\.evilginx\crt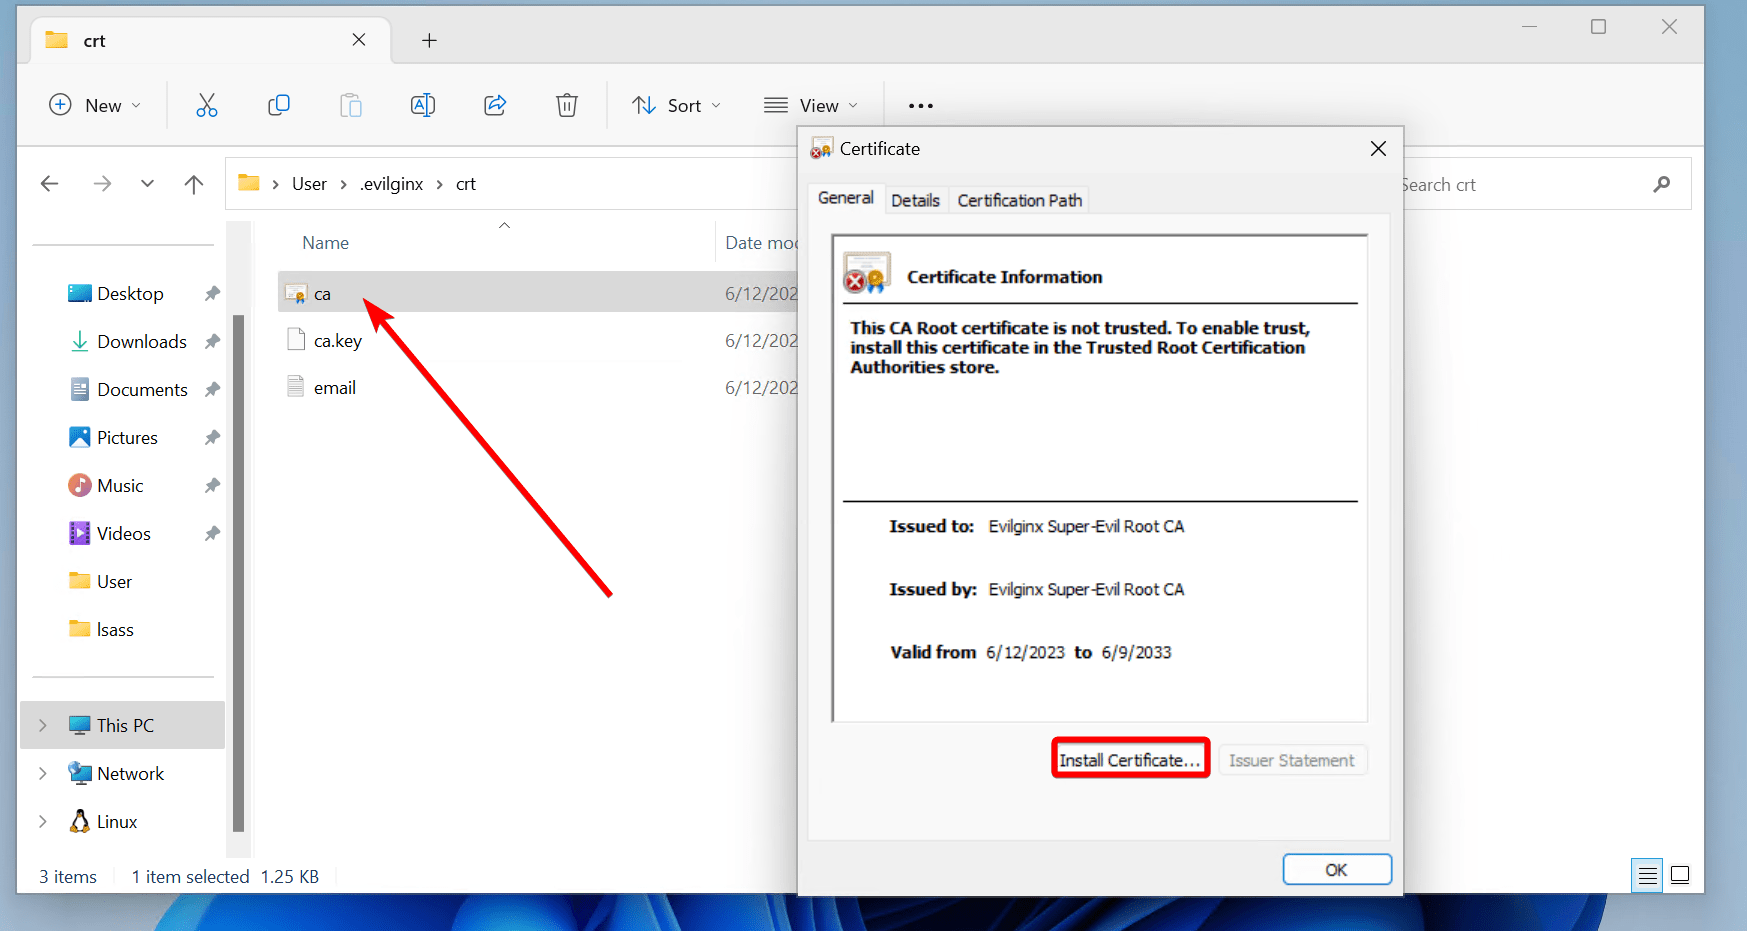
Add this certificate to the Trusted Root Certificate Authorities store of the Current User.
Load the phishlet#
Now it’s time to install the first phishlet. This can be either one you developed yourself or one from a public source. For this demo, I use a Microsoft 365 phishlet I developed for Evilginx 3.0. Download the file, and place it in the .\evilginx2\phishlets folder.

Ensure you run the latest version of Evilginx and have the most recent Microsoft365.yaml file. There was a recent change in the way Evilginx captures cookies. In v3.0, we needed to use the ‘always’ parameter for session cookies(cookies with no expiry date set). That has been fixed in v3.1
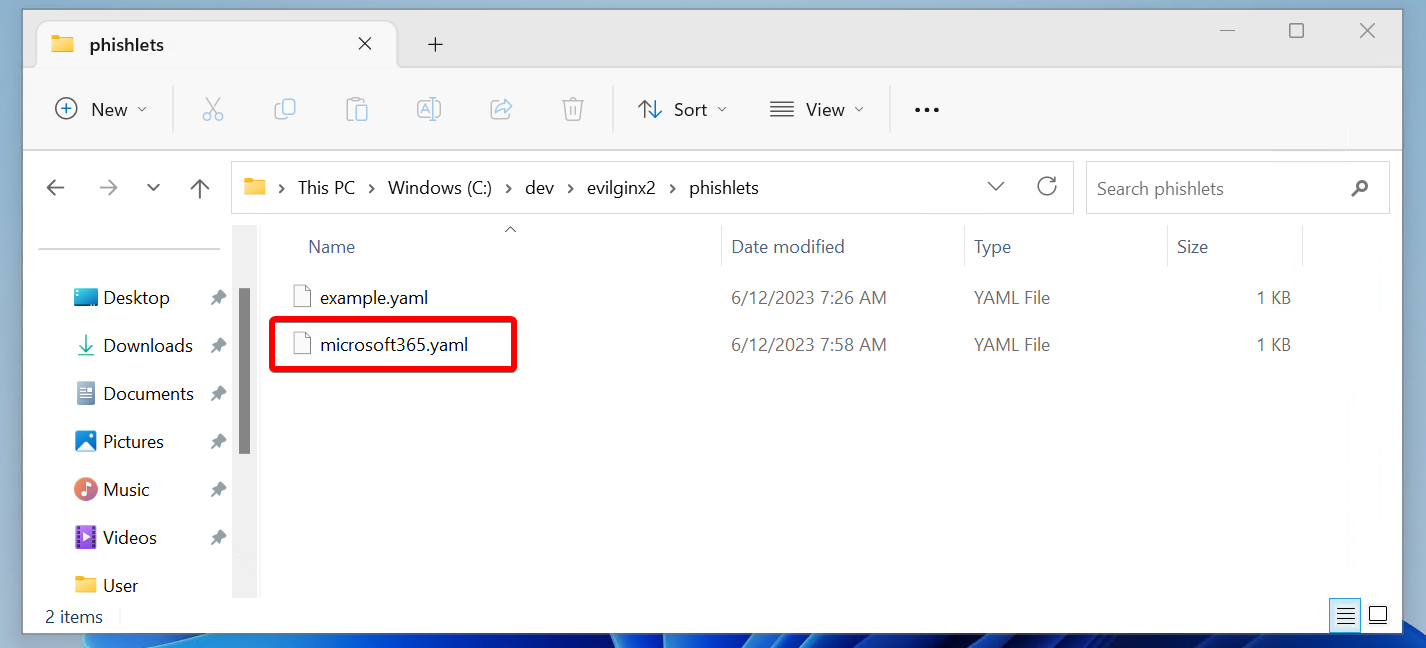
Before Evilginx loads the new phishlet, you’ll need to “restart” Evilginx by running:
q
build_run.bat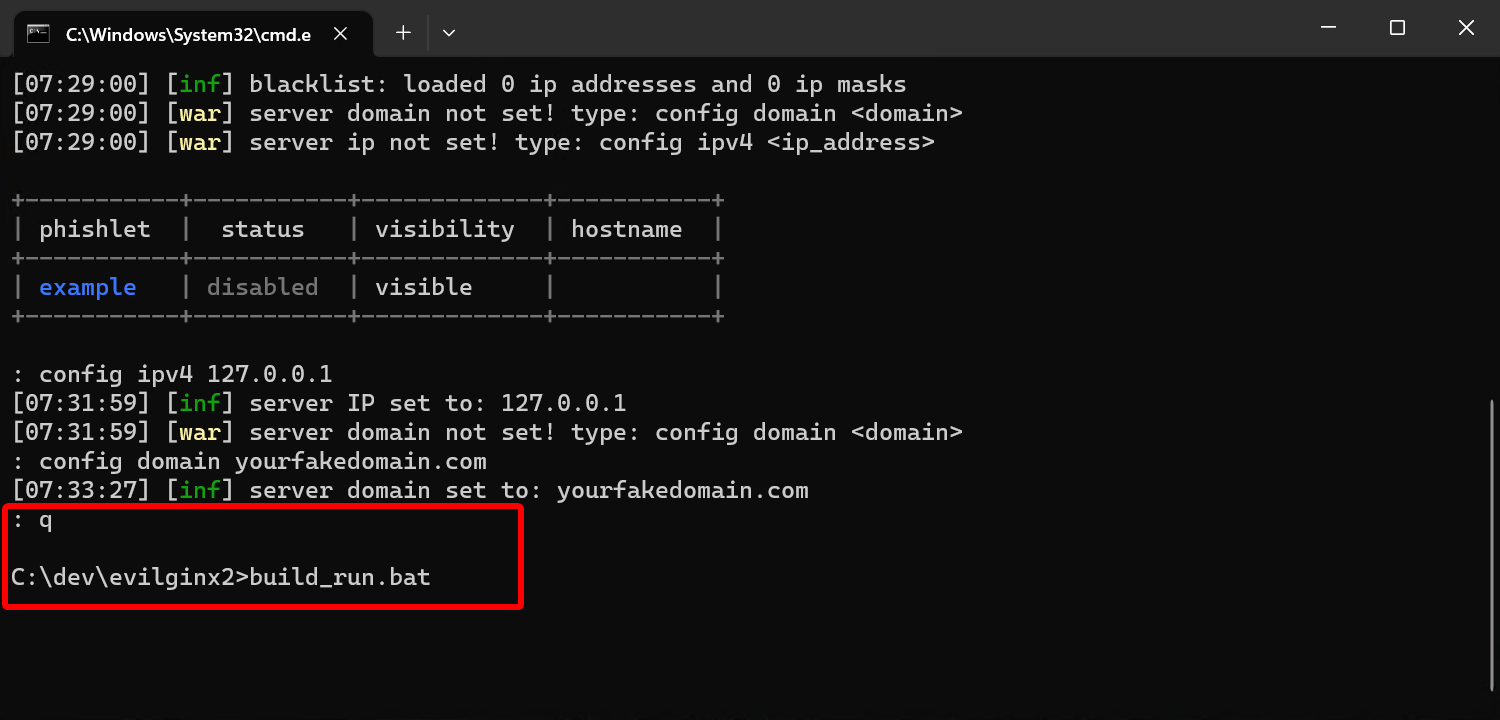
Evilginx will load all the phishlets from the folder. As you can see, the new phishlet is now showing up.
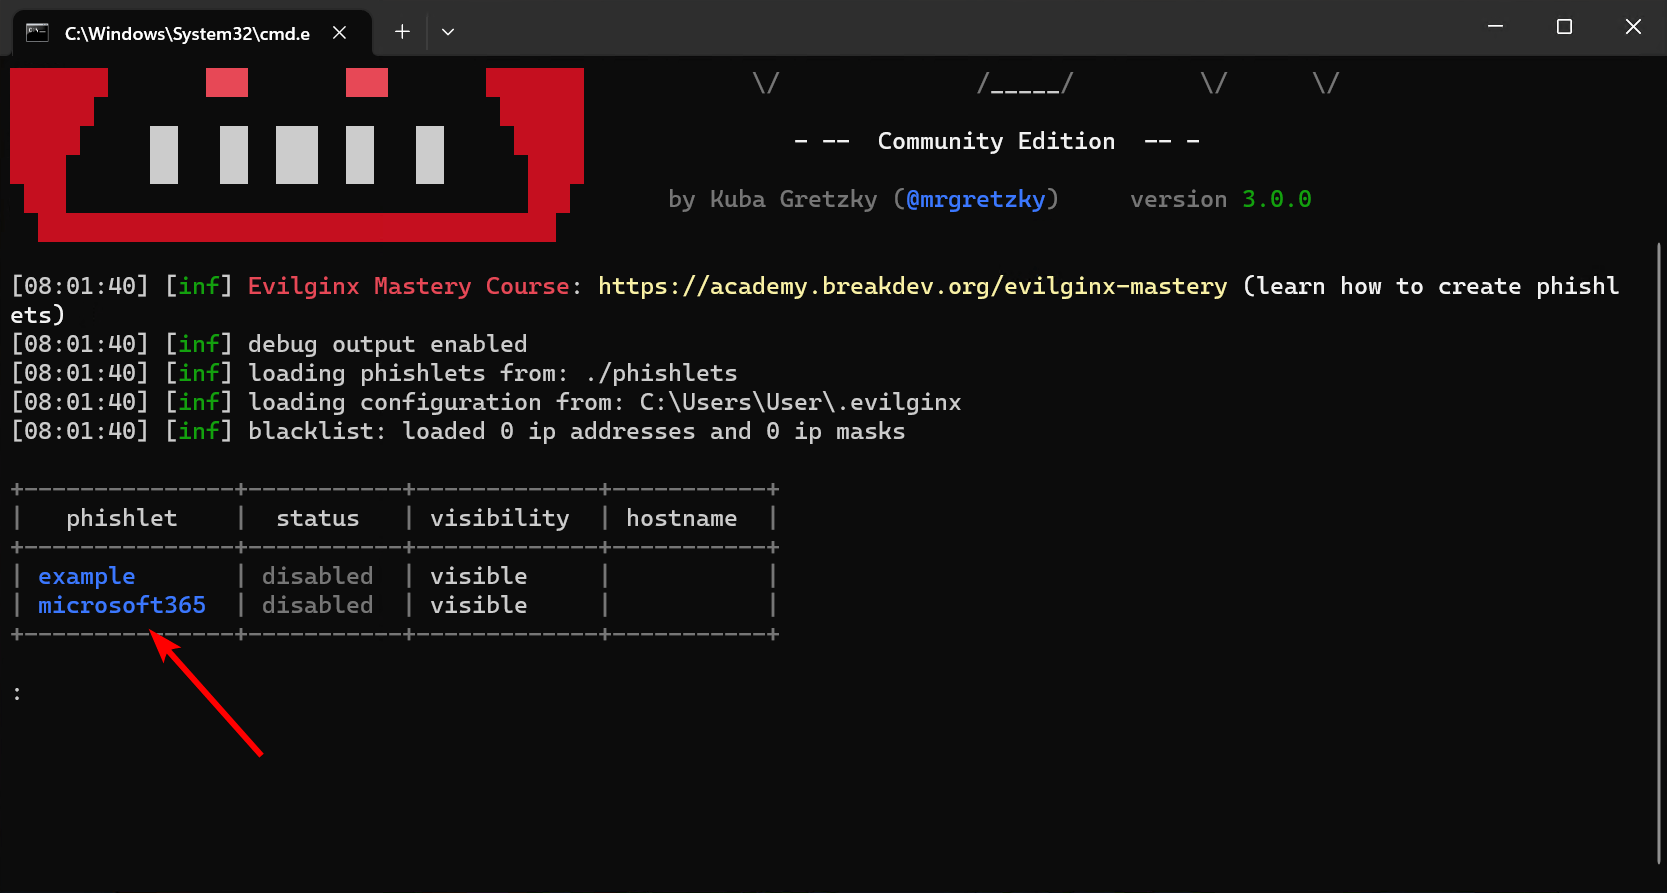
Configure the phishlet and lure#
To use the new phishlet, we need to attach the domain name to the phishlet by running:
phishlets hostname microsoft365 yourfakedomain.com
phishlets enable microsoft365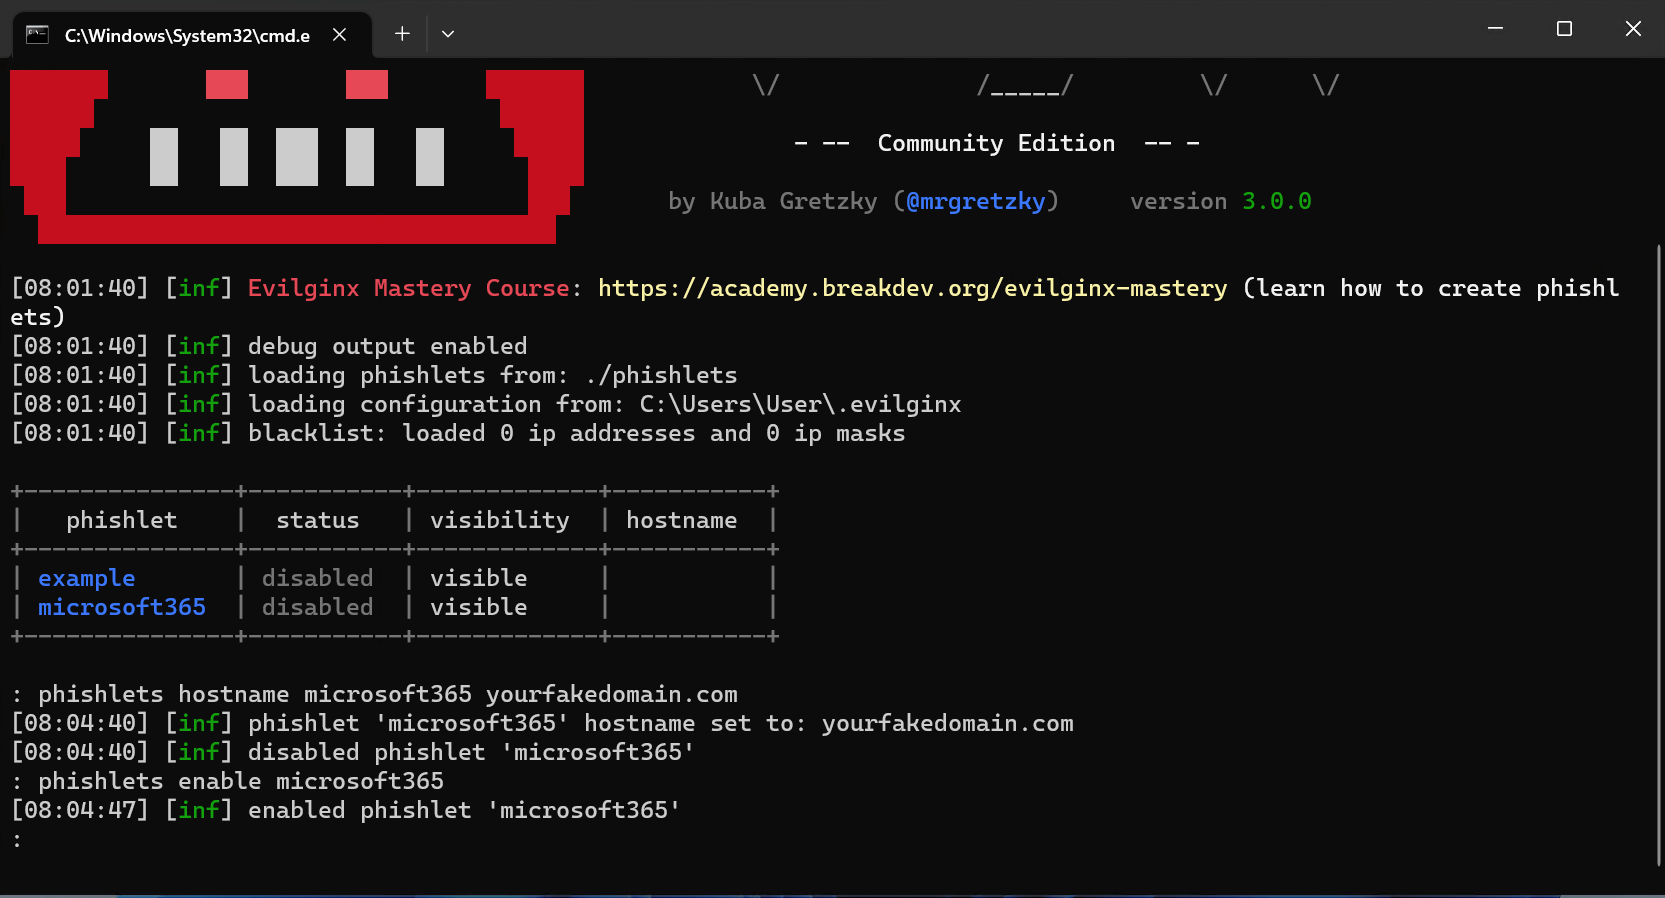
Next, we need to edit the local DNS file to route all traffic to your local web server address (127.0.0.1)
The easiest way to do this is by running this command from Evilginx:
phishlets get-hosts microsoft365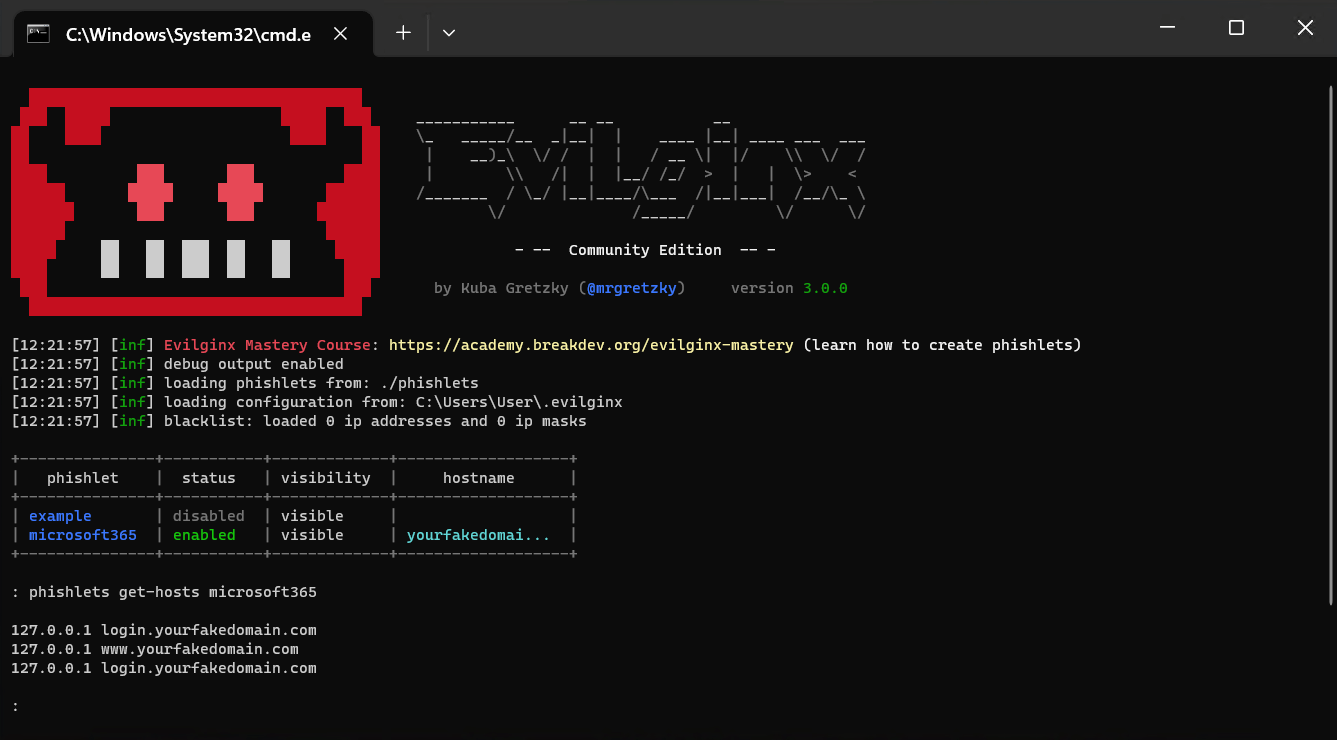
Copy the payload to your clipboard. Now, open Notepad.exe (as administrator). Browse to C:/Windows/System32/drivers/etc and open the hosts file. If you don’t see the hosts file, change the .txt (*.txt) filter to any file (*.*), as the hosts file does not have an extension. Add the payload to the hosts file, and save it. Traffic to yourfakedomain.com is now routed to 127.0.0.1, your local Evilginx server instance. You can ignore the double entry for login.yourfakedomain.com.
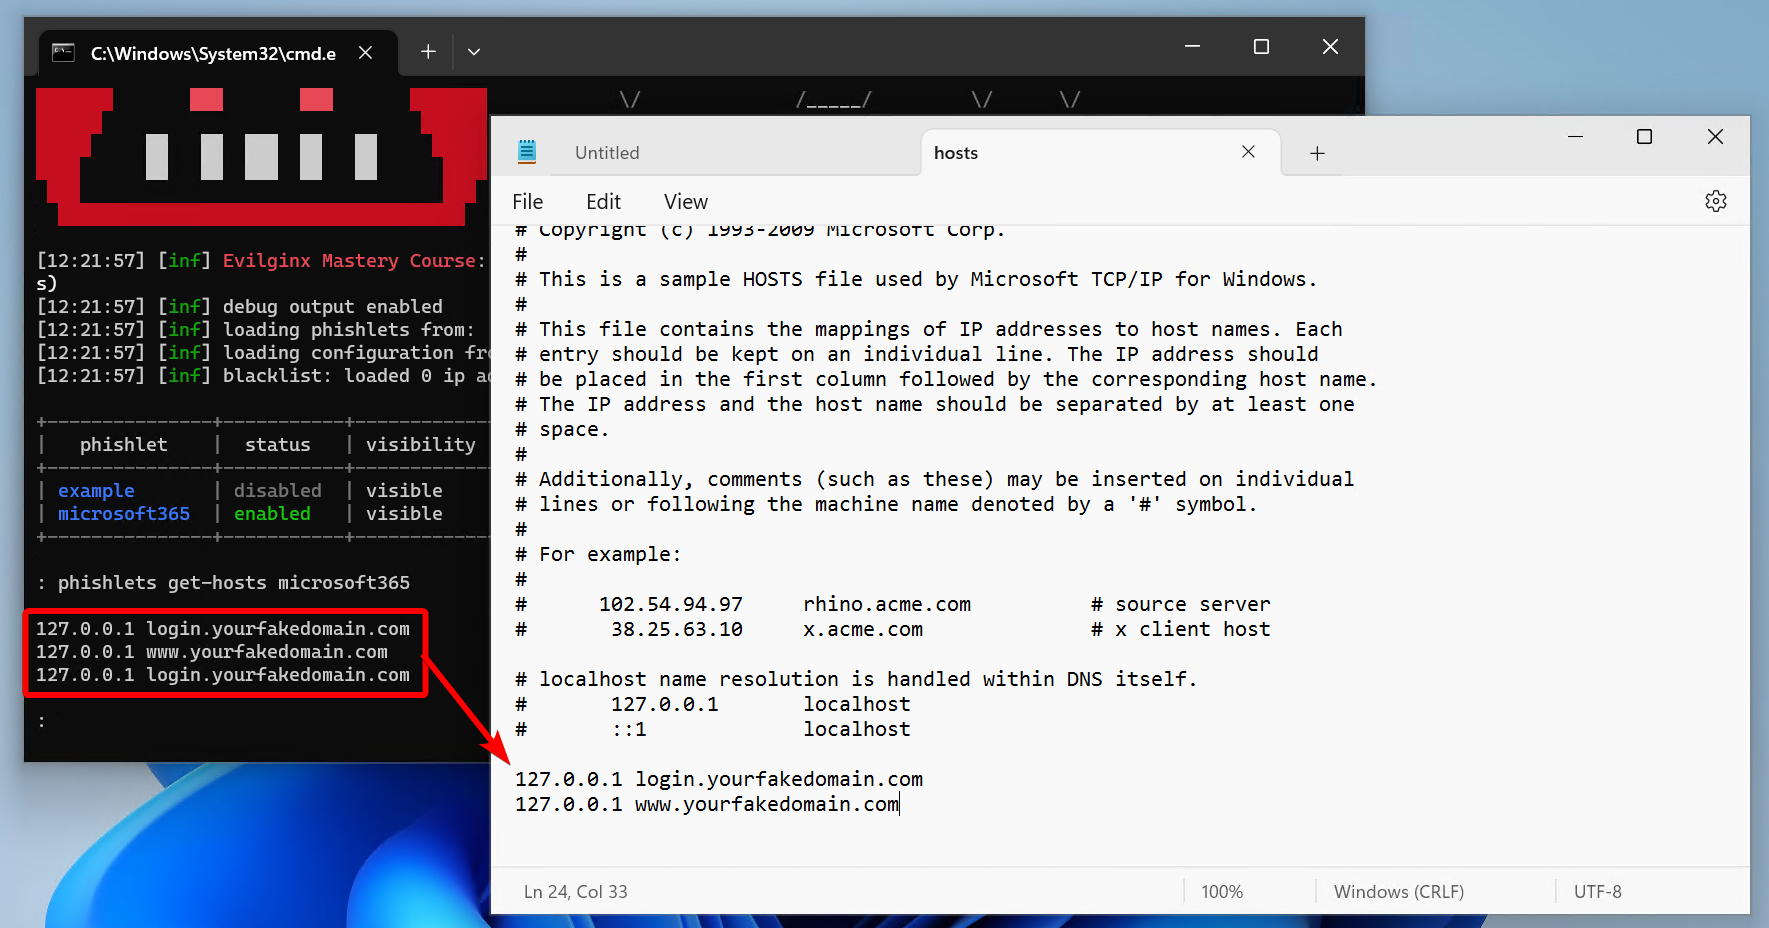
The last step is creating the lure, our phishing URL.
lures create microsoft365
lures get-url 0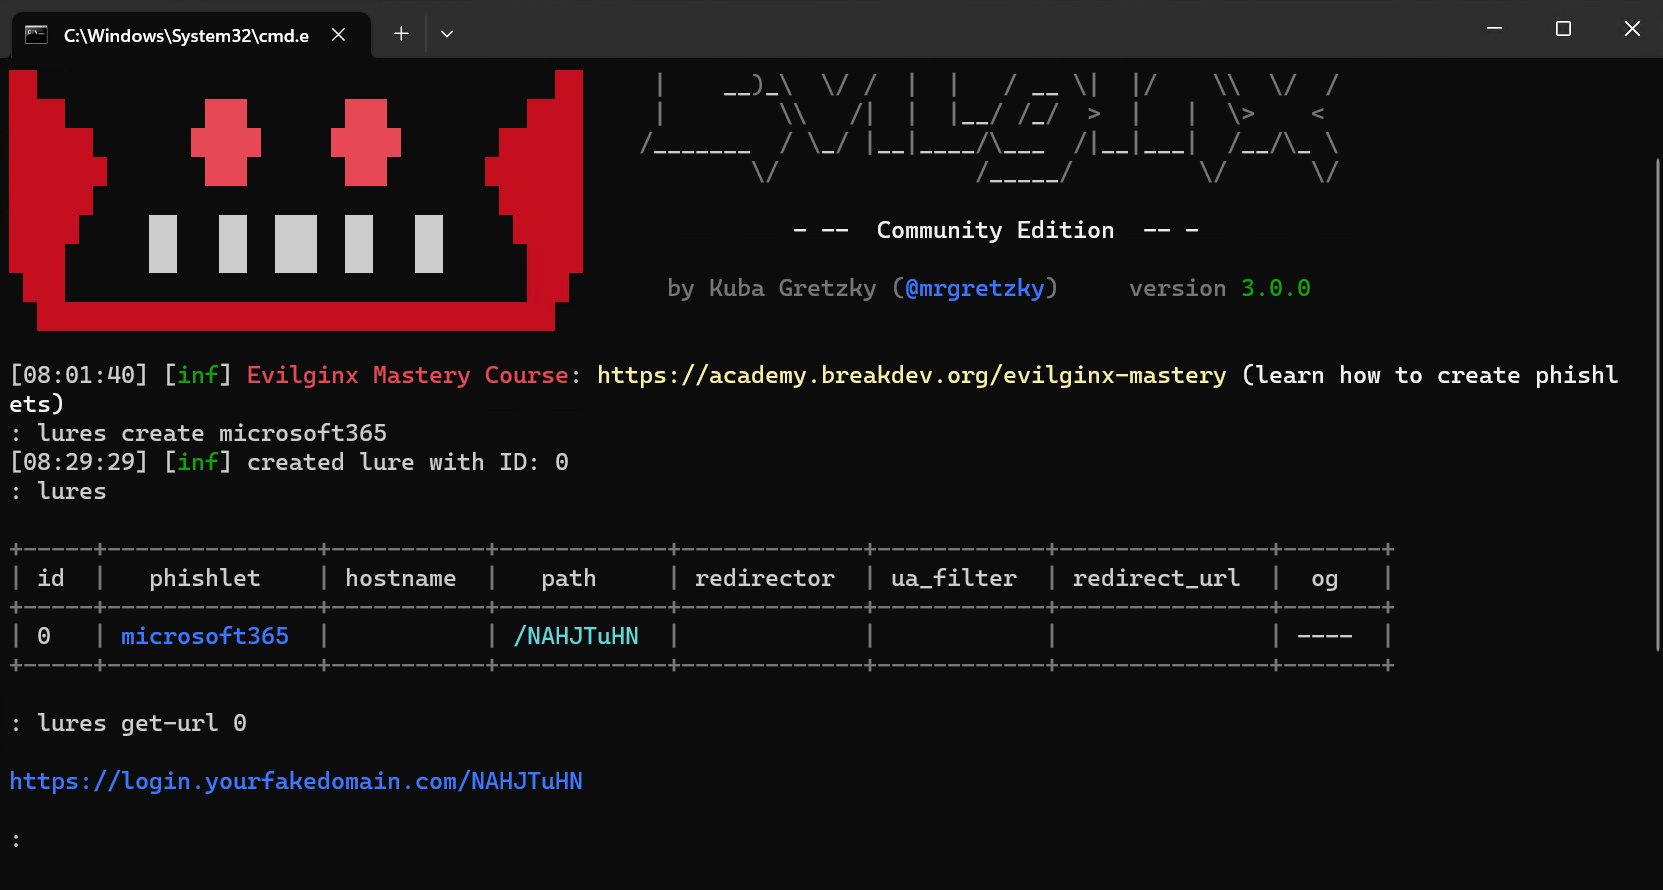
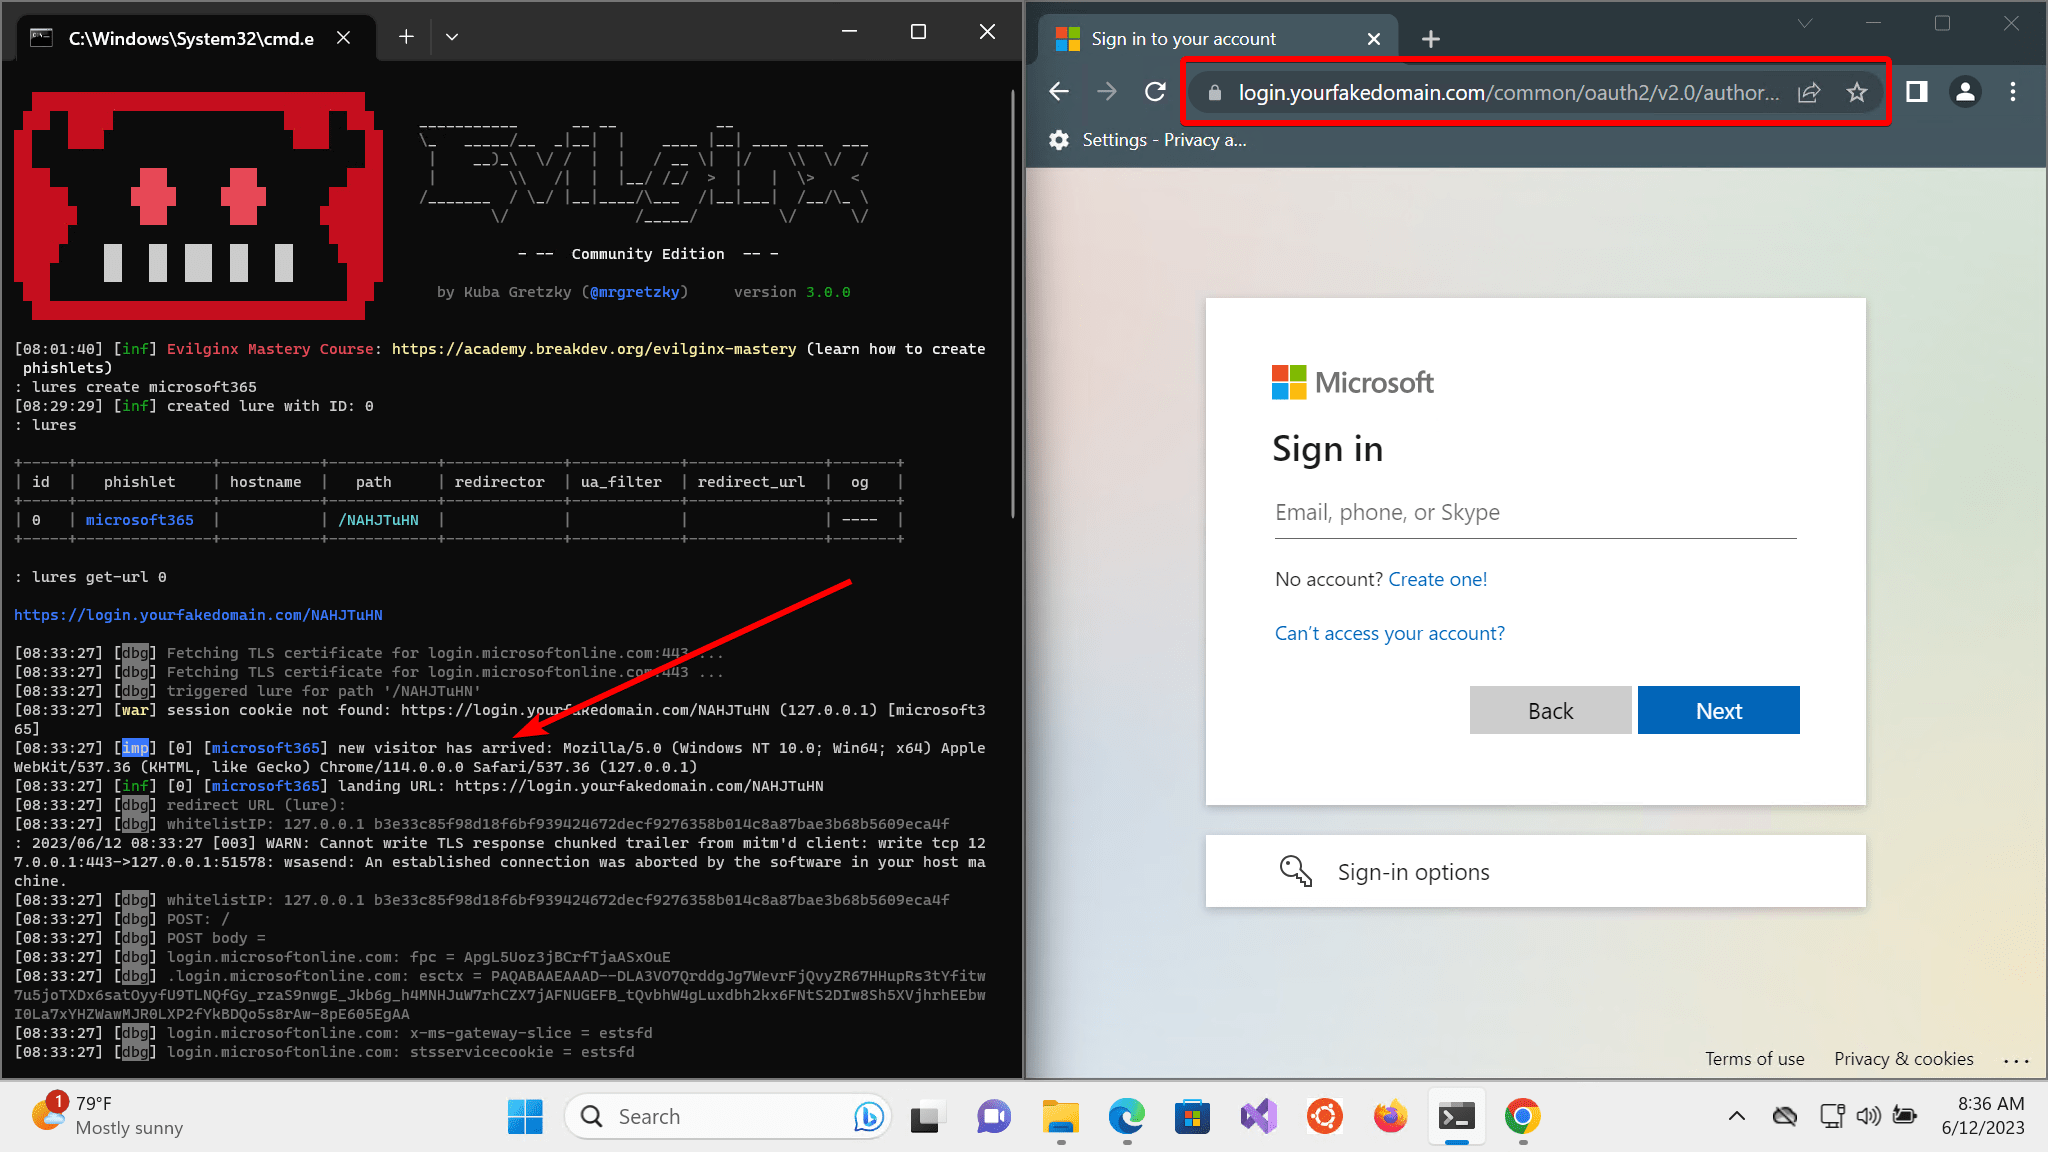
Now, let’s put this to the test. In a browser, past the lure URL, and if all goes well, the phishlet will load, and you are ready to develop your own phishlet!
If you like to proxy your traffic through BurpSuite or Fiddler, please reach out to the docs: Proxy | Evilginx
Take your phishing skills to the next level 🎣#
With Evilginx running locally, it is now time to take the next step: build your own phishlet, and push your configuration to a remote server for public access. Maybe your phishlets require some nifty javascript injection, or you want to learn how to use Evilginx with mass and personalized lures, forcing POST parameters, or use custom landing pages?
All these topics, amongst others, are covered in the Evilginx Mastery Course. This course is developed with red-teamers in mind, and it gives an excellent overview of all the capabilities Evilginx has onboard.
By buying the course, you will also support the further development of Evilginx. Also, you will get lifetime access to the course content! You can find the course here.
Use this 50% discountcode at the checkout: BLACKWEEK
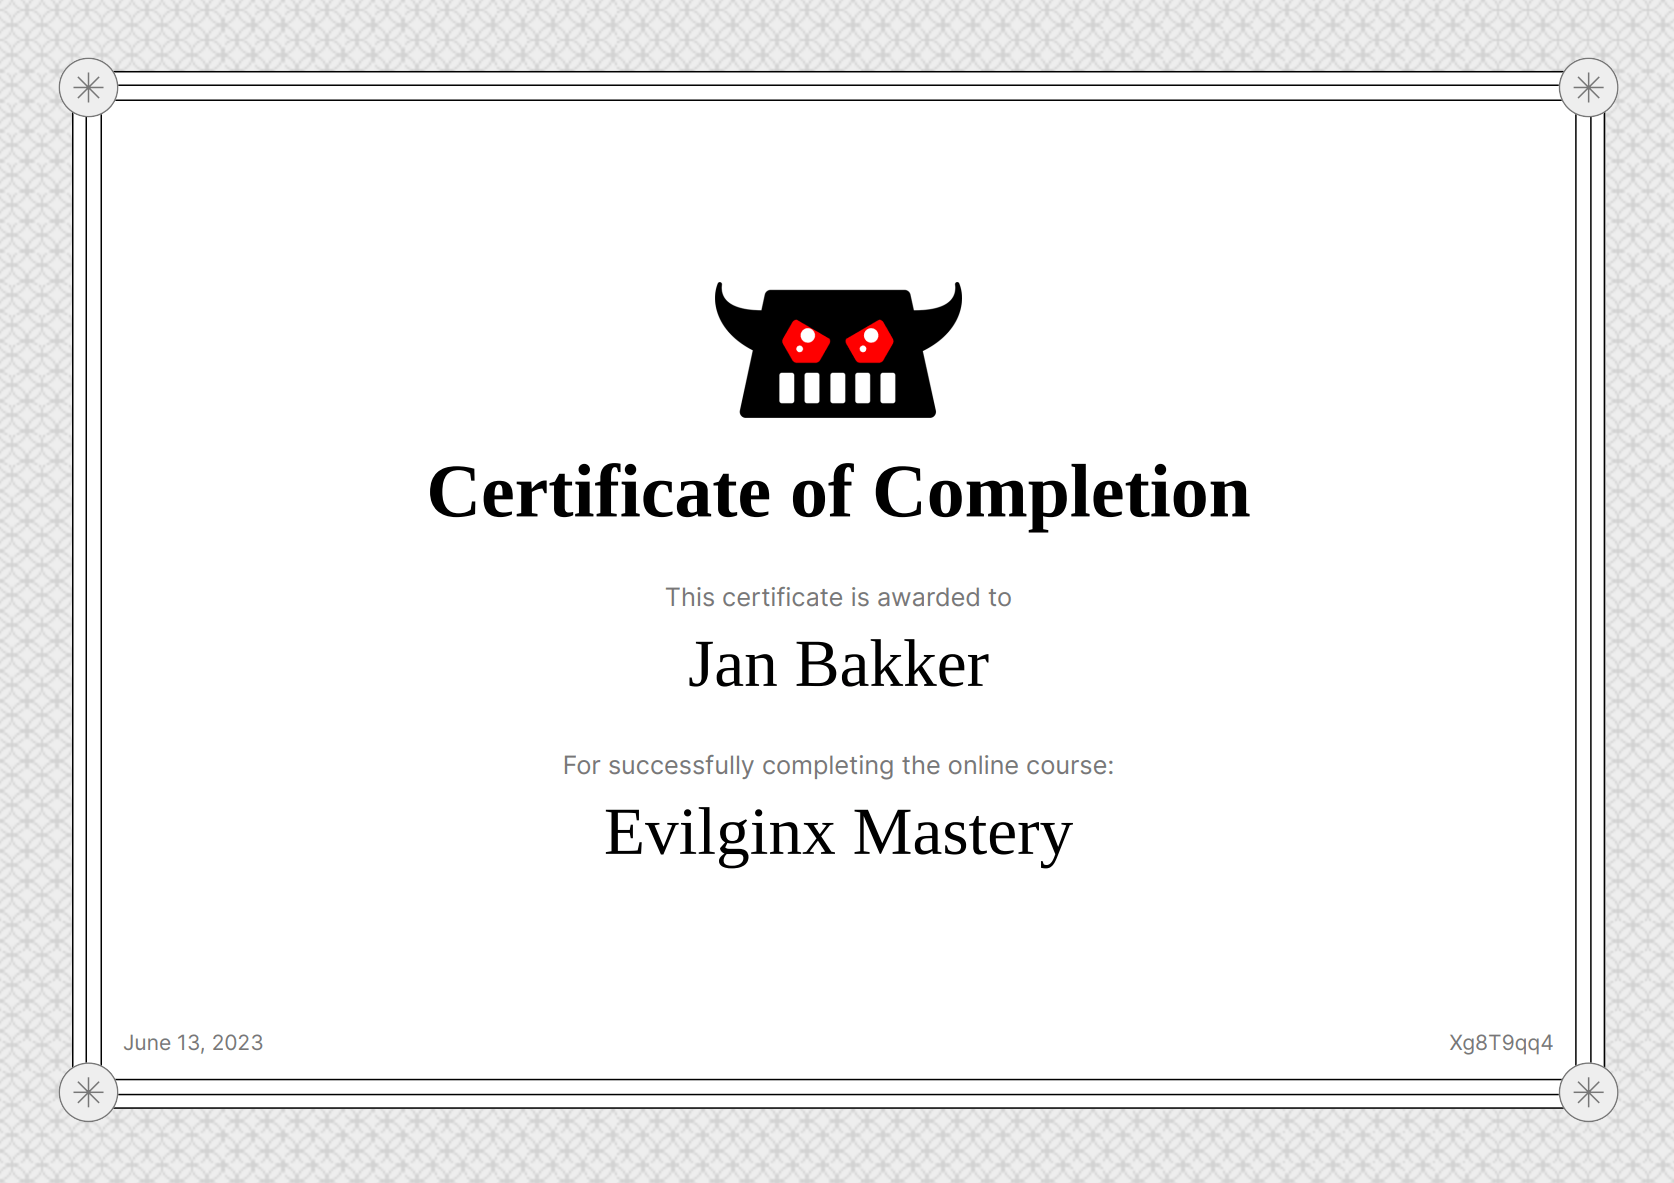
I joined the online course myself, and I learned so much. I was amazed by how much stuff was being covered in the training. And look at the pretty certificate! That will stand out on my resume for sure 😊
If you have a smaller budget, please check out the Simpler Hacking Evilginx Pro Masterclass.
Comments
Comments load when you scroll here.