
Entra · Power Platform · Security
(Bonus) How to build a PowerApp - Temporary Access Pass Manager - Part 6
(Bonus) Part 6: Integrate with Power Automate#
This article is part of a series.
Part 1 part 2 Part 3 Part 4 Part 5 Part 6 (BONUS)
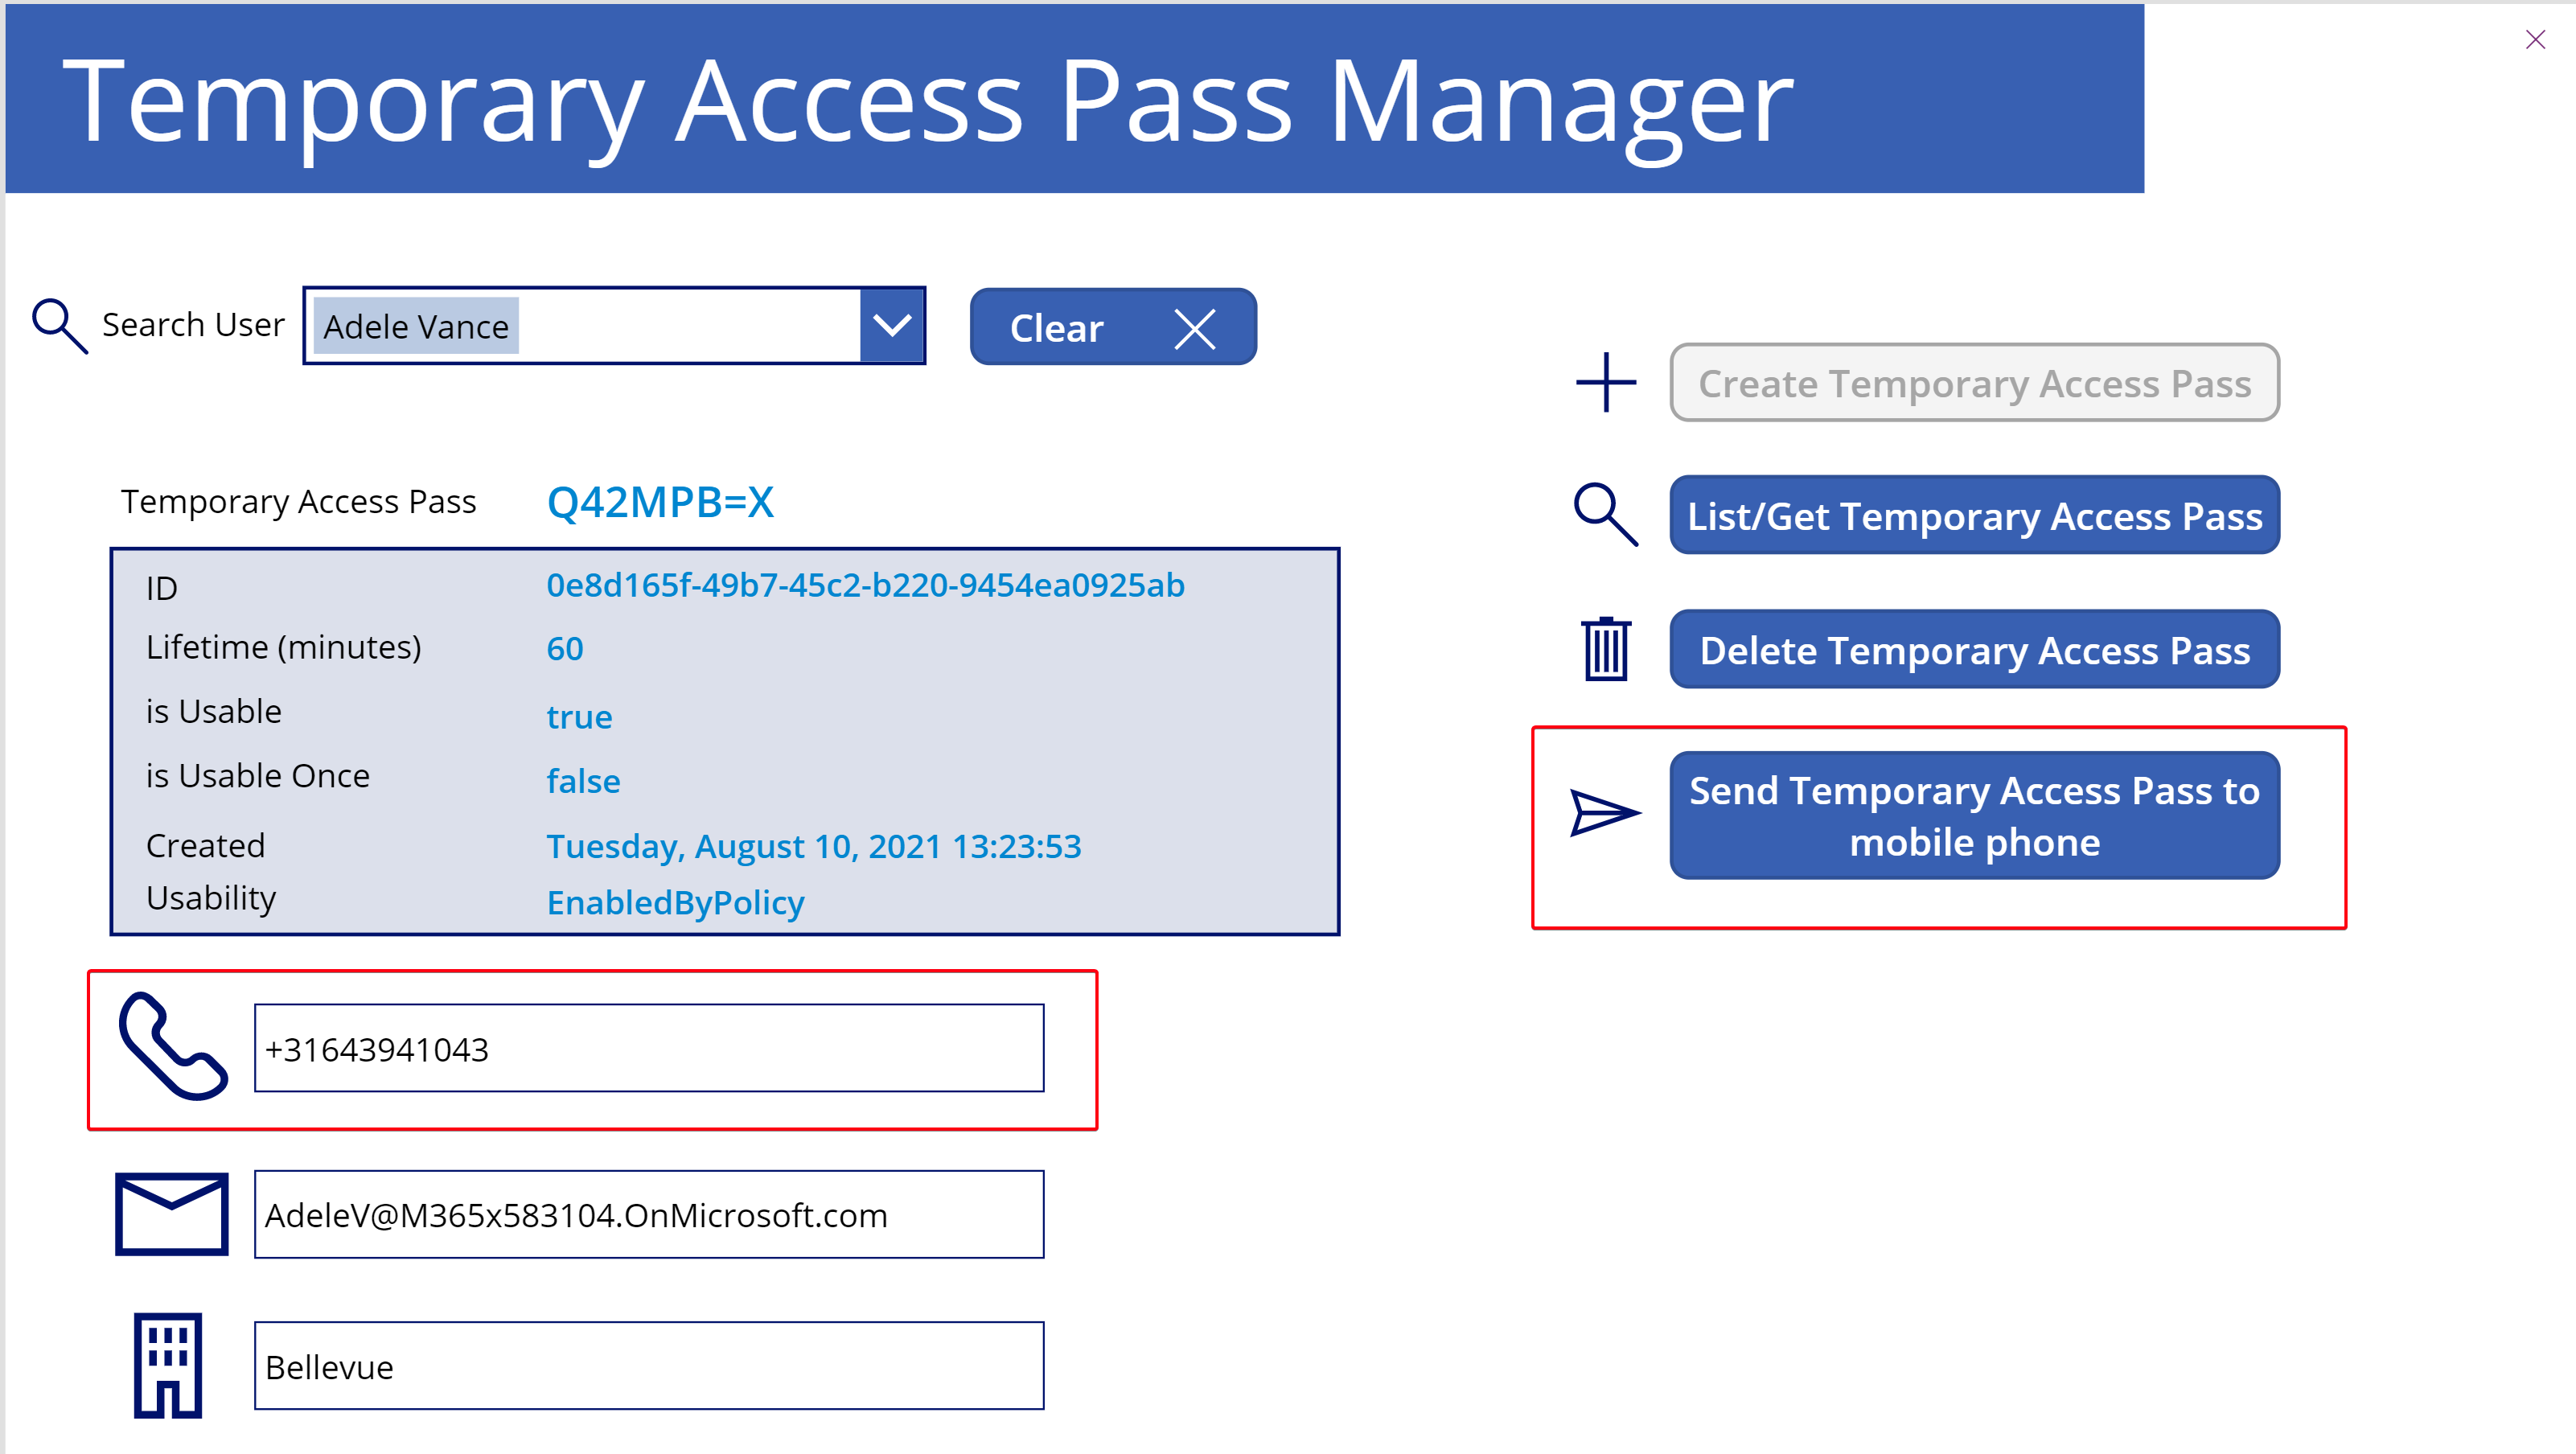
This is the last part of this series where we are going to add one more feature to our PowerApp. The app is already capable of creating, listing, and deleting a Temporary Access Pass for a user. In this episode, we create a button that will send the Temporary Access Pass to the mobile phone number of the user. In the previous parts, we used a custom connector straight from the PowerApp, but in this example, I will show you how to integrate with Power Automate flows.
What do we need#
- A working PowerApp with custom connector. See how to build this app in part 2-5.
- A (trial)license to your favourite SMS provider. In this example we use Sendgrids Twilio service.
- Power Automate
Sendgrid Twilio#
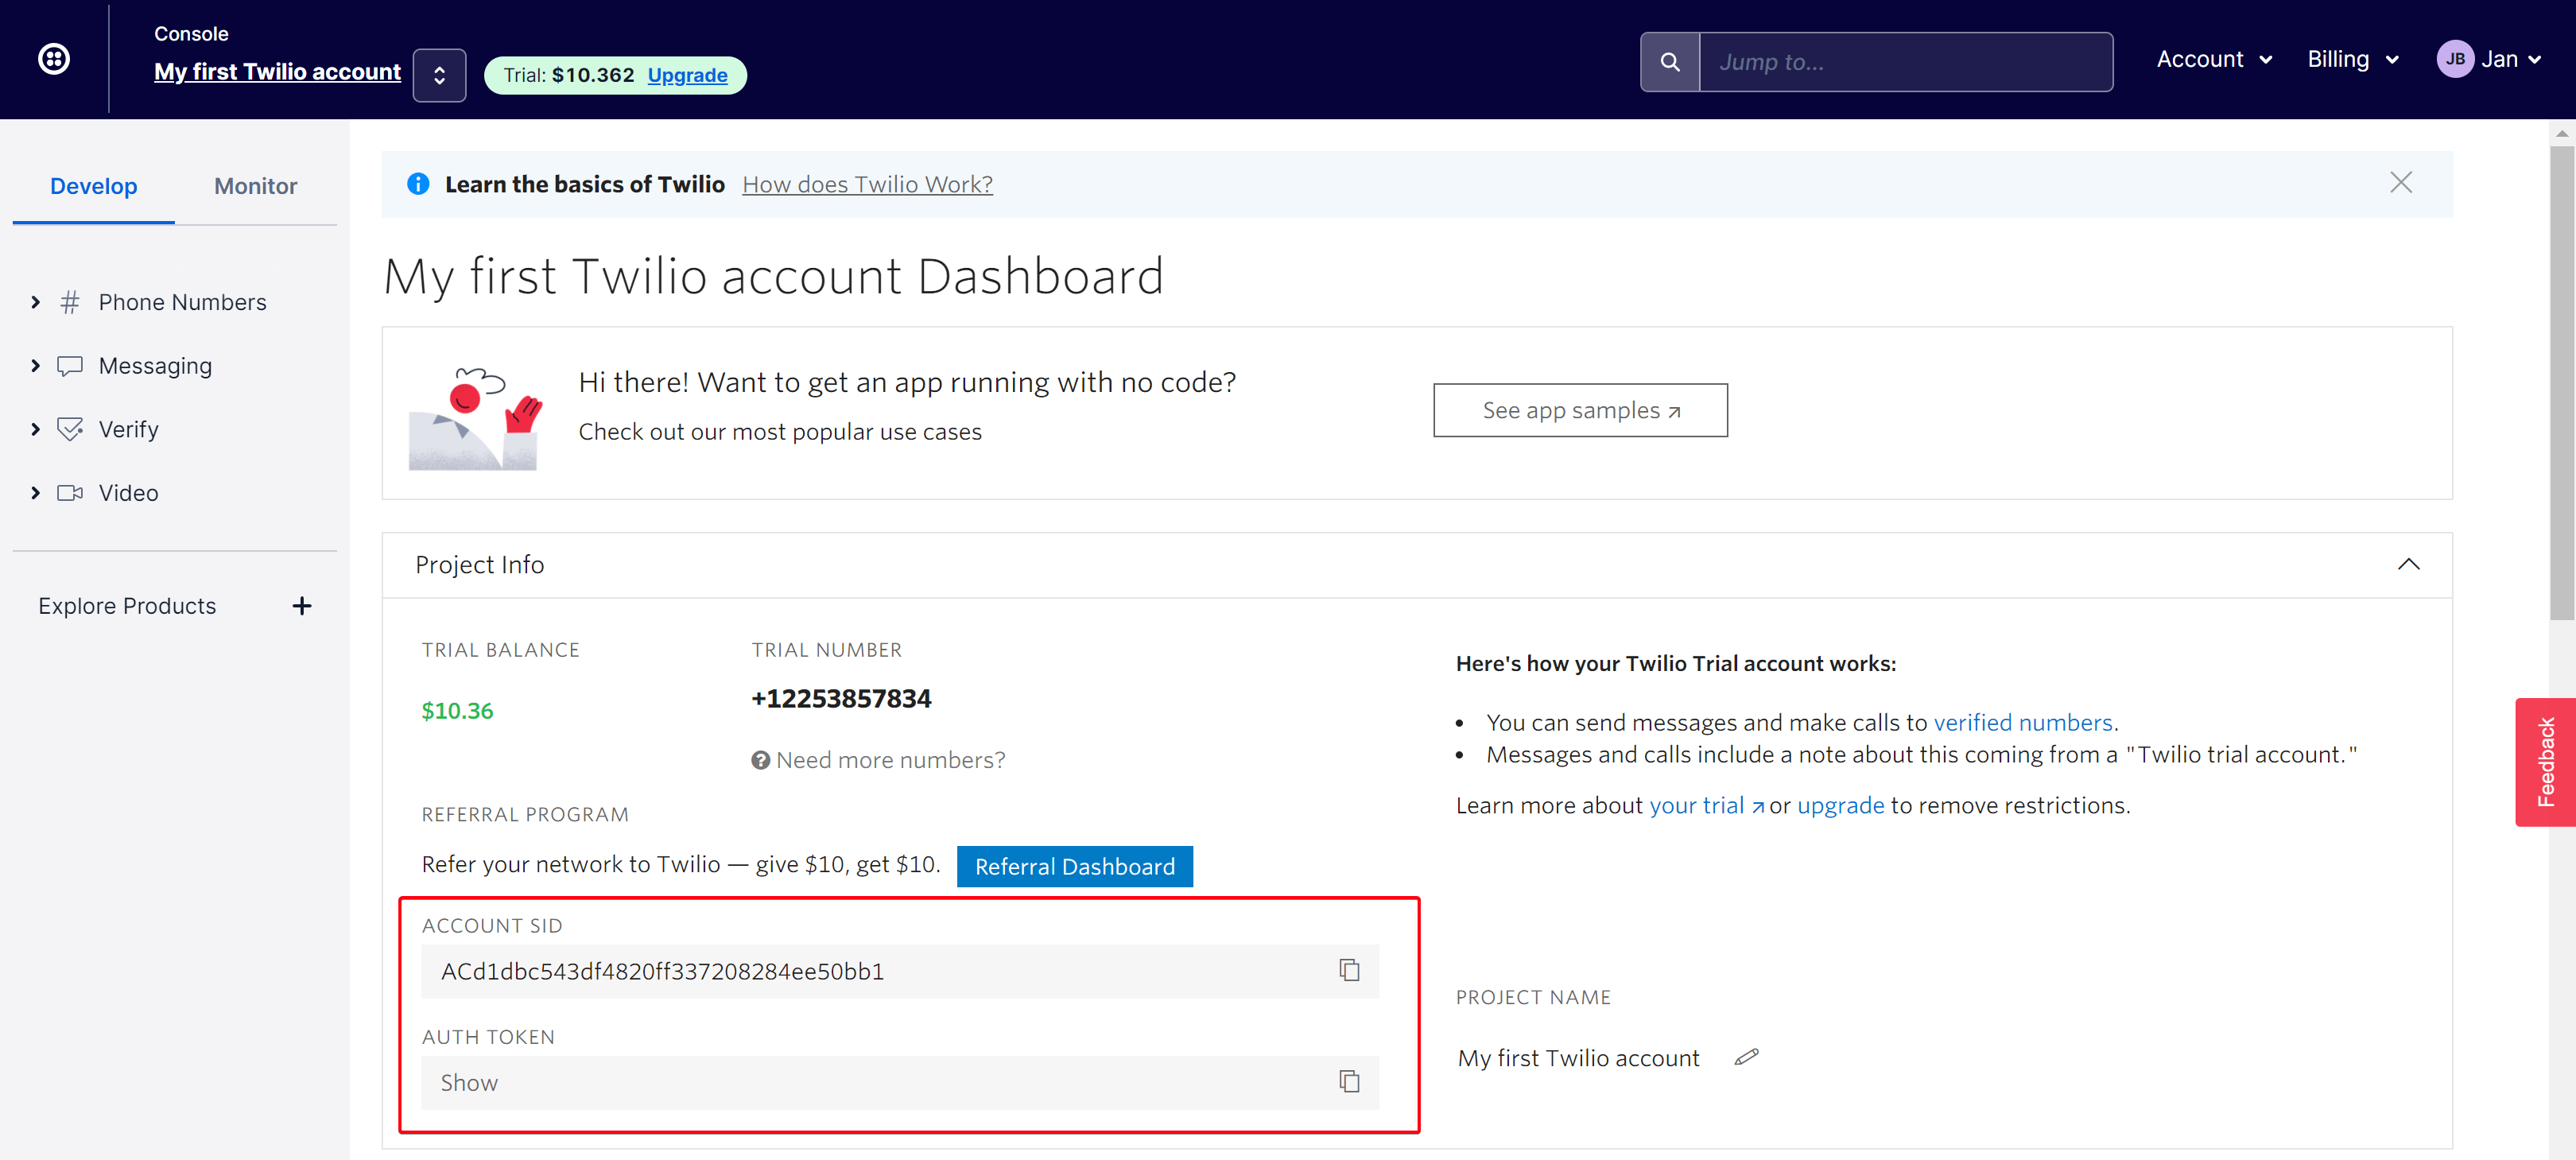
I signed up for a trial on Twilio. This service also offers a Power Automate connector that we can use in our flows. Once you are signed up for Twilio, you can add a free number. Capture the account information. We need this to configure our connector later. You will get a few bucks credits on your account, so that should have you covered during this experiment.
Power Automate flow#
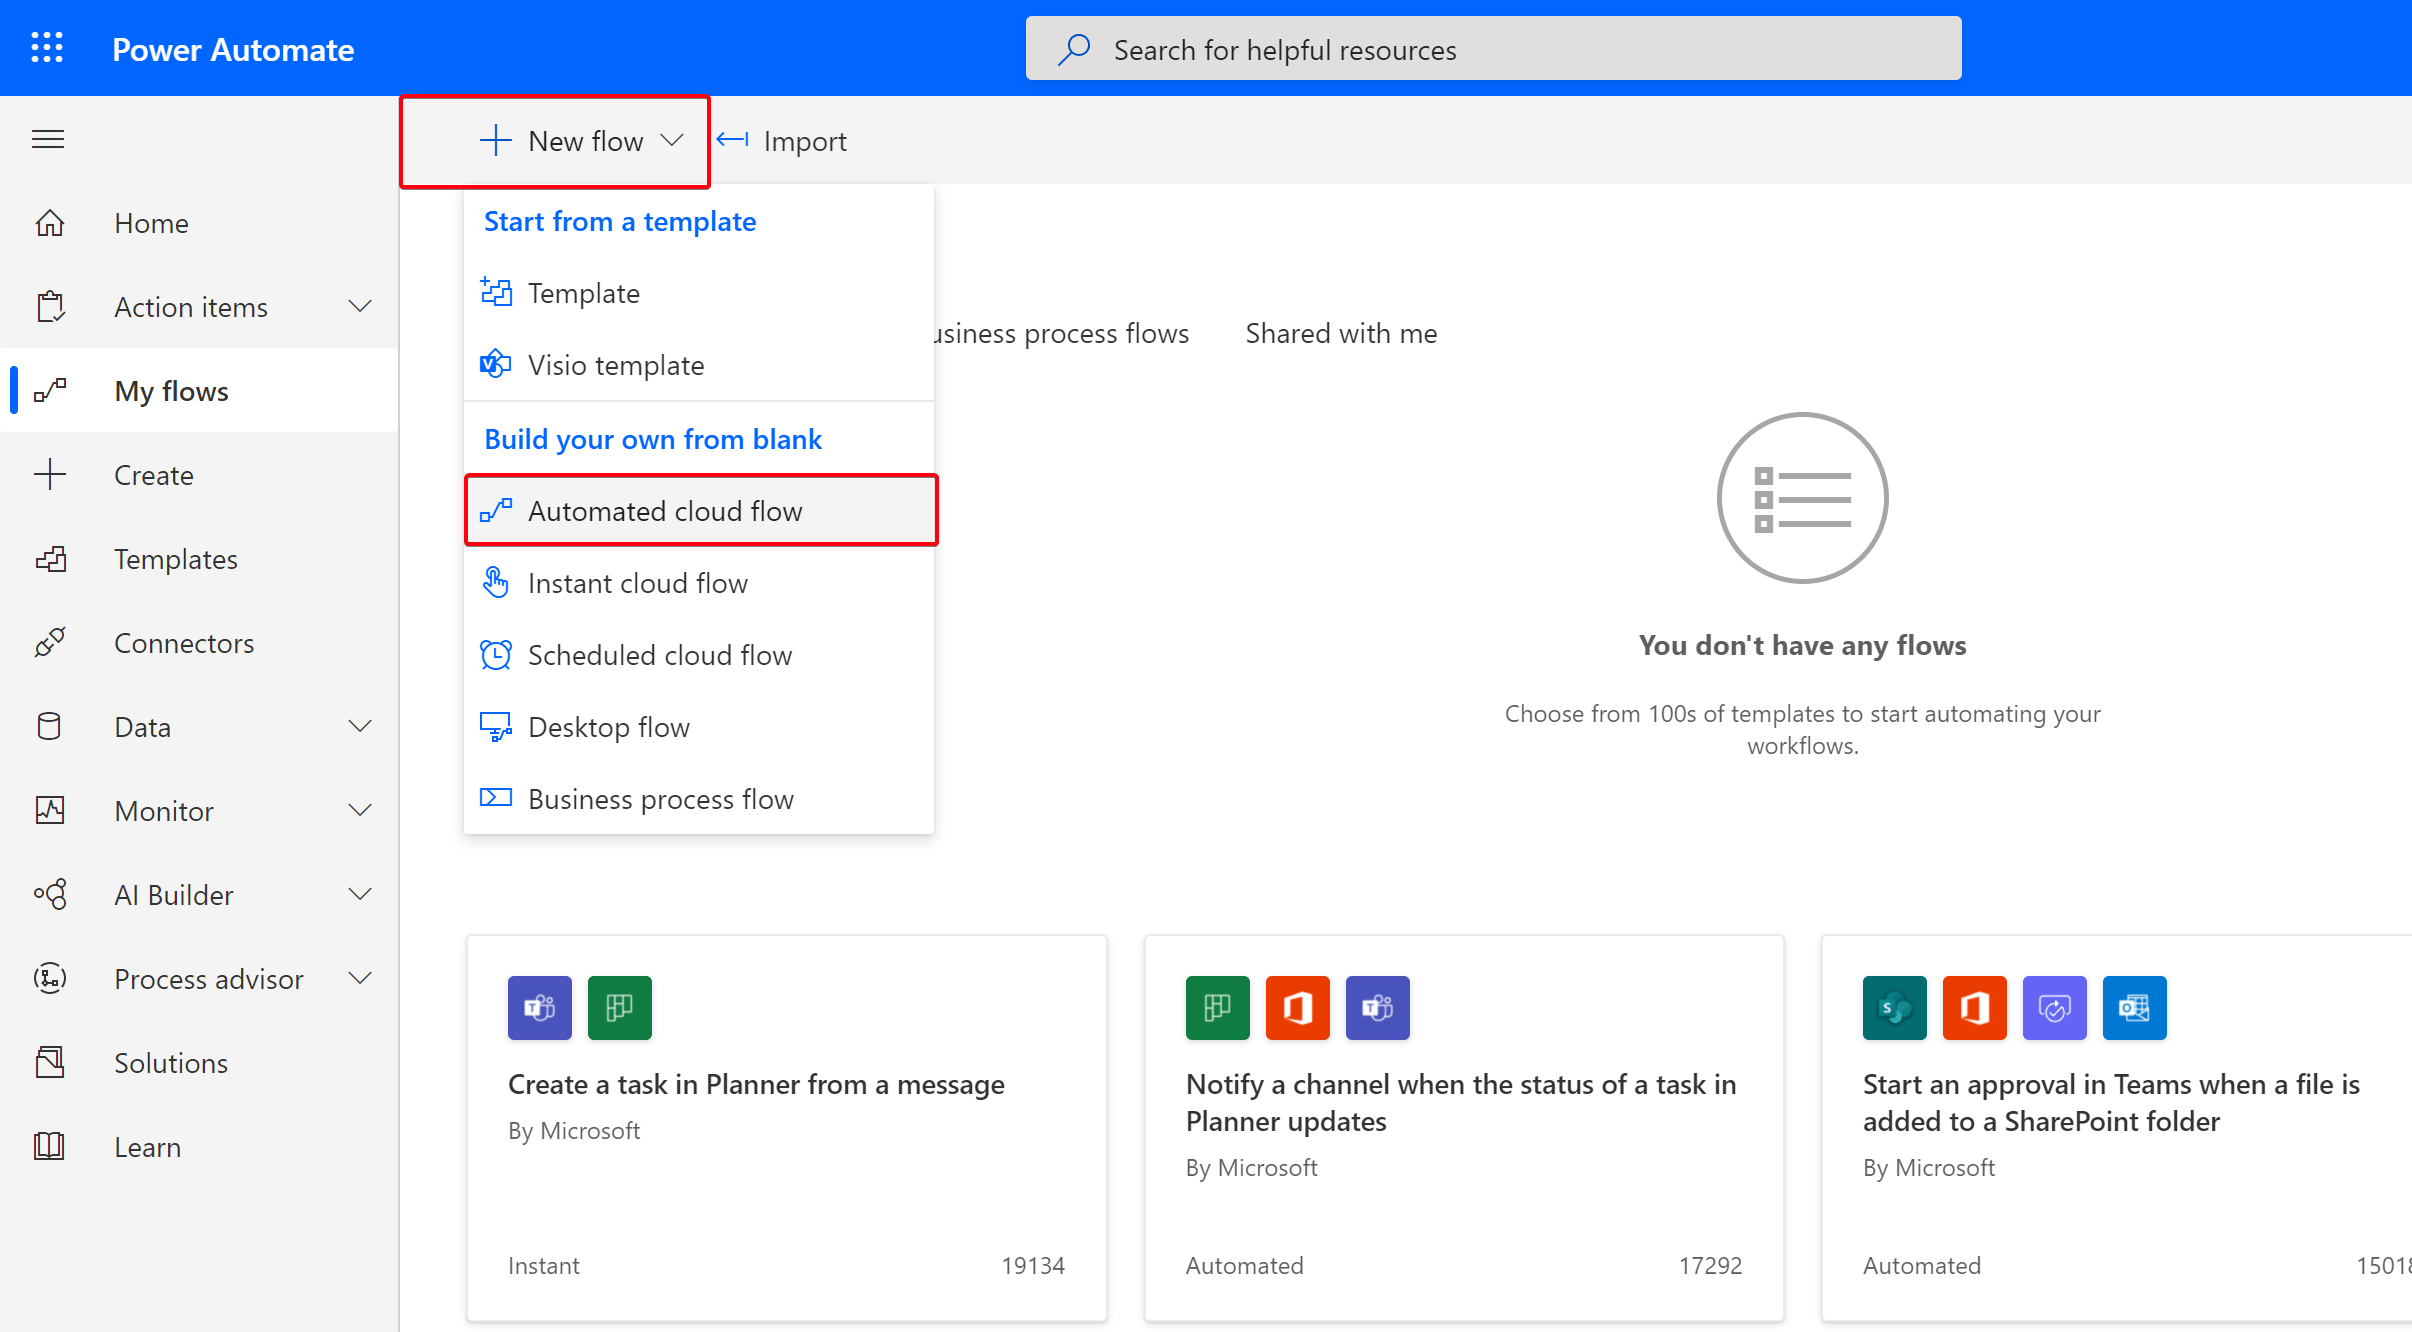
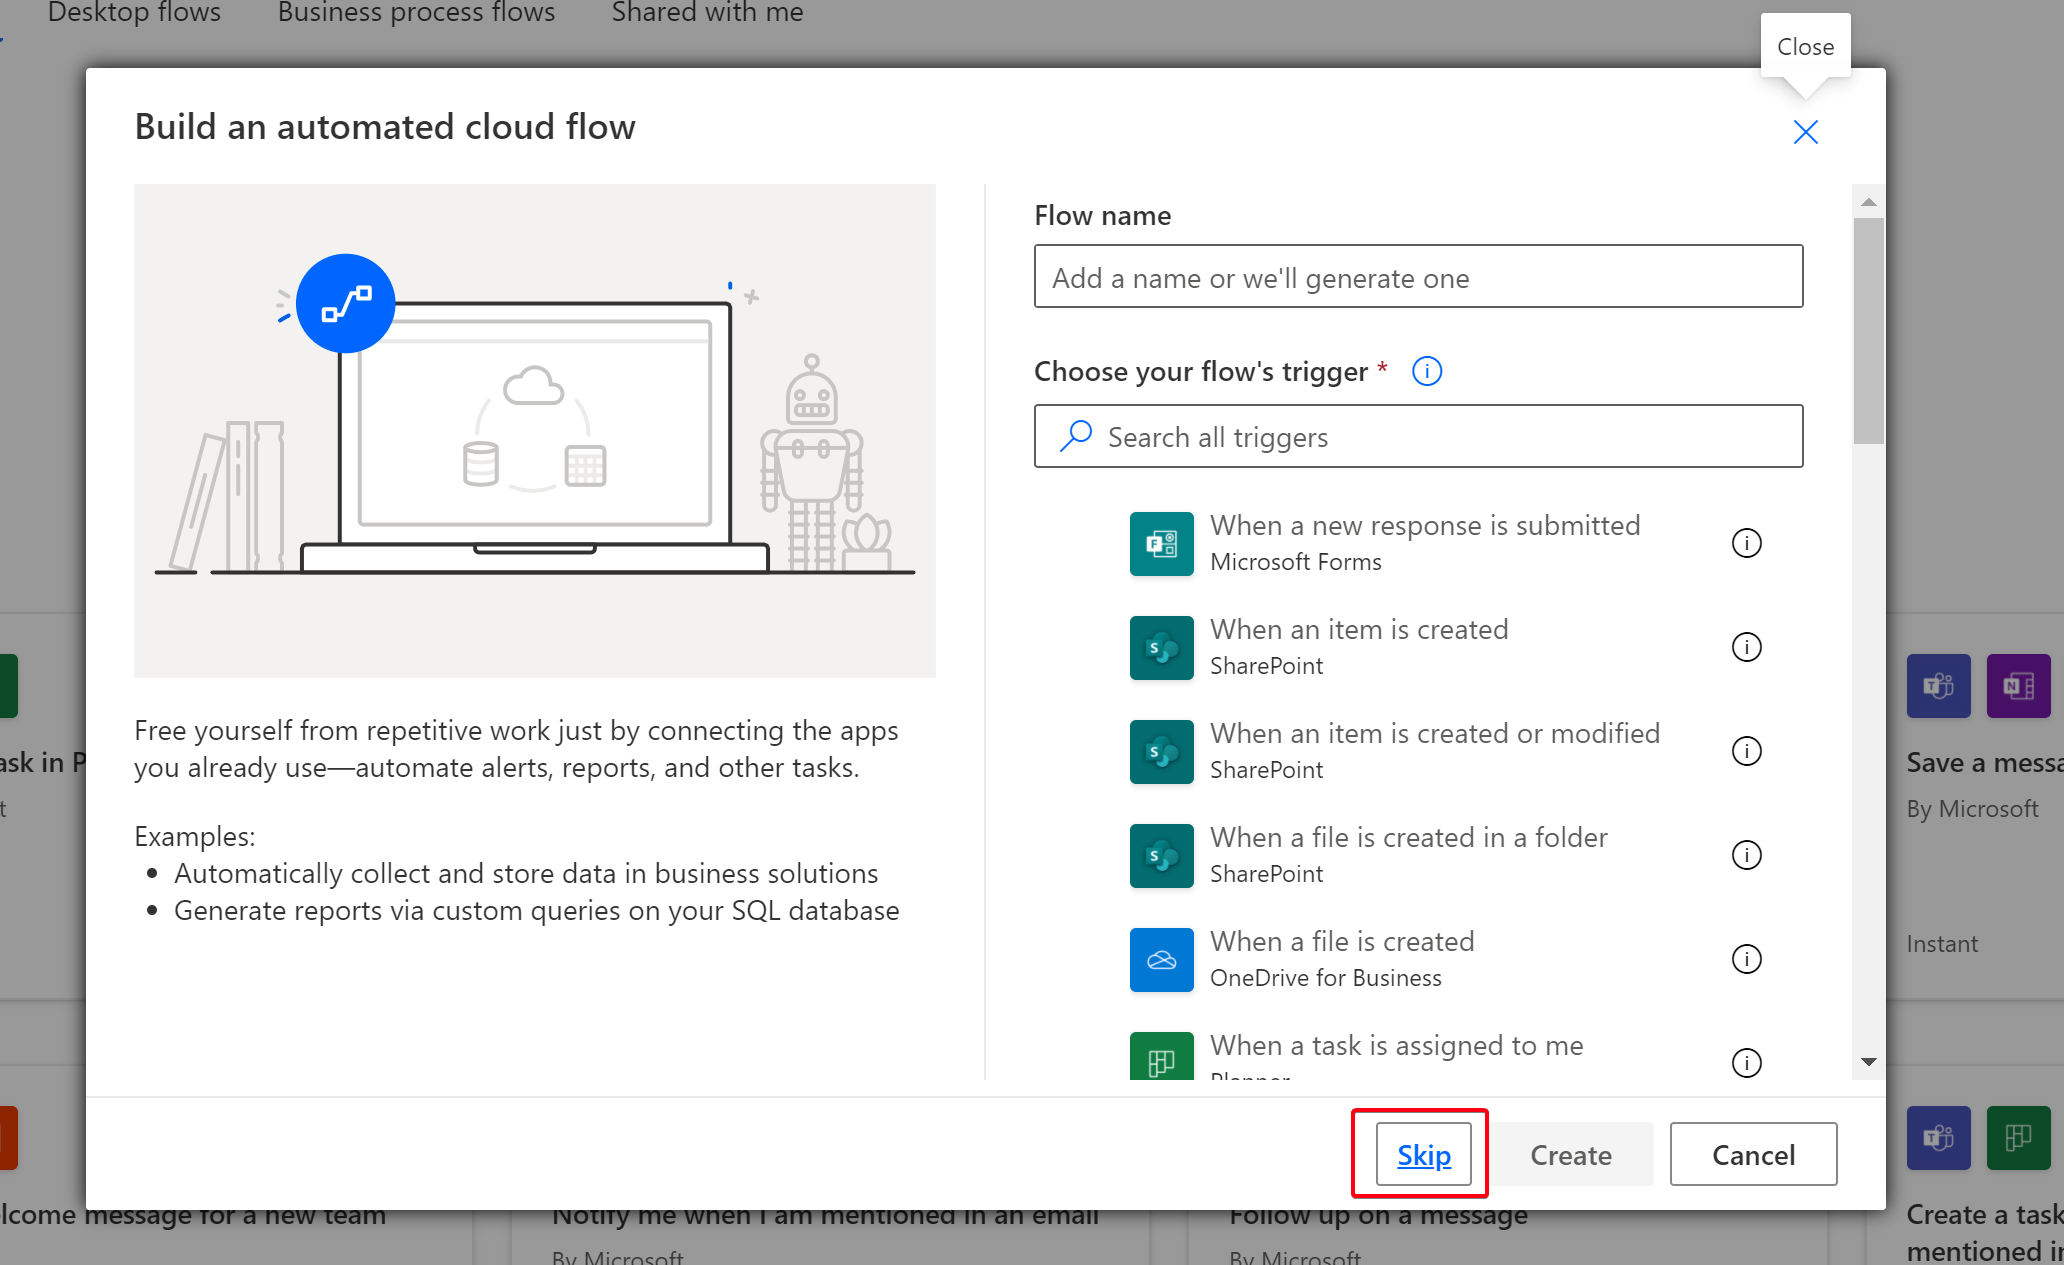
Once you have prepared your Twilio account, we can focus on the flow. Begin with an empty automated flow, and skip the first wizard.
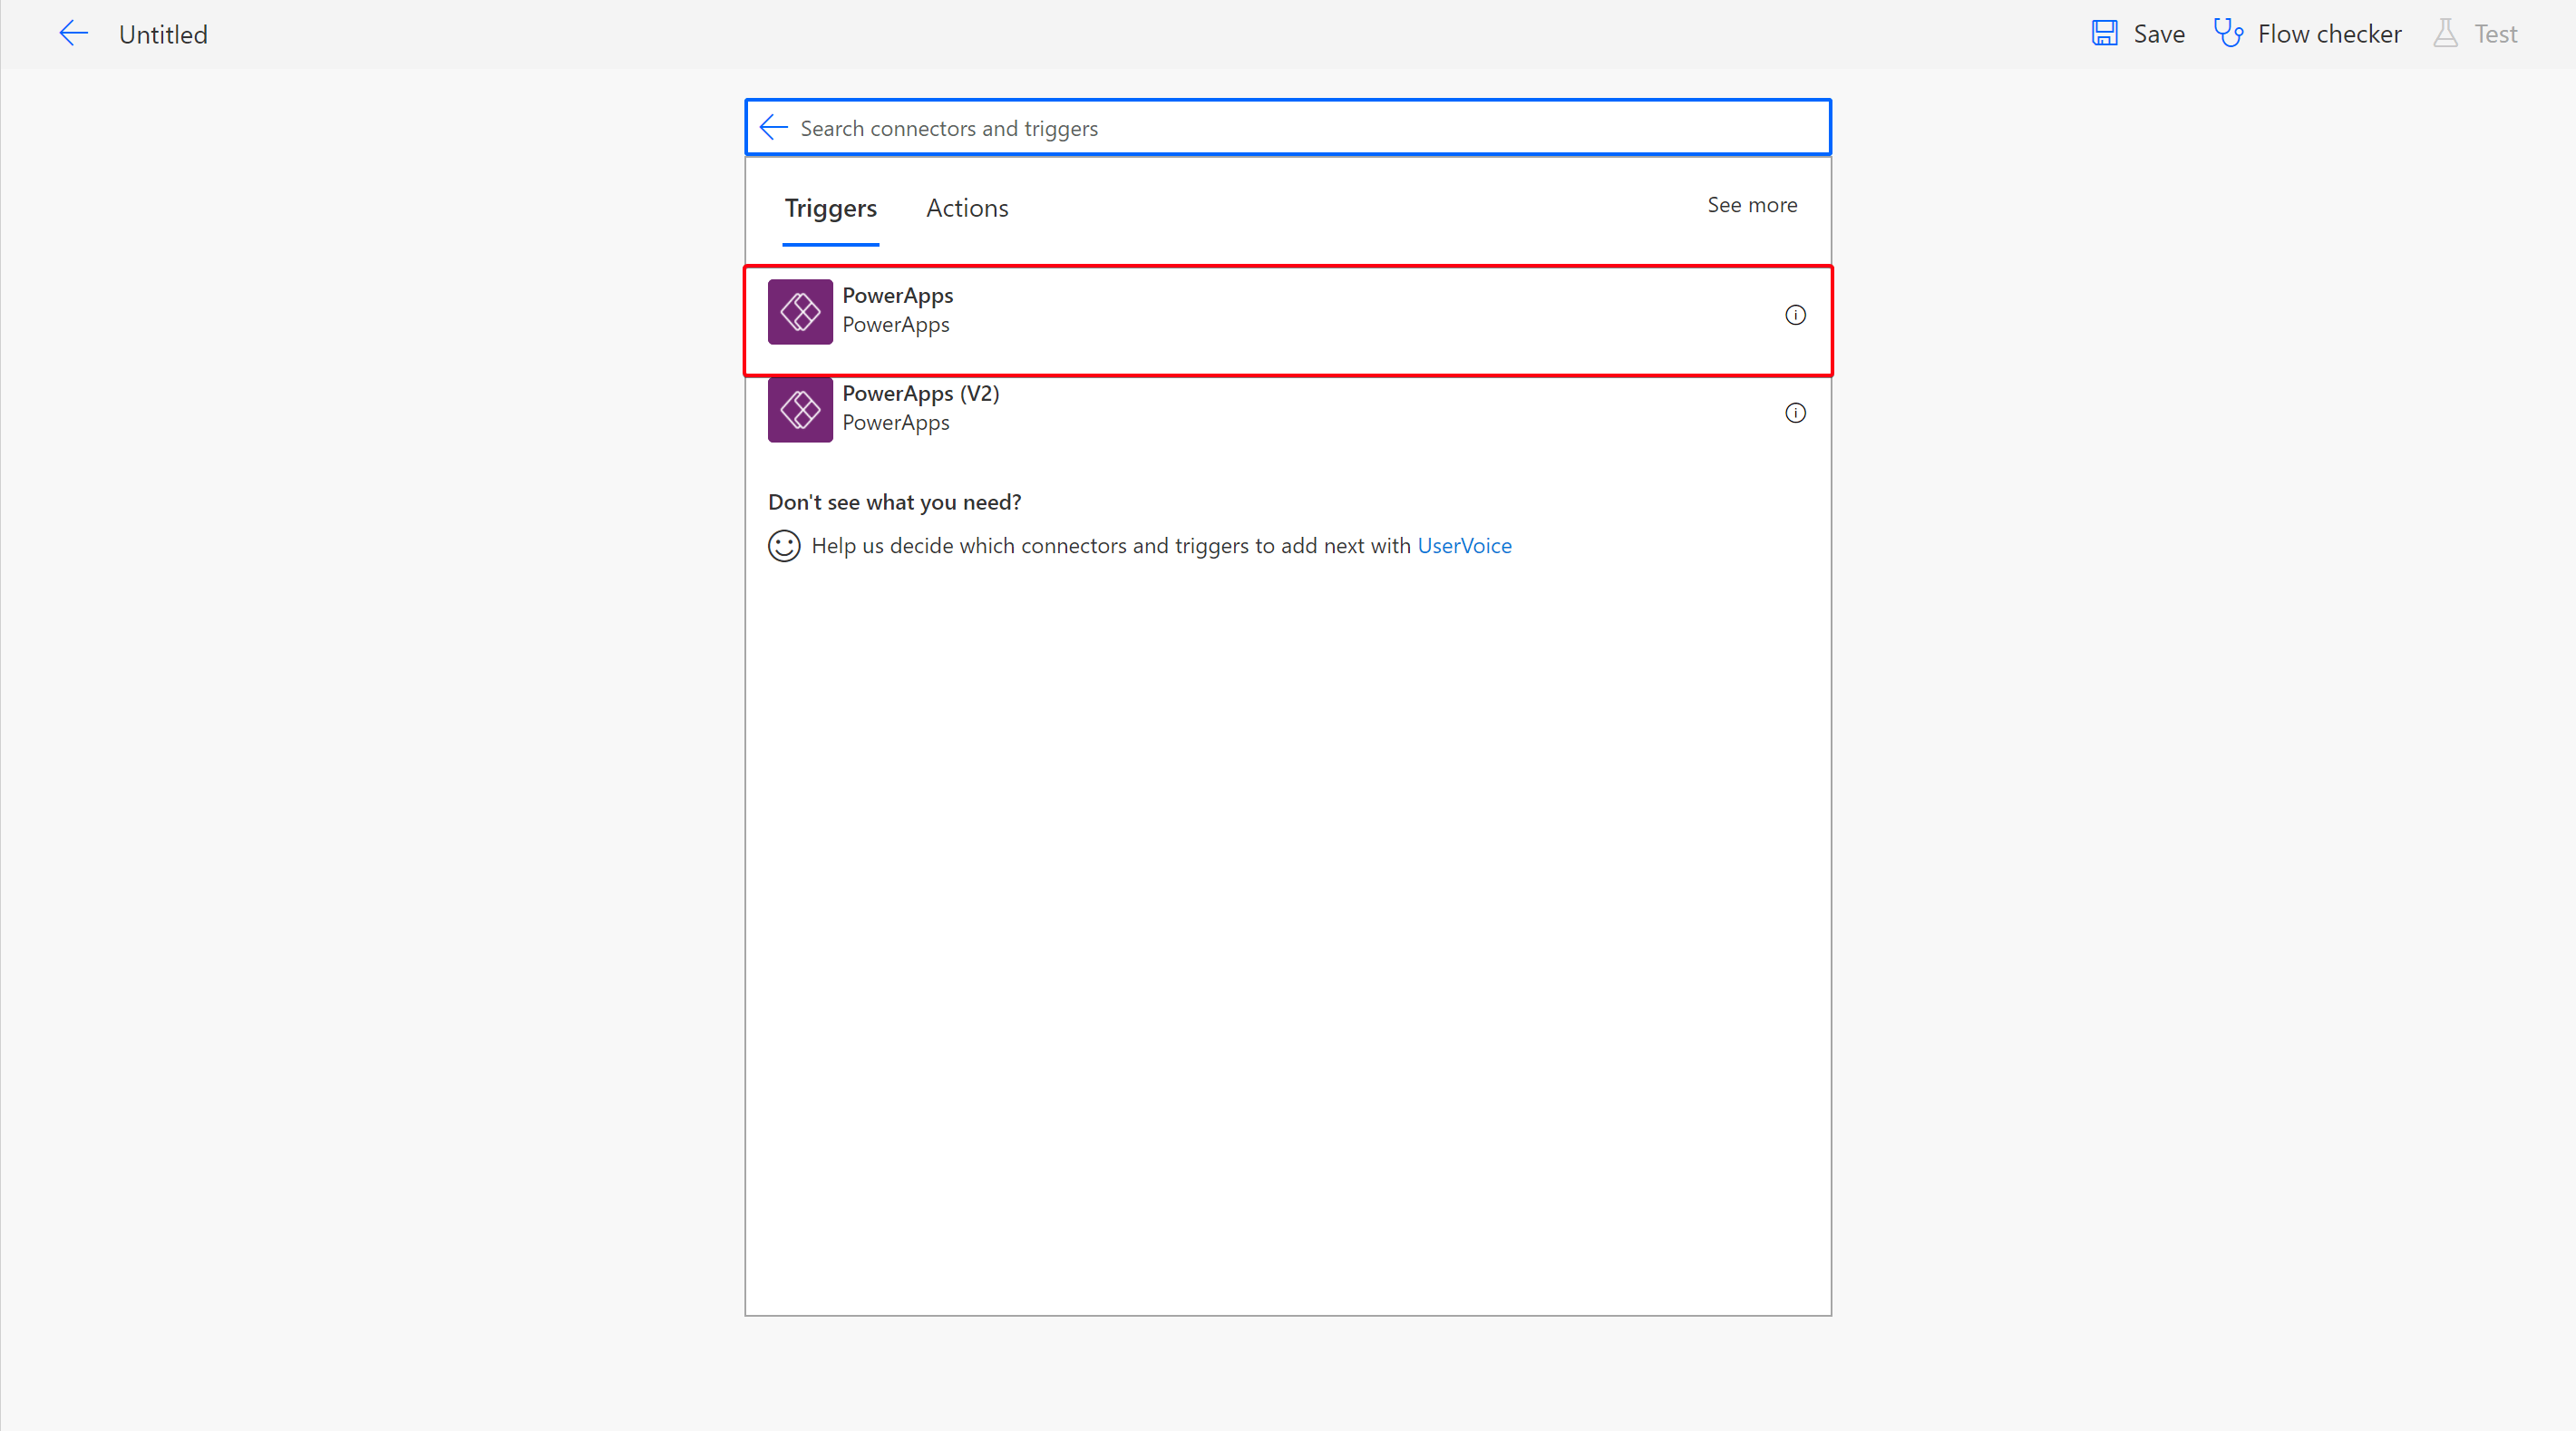
Search for the trigger PowerApps. No further configuration need there.
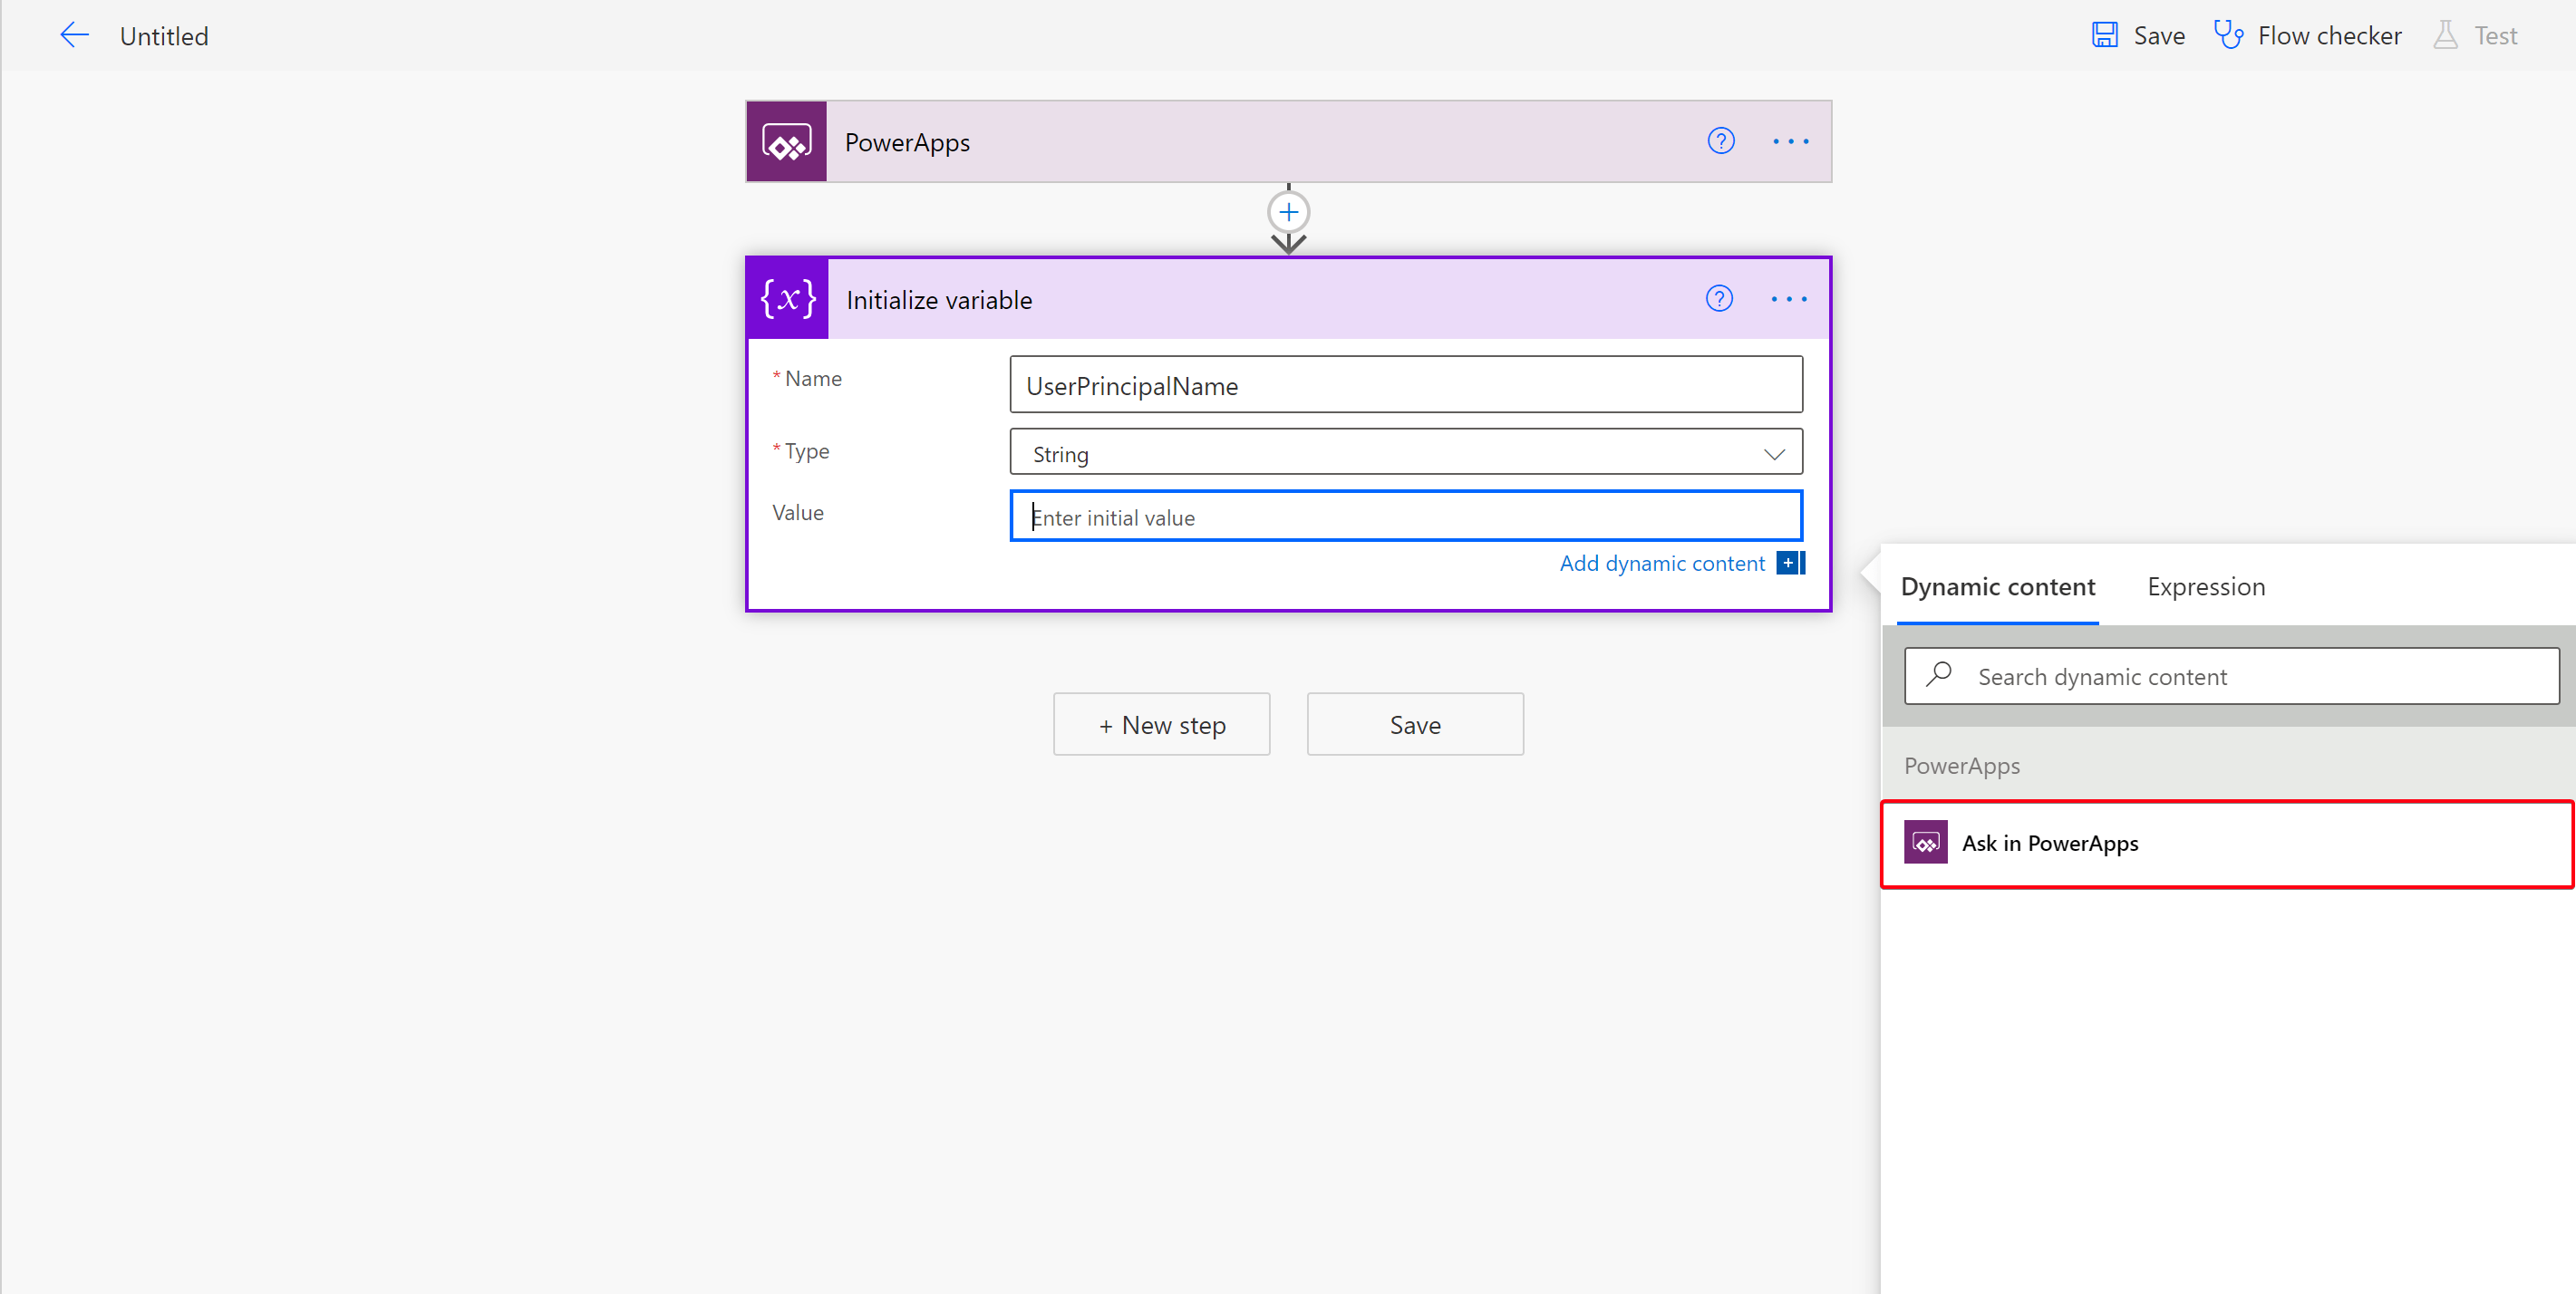
First, we need to create 3 variables holding the UserPrincipalName, Temporary Access Pass value, and the response from Twilio. Add the “Initialize variable” action, and enter ‘UserPrincipalName’ as the name. Choose ‘Ask in PowerApps’ from the dynamic content menu. Change the type to string.
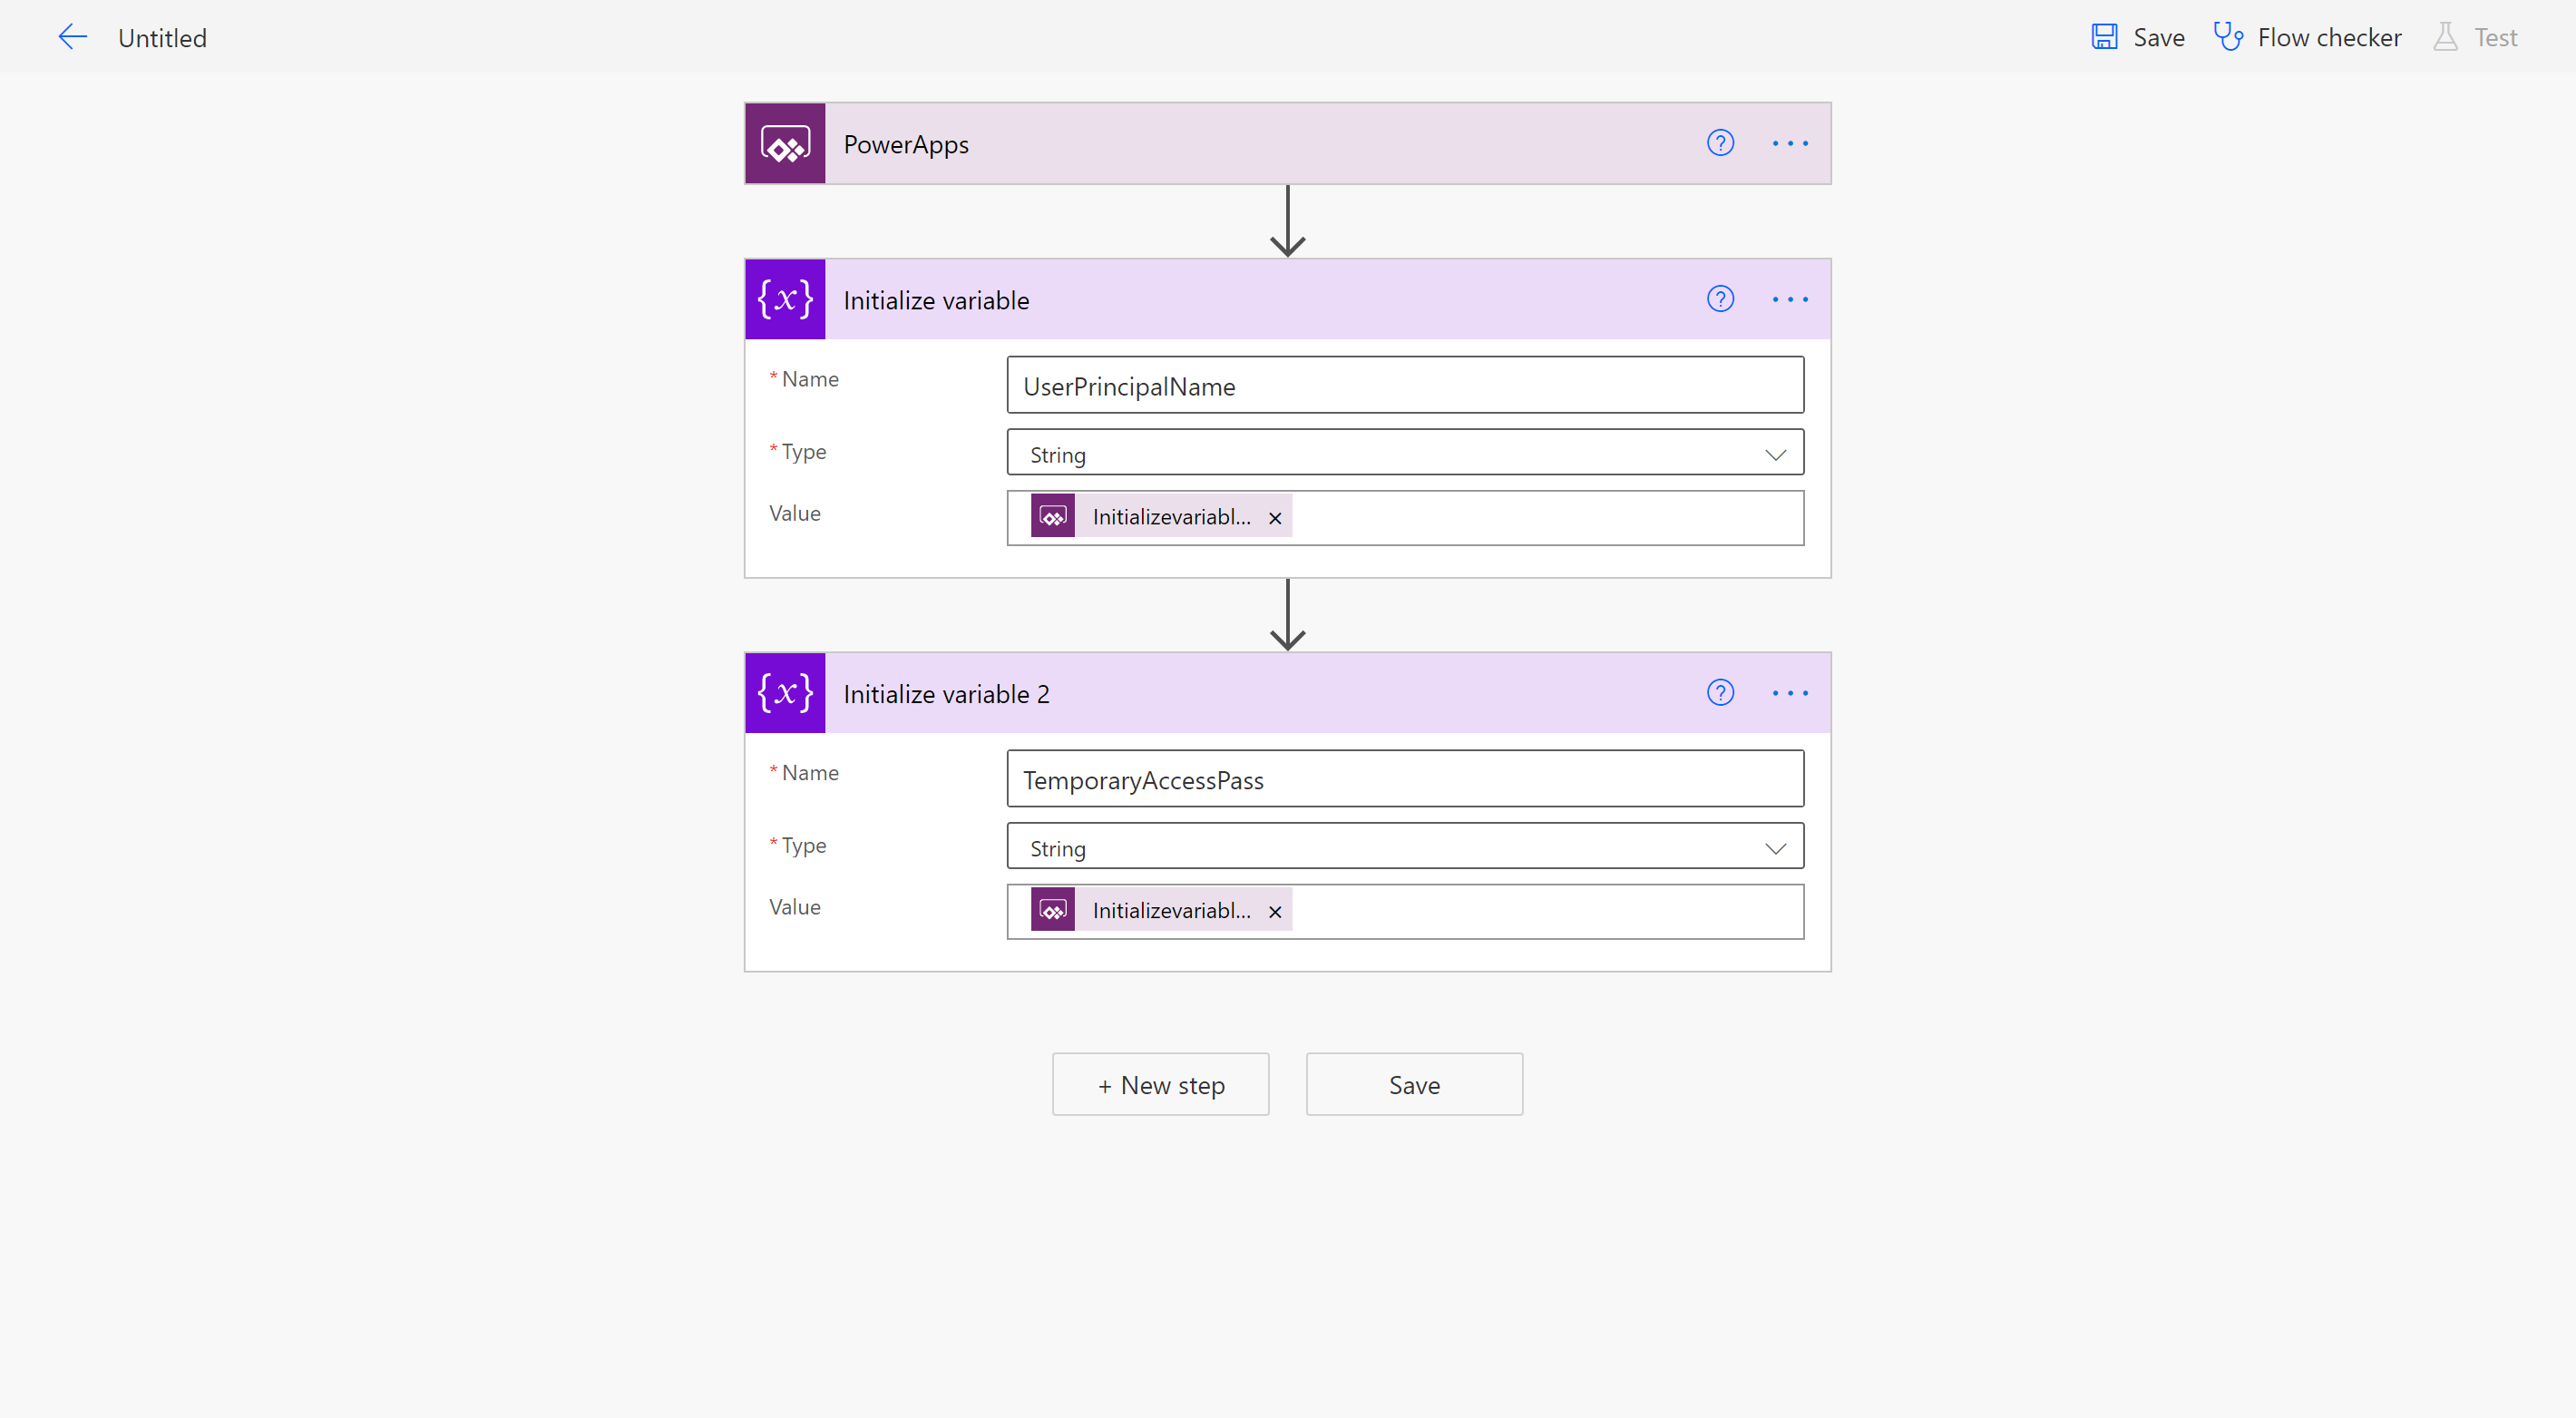
Create a second variable for the Temporary Access Pass.
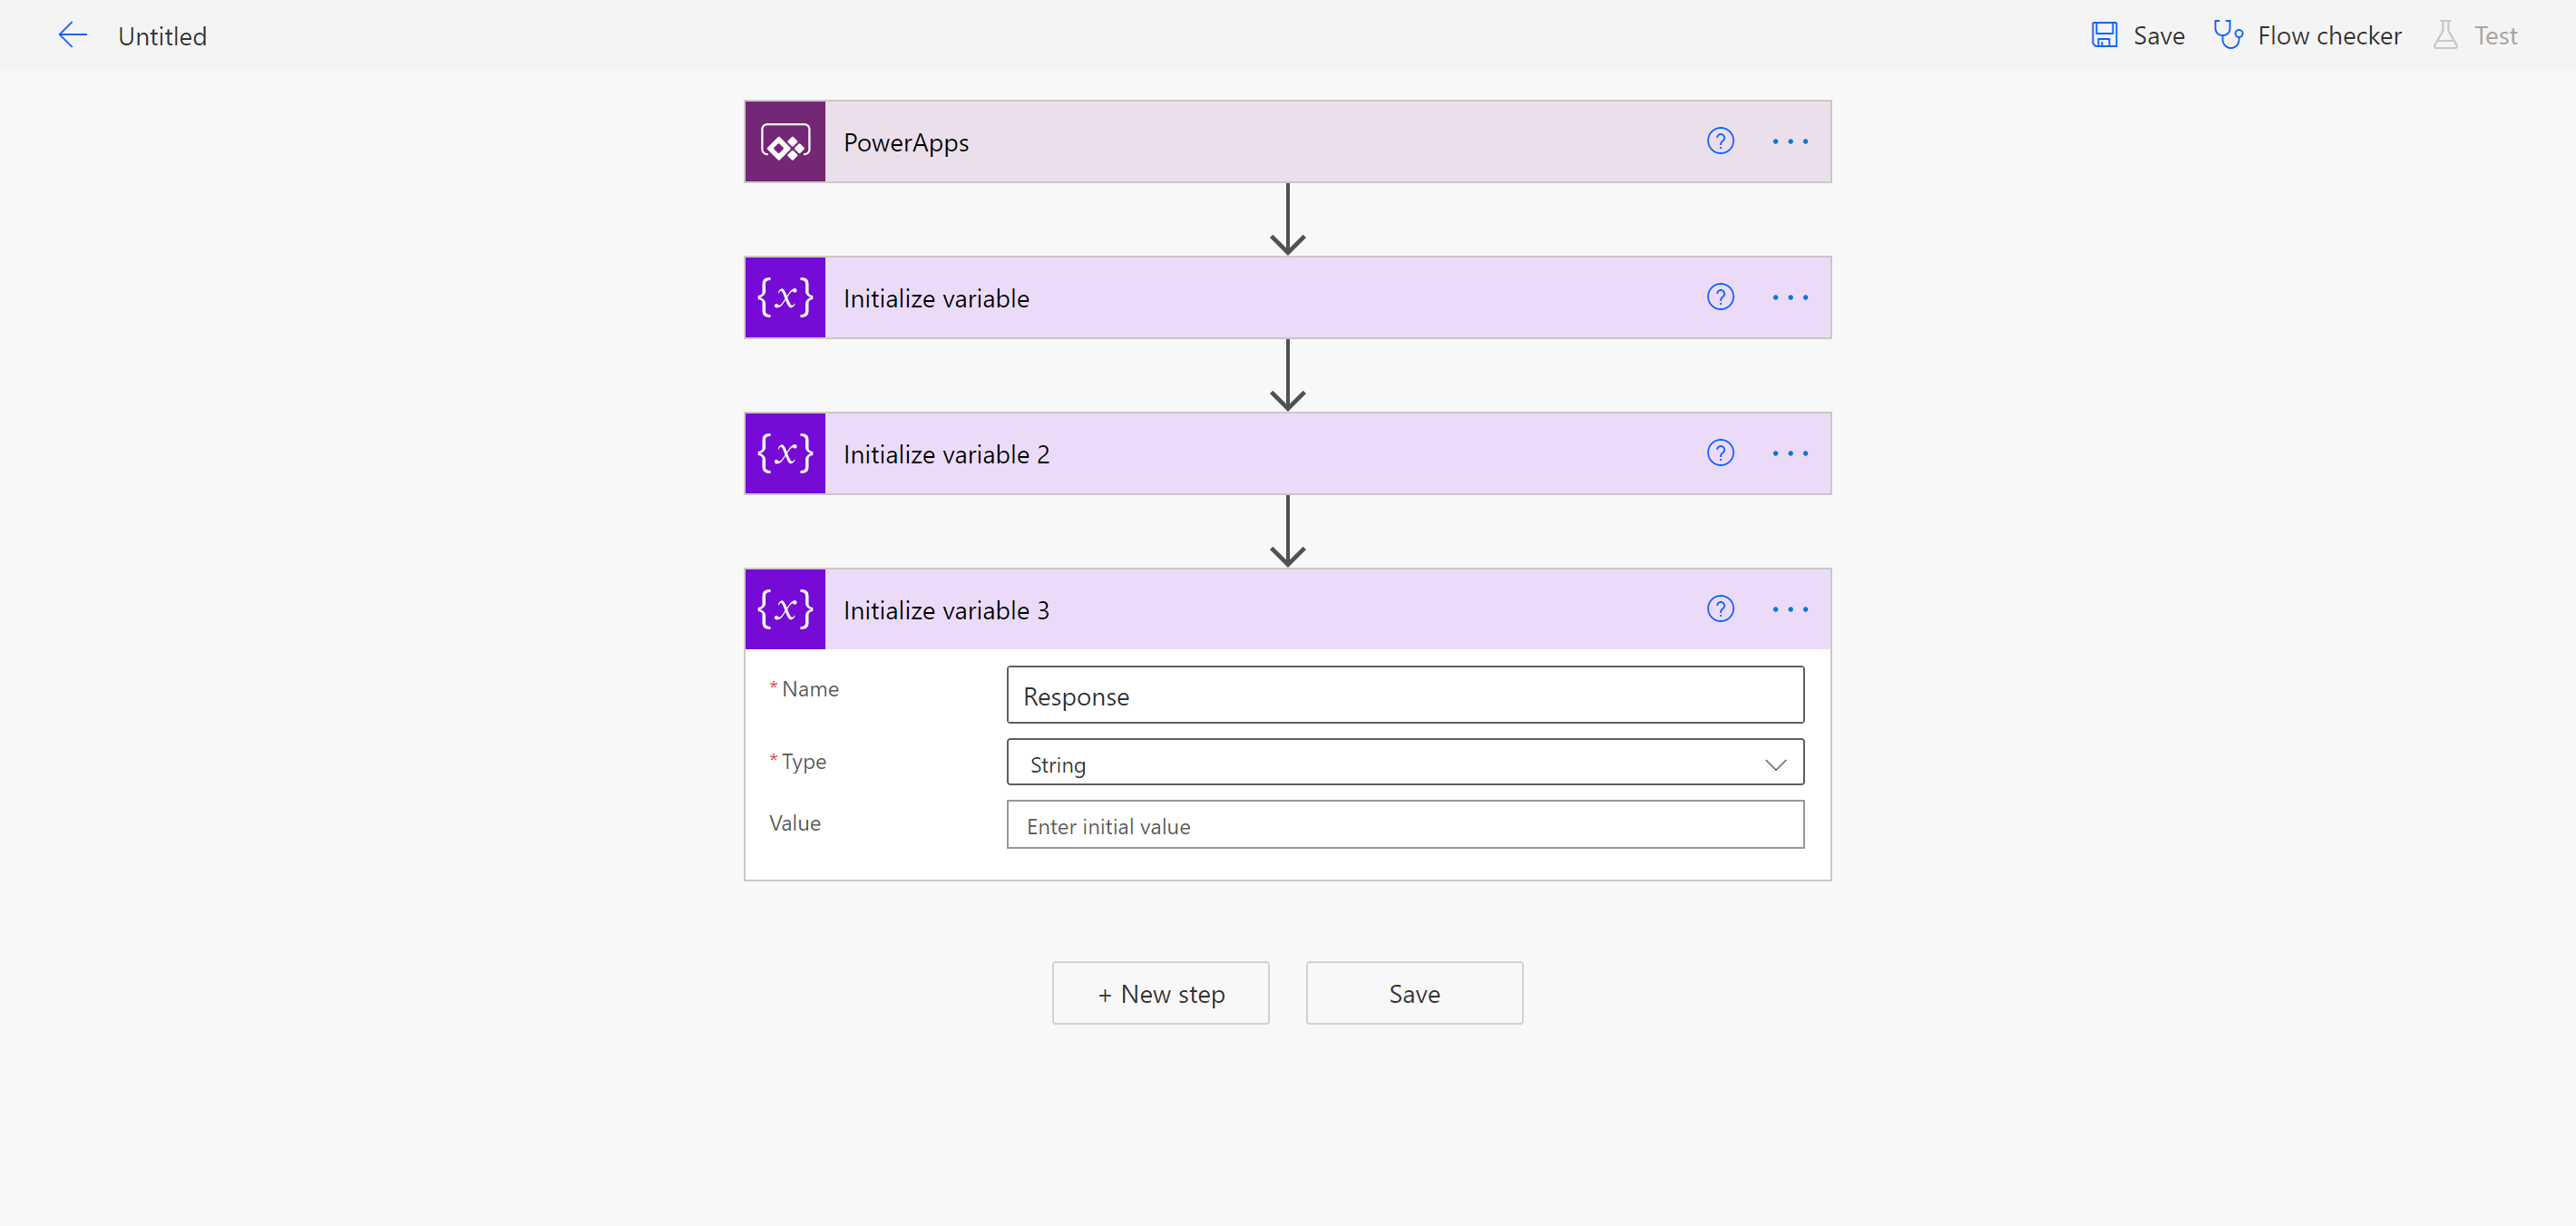
Add the third variable, change the type to string but leave the value empty.
In the next step, we are grabbing the phone number of the user, using the Azure AD connector. Use the UserPrincipalName variable as the input. You might want to sign-in to the connector and grant consent first.
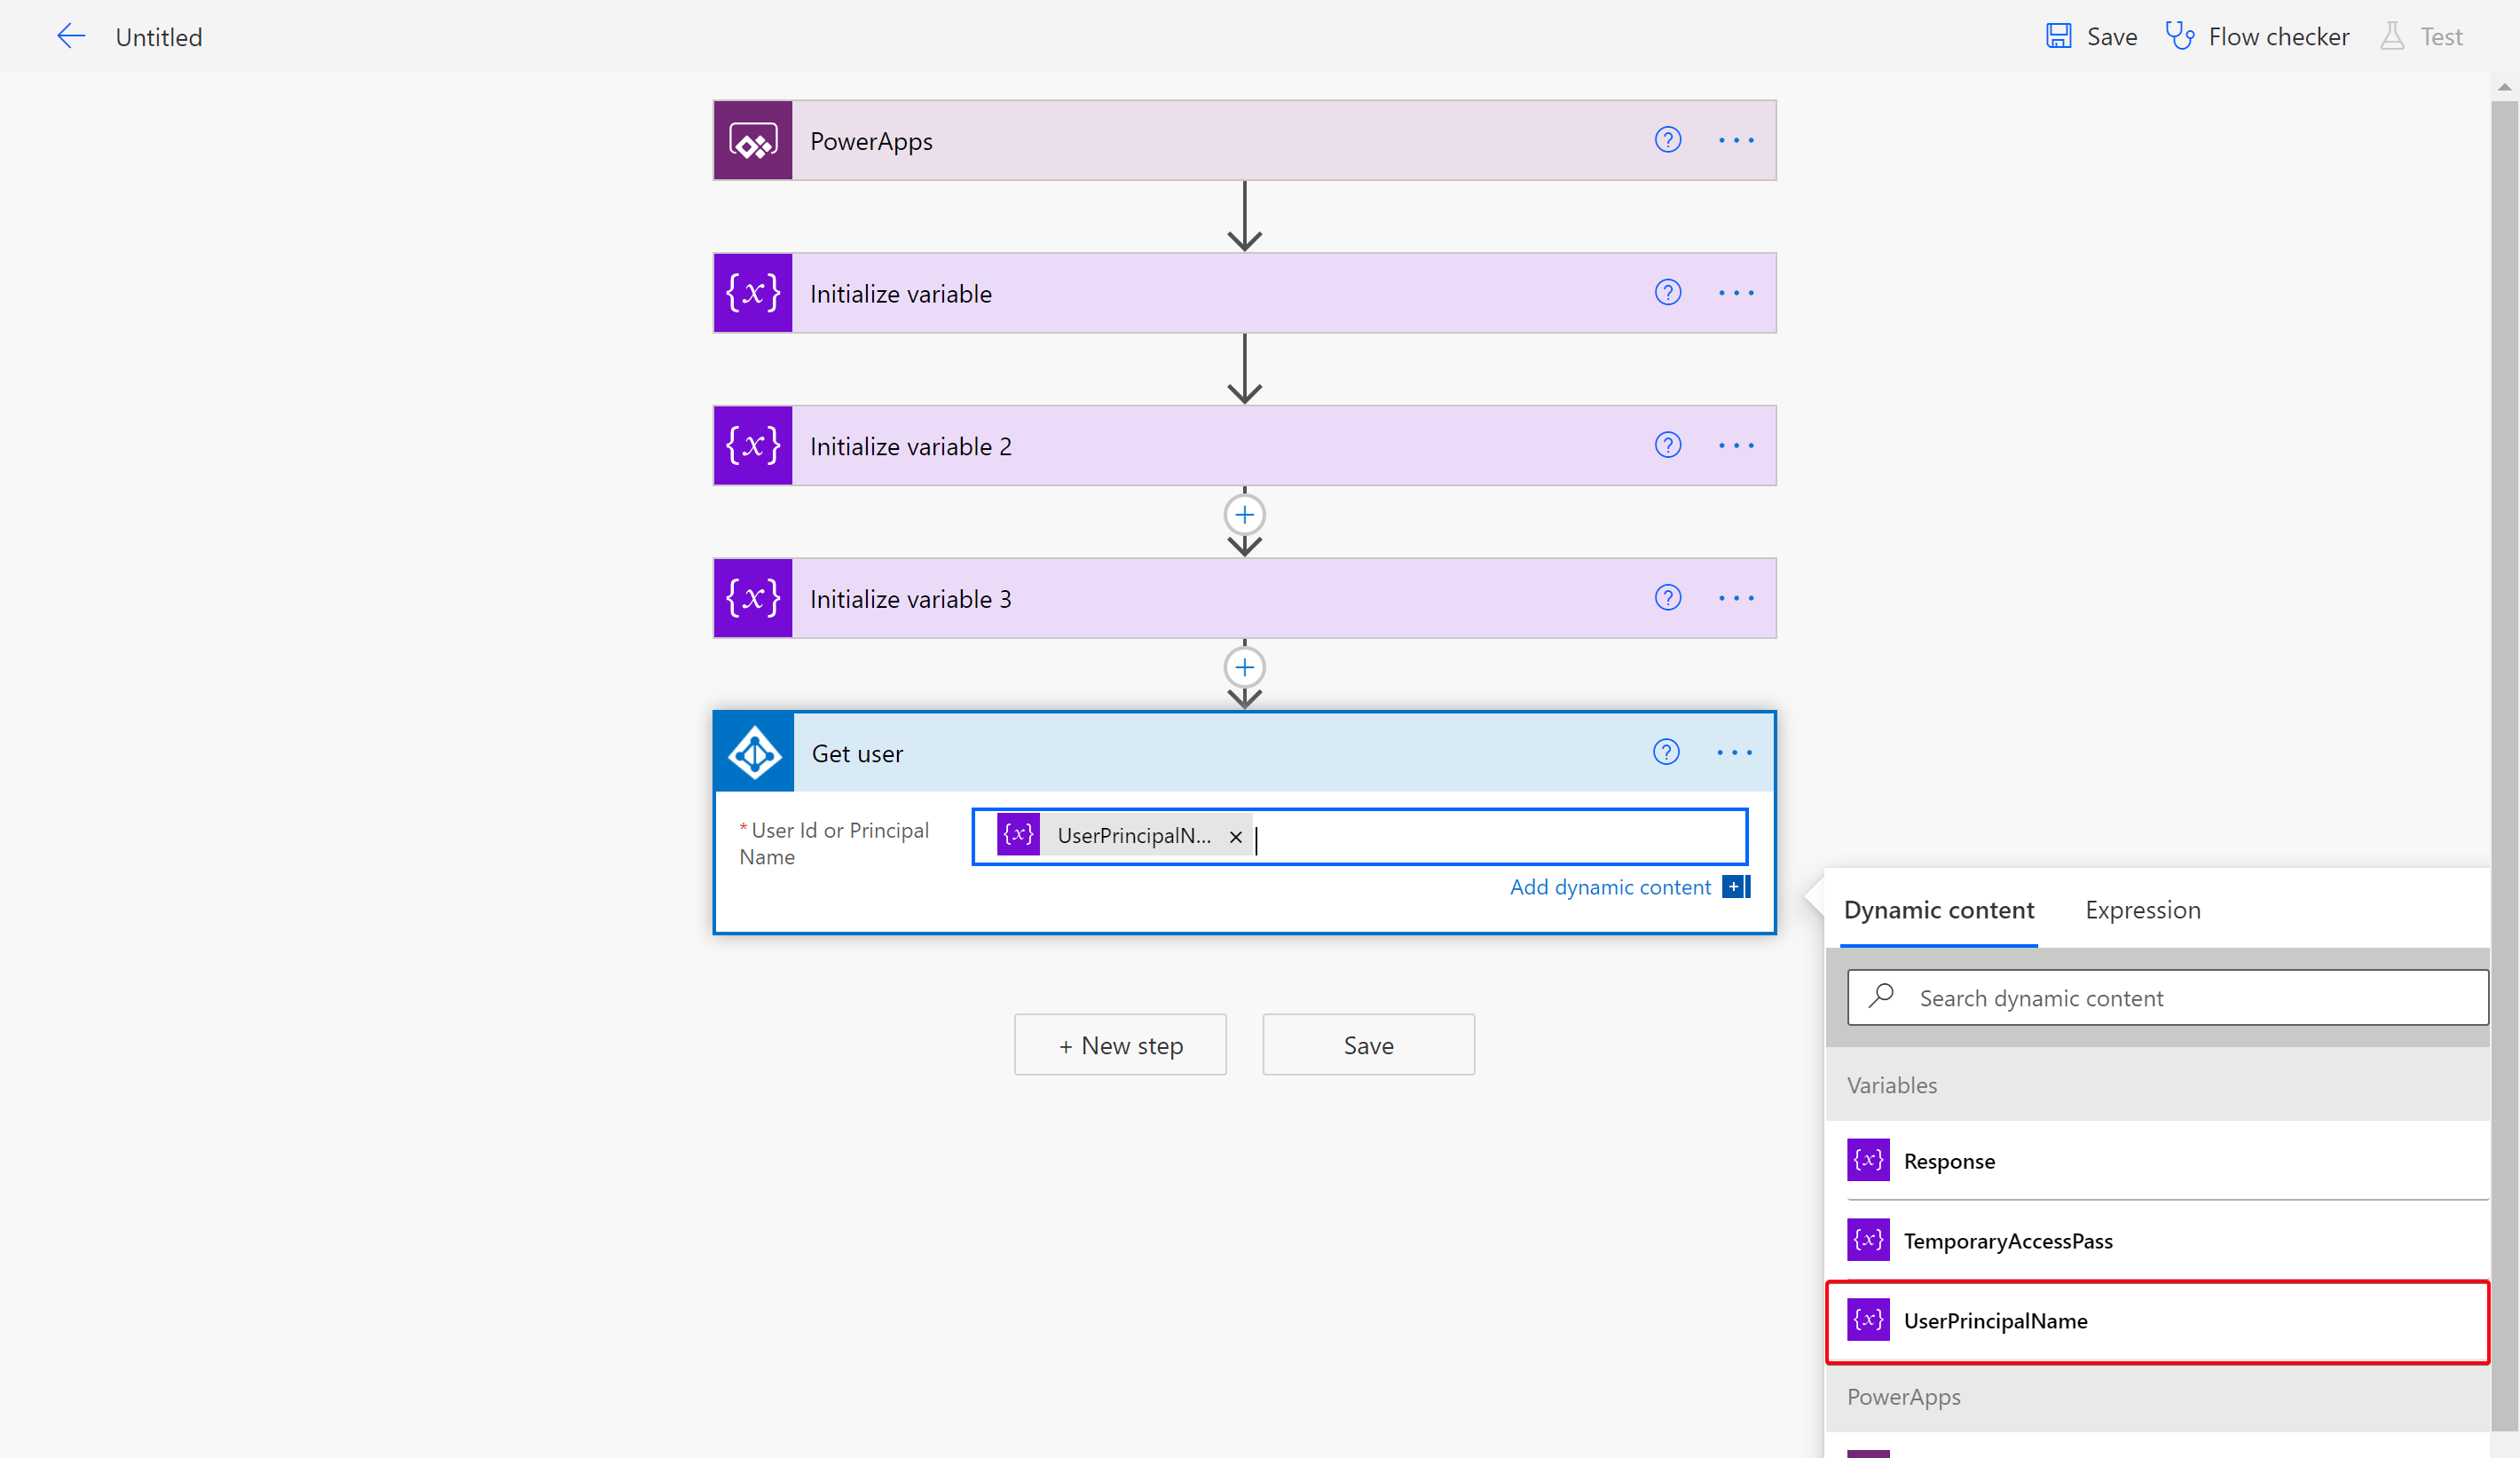
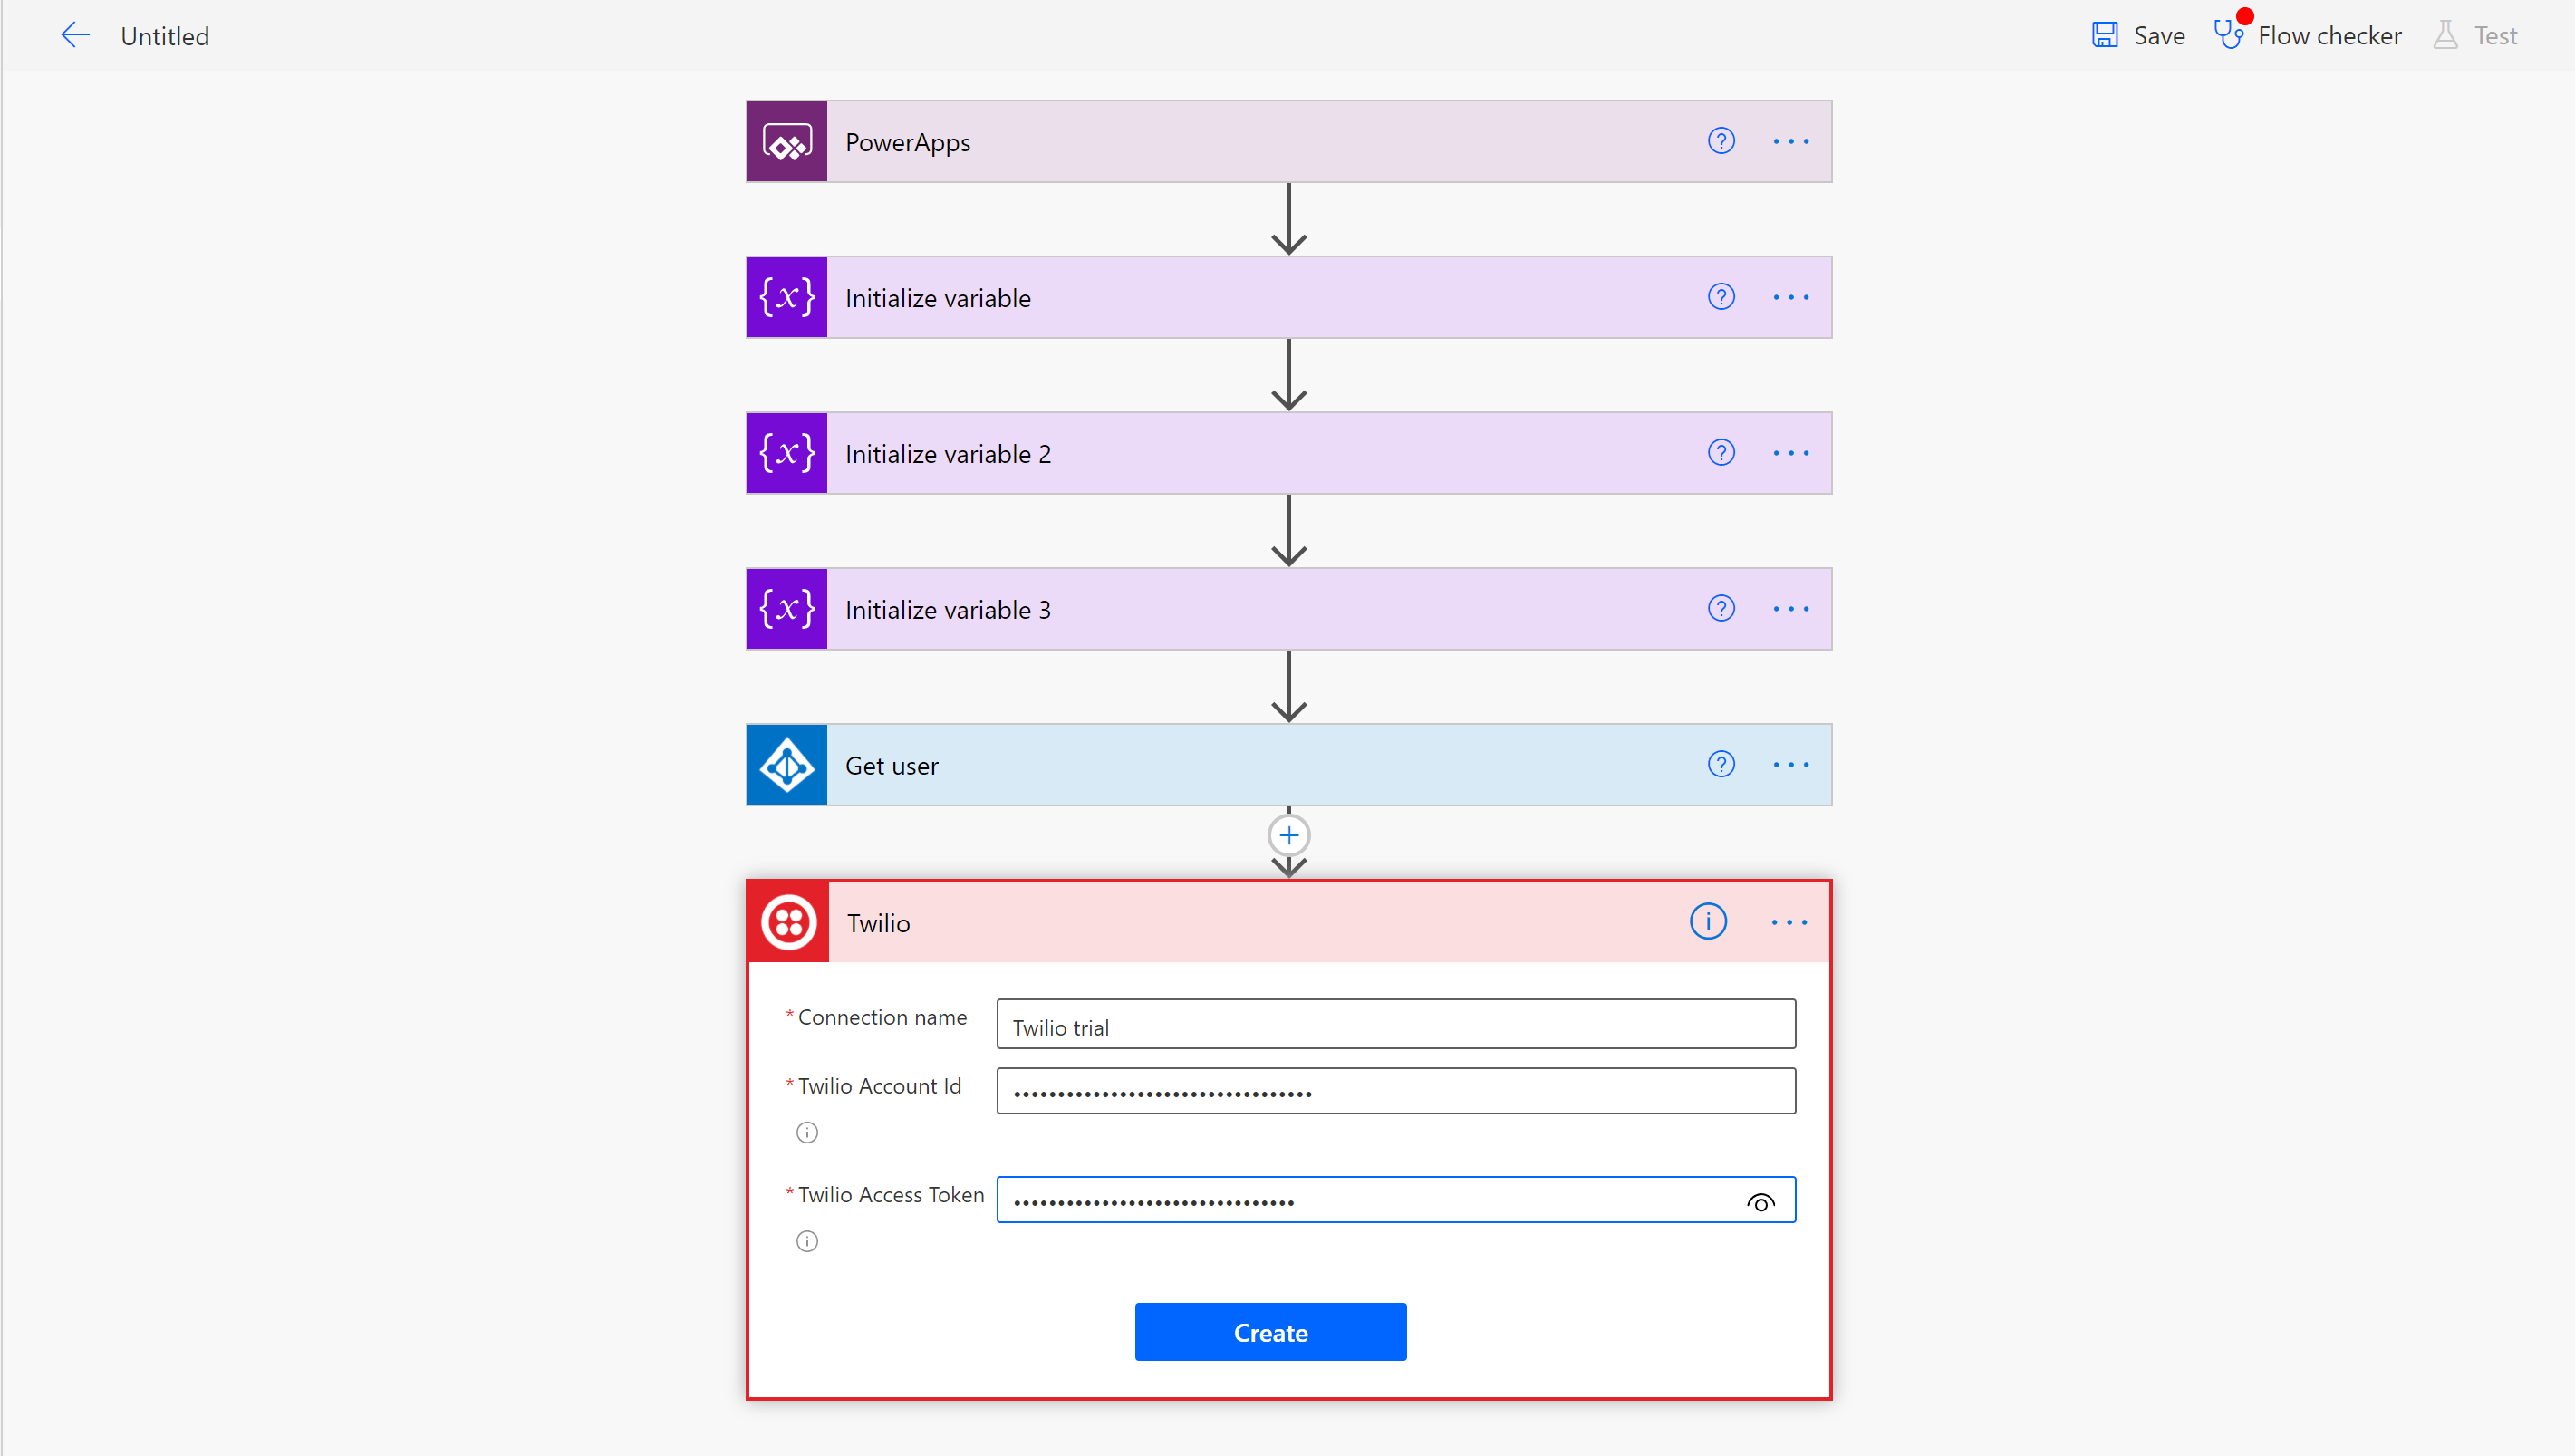
In the next step, it’s time for the Twilio connector. Add the ‘Send Text Message (SMS)’ action and fill in the Account id and Access token to authenticate.
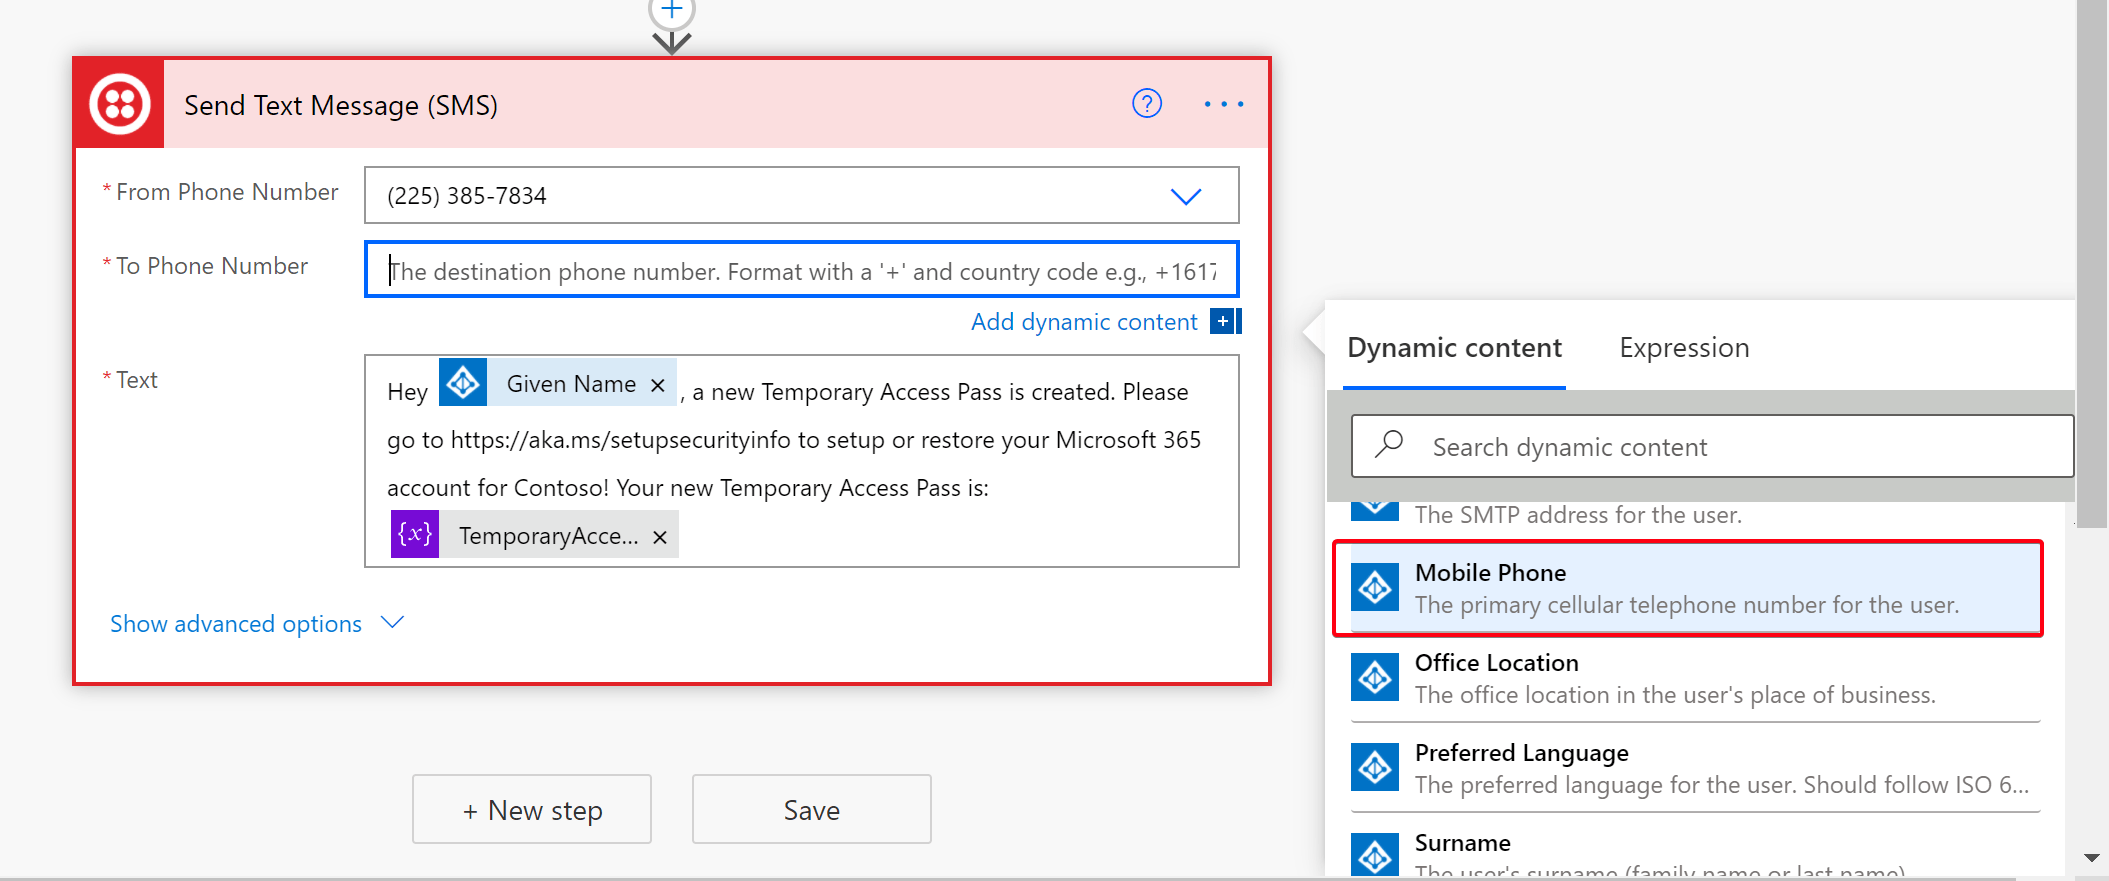
Next, select your phone number from the dropdown menu, and compose your message using the variables. In the “To Phone Number” field, use the Mobile Phone attribute from the Get user action.
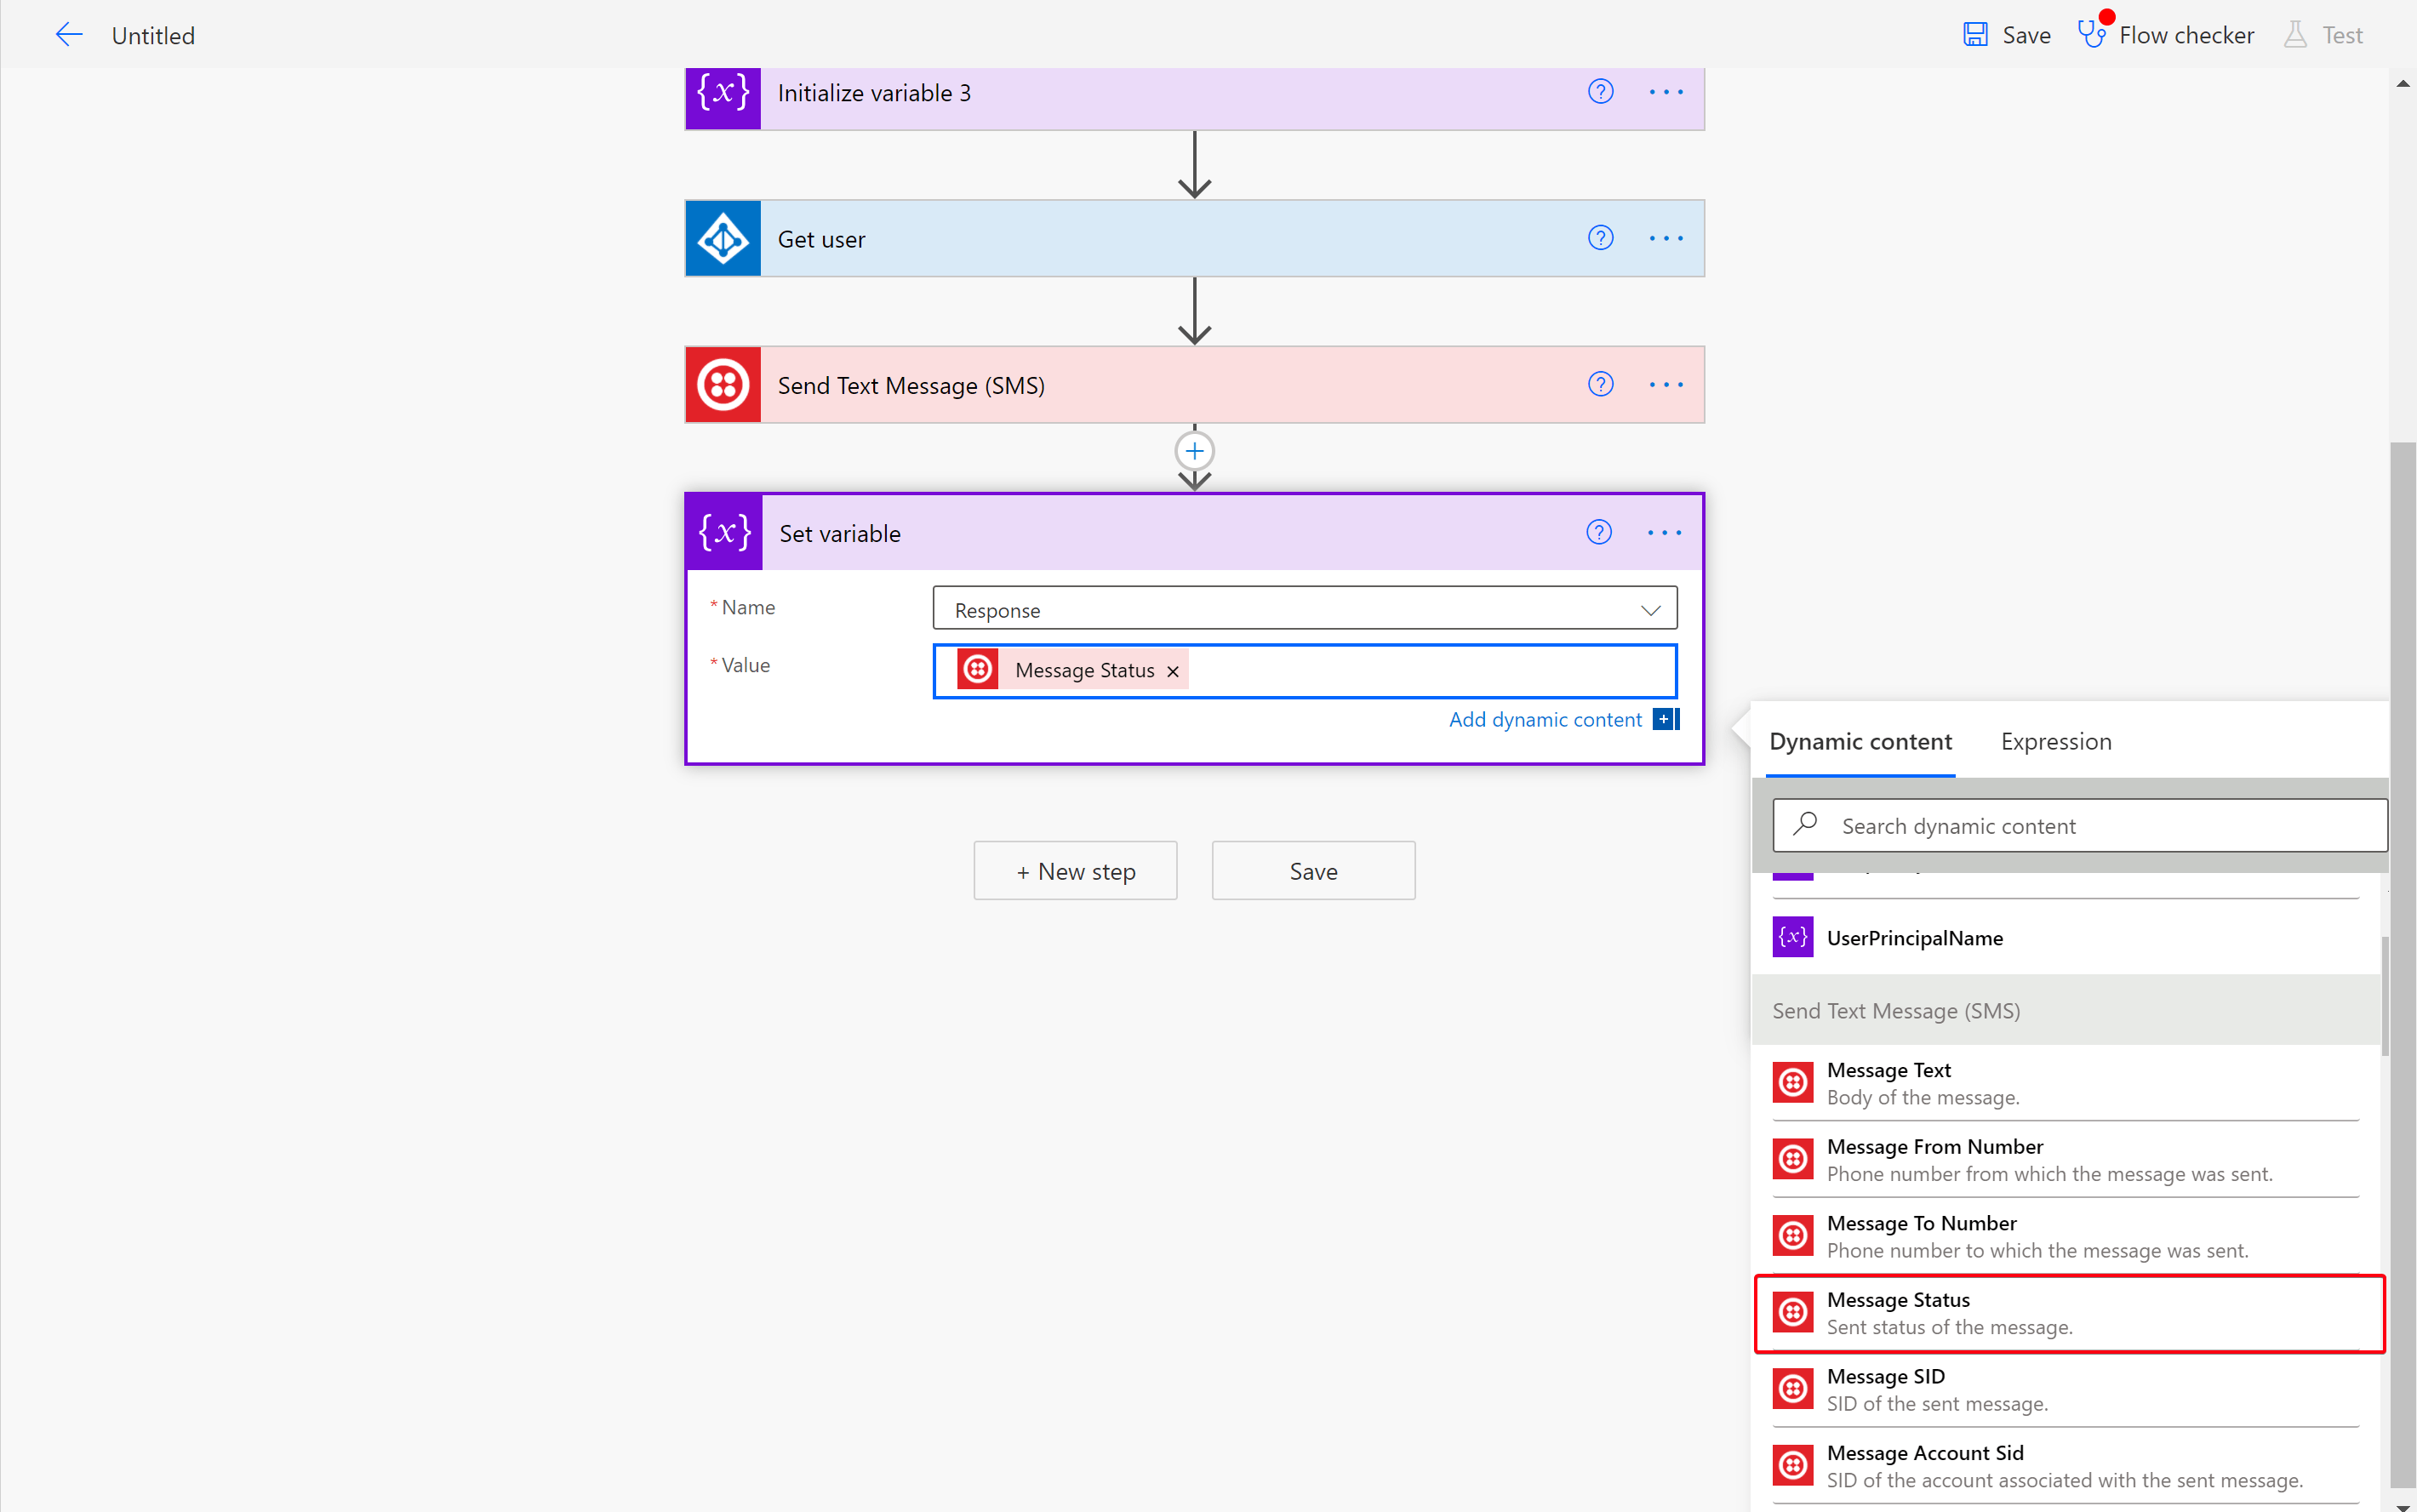
Next, set the Response variable and use one of the Twilio attributes to create the response that you like. This is going to show in the PowerApp later when you hit that button.
In the last step of the flow we are going to send back the response to PowerApps.
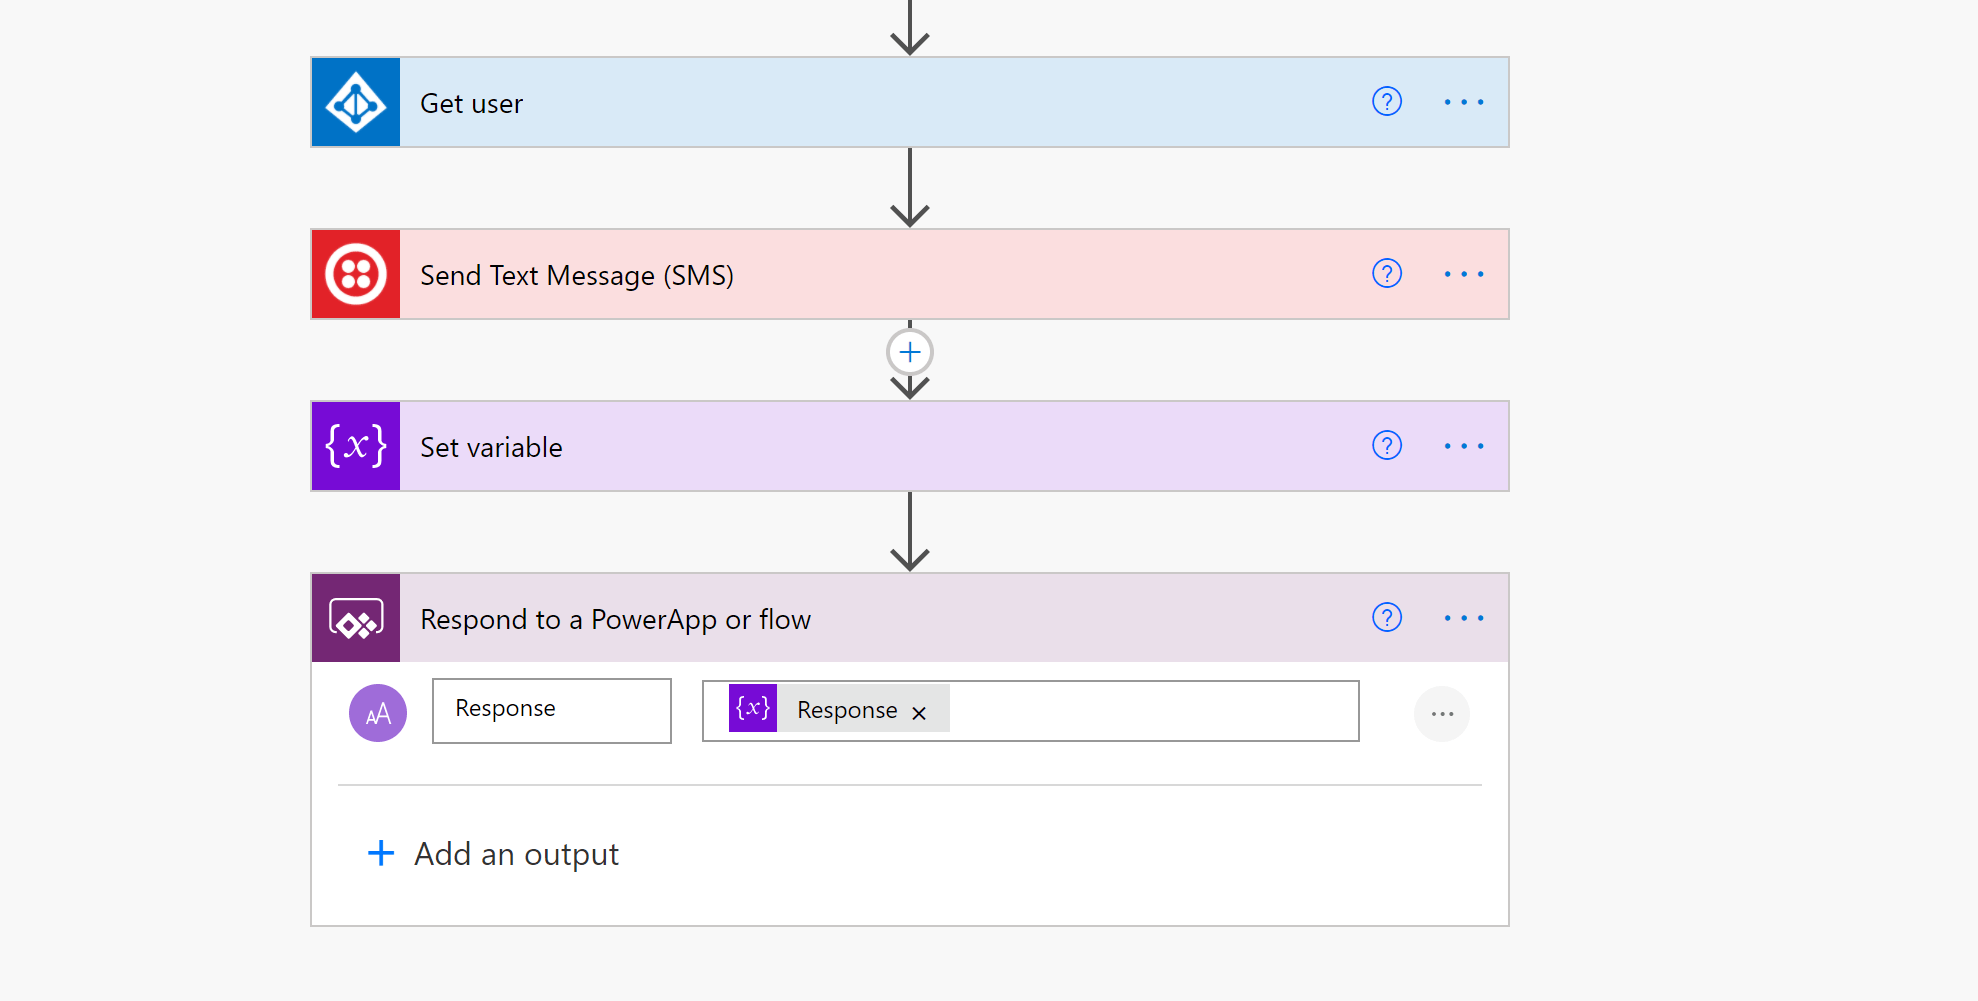
Save the Power Automate Flow.
PowerApps loves Power Automate#
Not that our flow is ready for use, let’s head over to our PowerApp. Select the button, and add the Power Automate flow to the app.
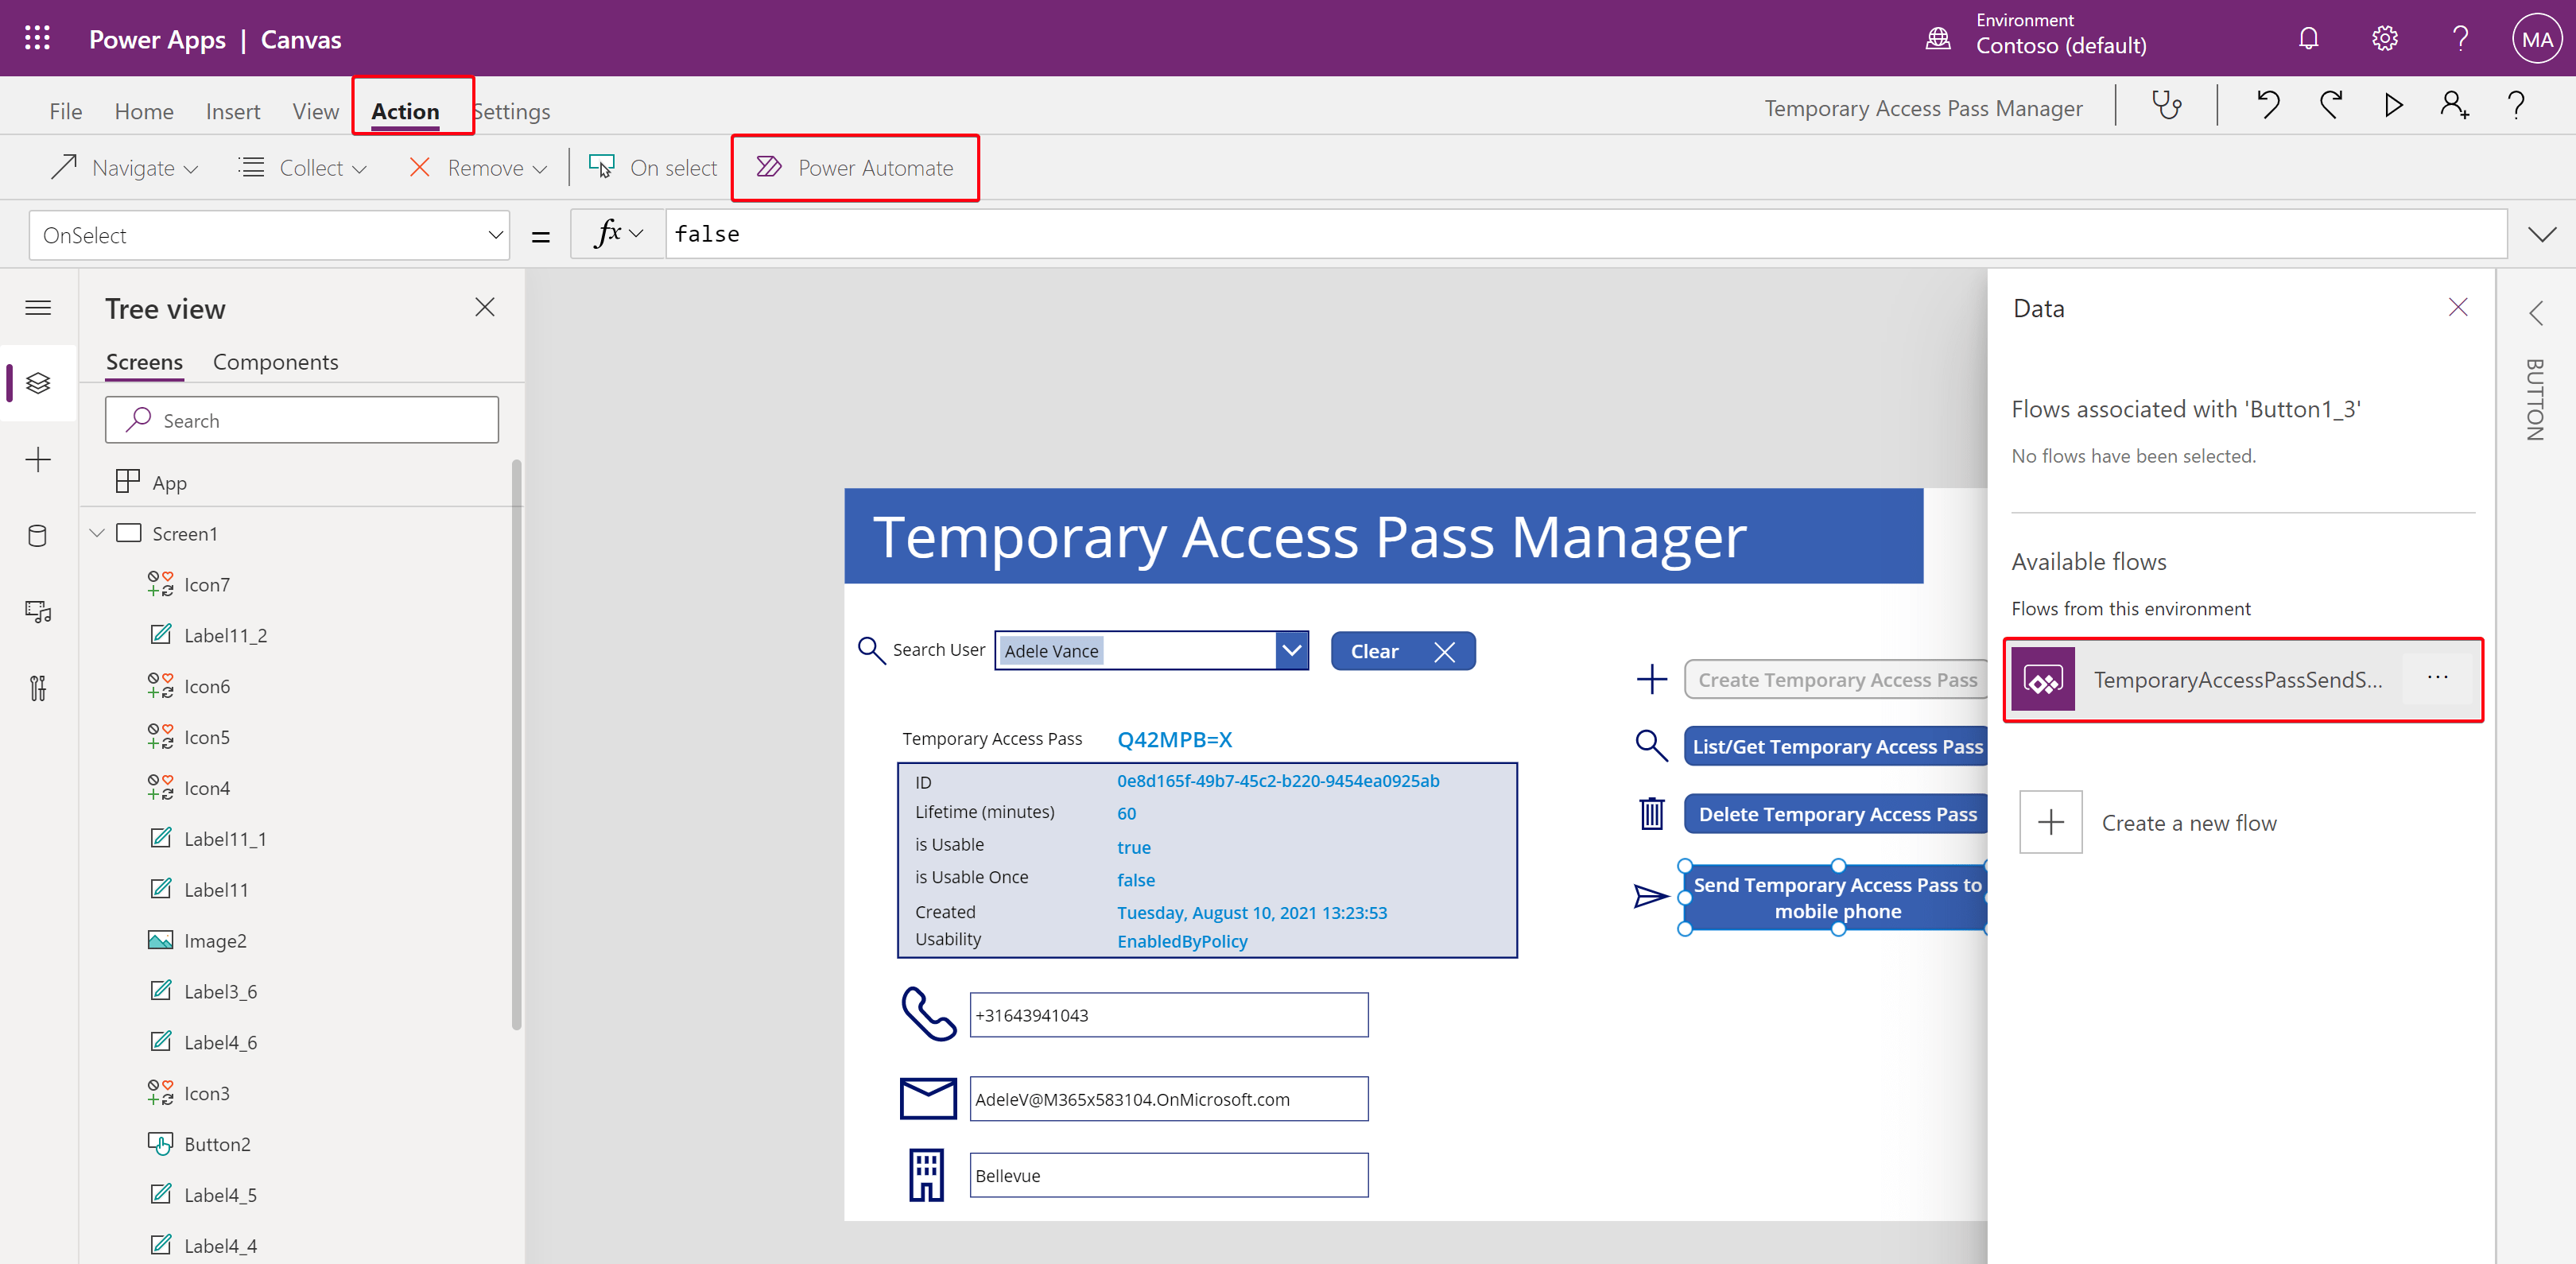
Replace the text in the OnSelect property with this query:
Set(Response,TemporaryAccessPassSendSMS.Run(ComboBox1.Selected.UserPrincipalName,Var1.temporaryAccessPass).response);
Notify(Response,NotificationType.Information)
*You might want to replace the name of your flow to match up with yours, like this:
Set(Response,NAMEOFYOURFLOW.Run(ComboBox1.Selected.UserPrincipalName,Var1.temporaryAccessPass).response);
Notify(Response,NotificationType.Information)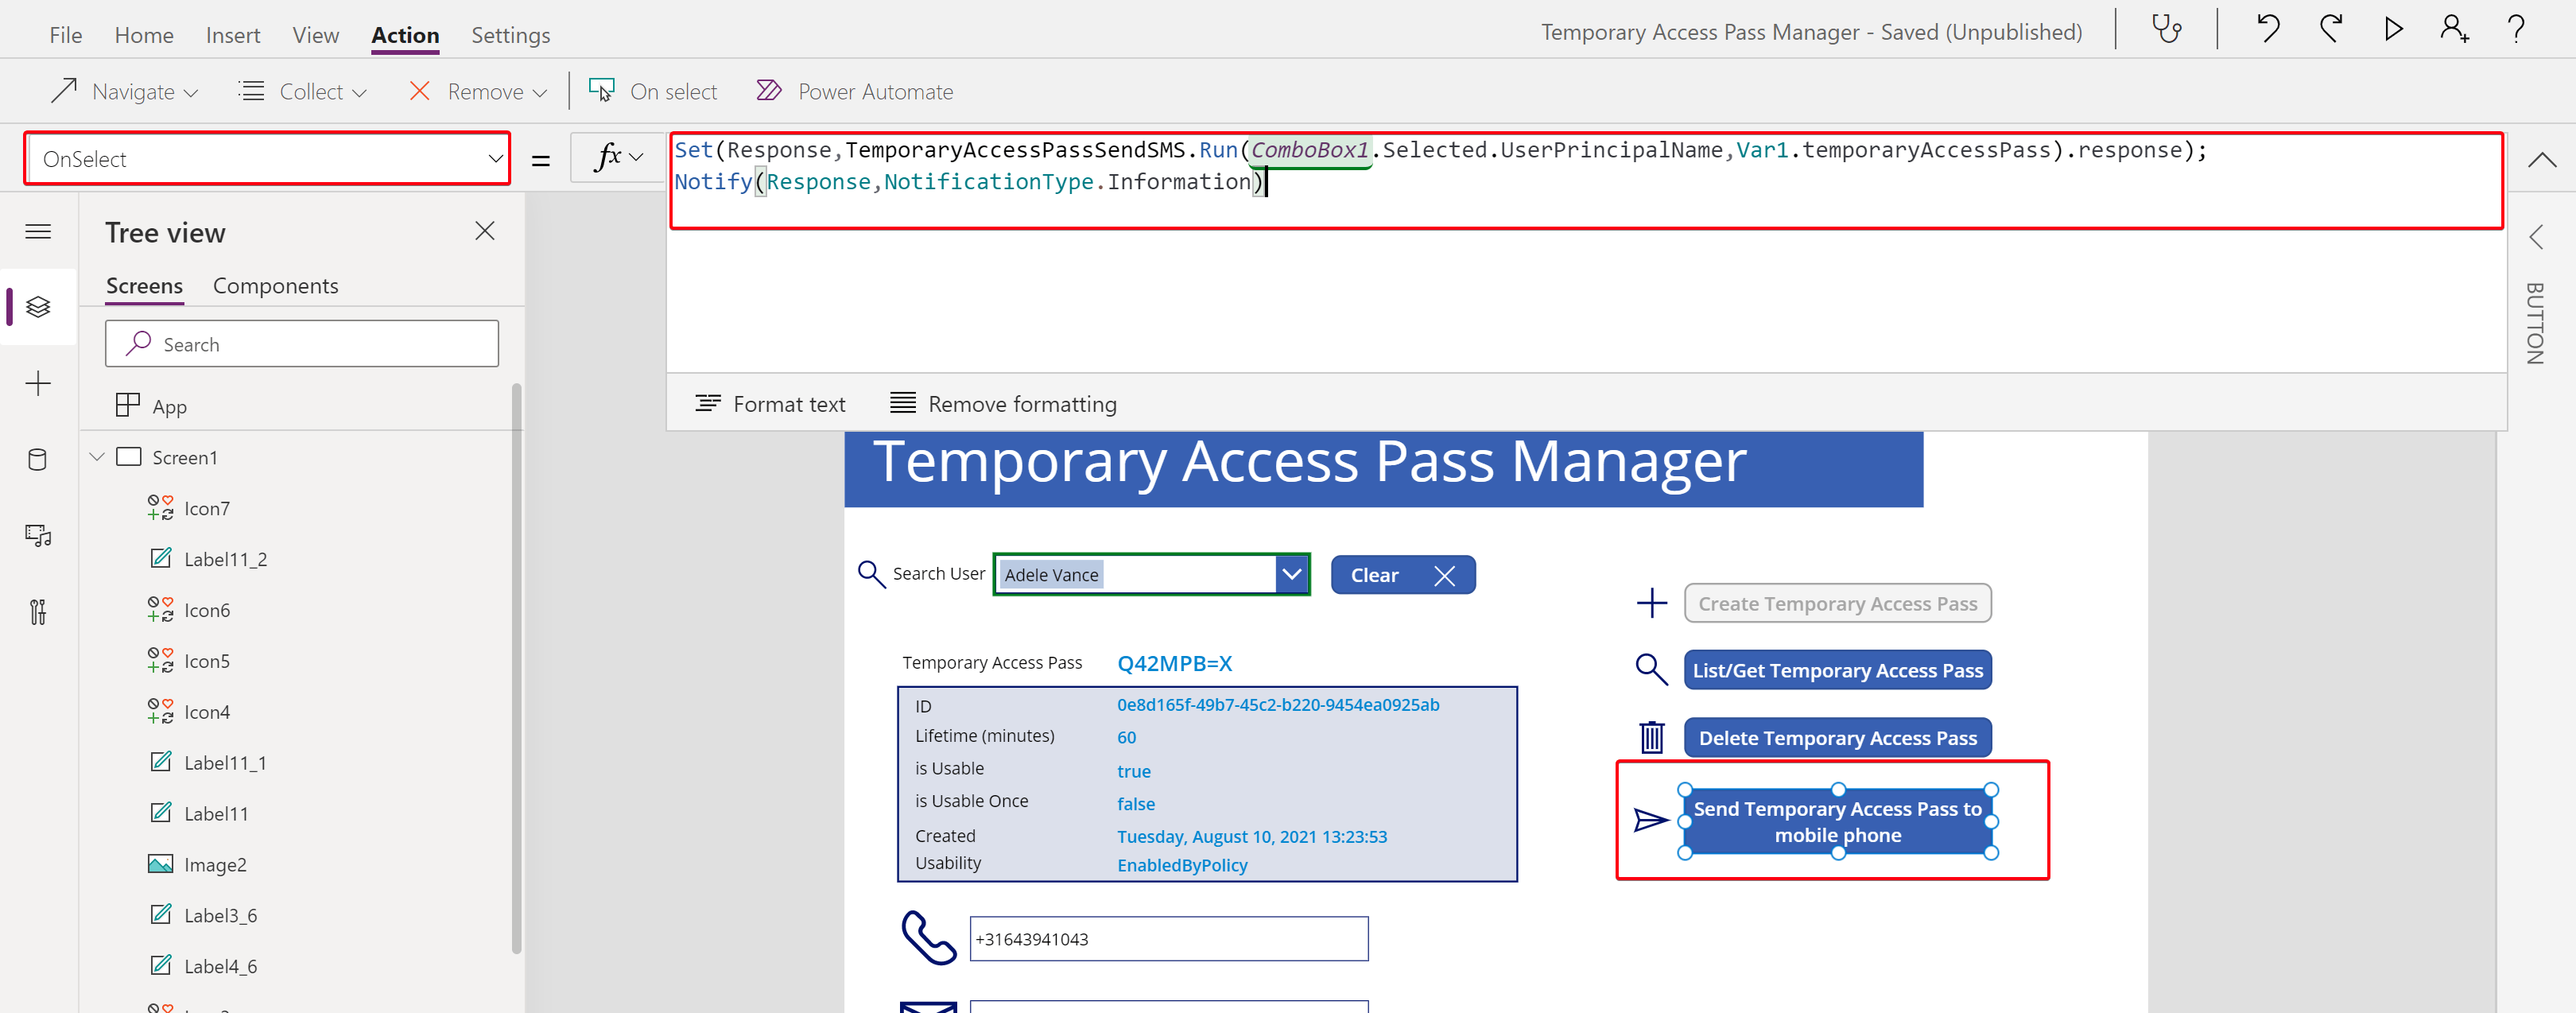
Next, change the Displaymode to disable the button if the Temporary Access Pass value or the phone number is empty/blank. Either way, the flow would fail anyway. And, it is a nice way to learn multiple if statements.
If(IsBlank(Var1.temporaryAccessPass)Or IsBlank(ComboBox1.Selected.mobilePhone),DisplayMode.Disabled,DisplayMode.Edit)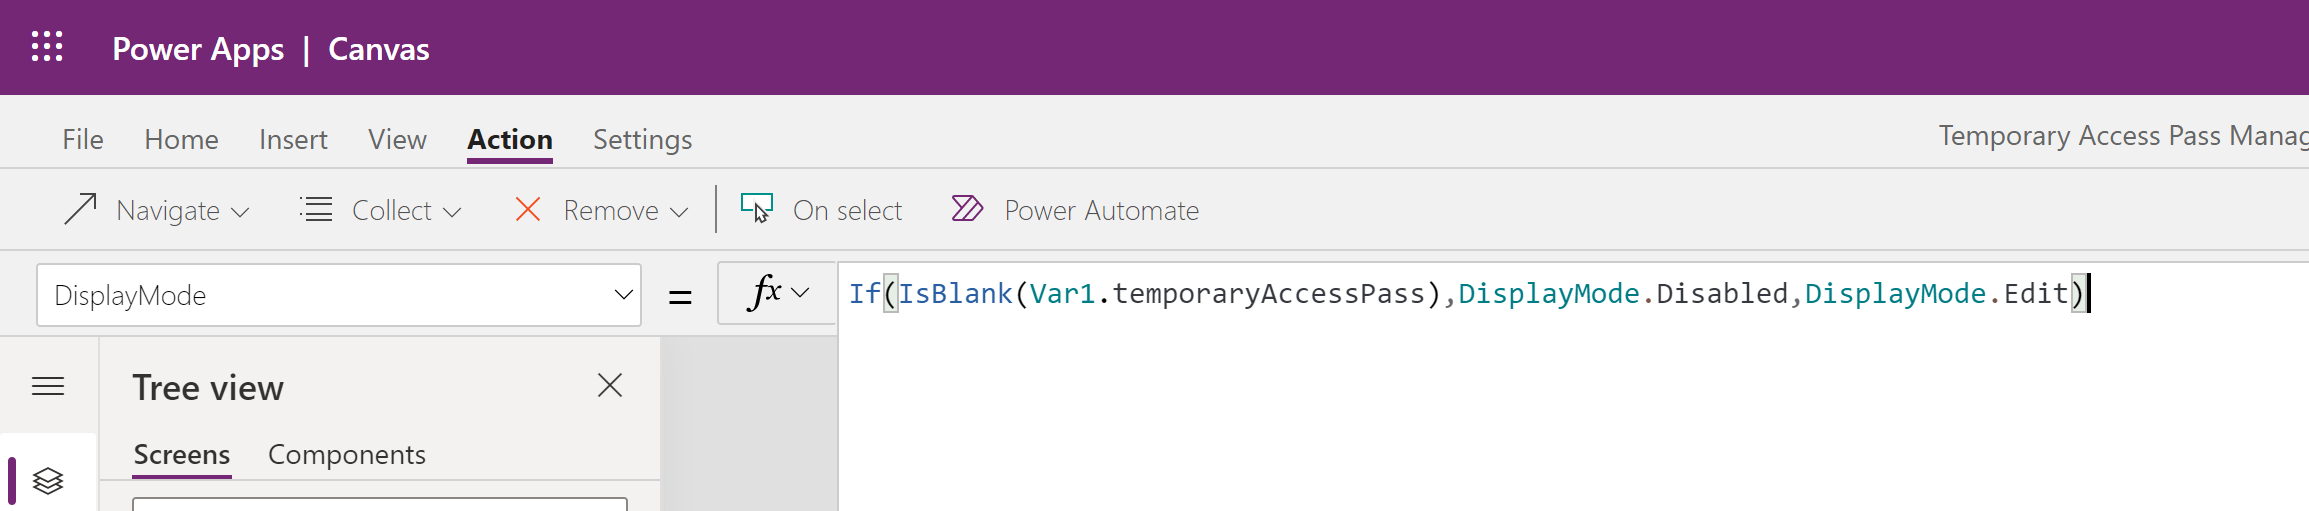
Time to test!#
That’s all for the configuration part. Now let’s test this. Create a Temporary Access Pass for your user, and hit that button! If something failes, you can check the run history in Power Automate to troubleshoot.
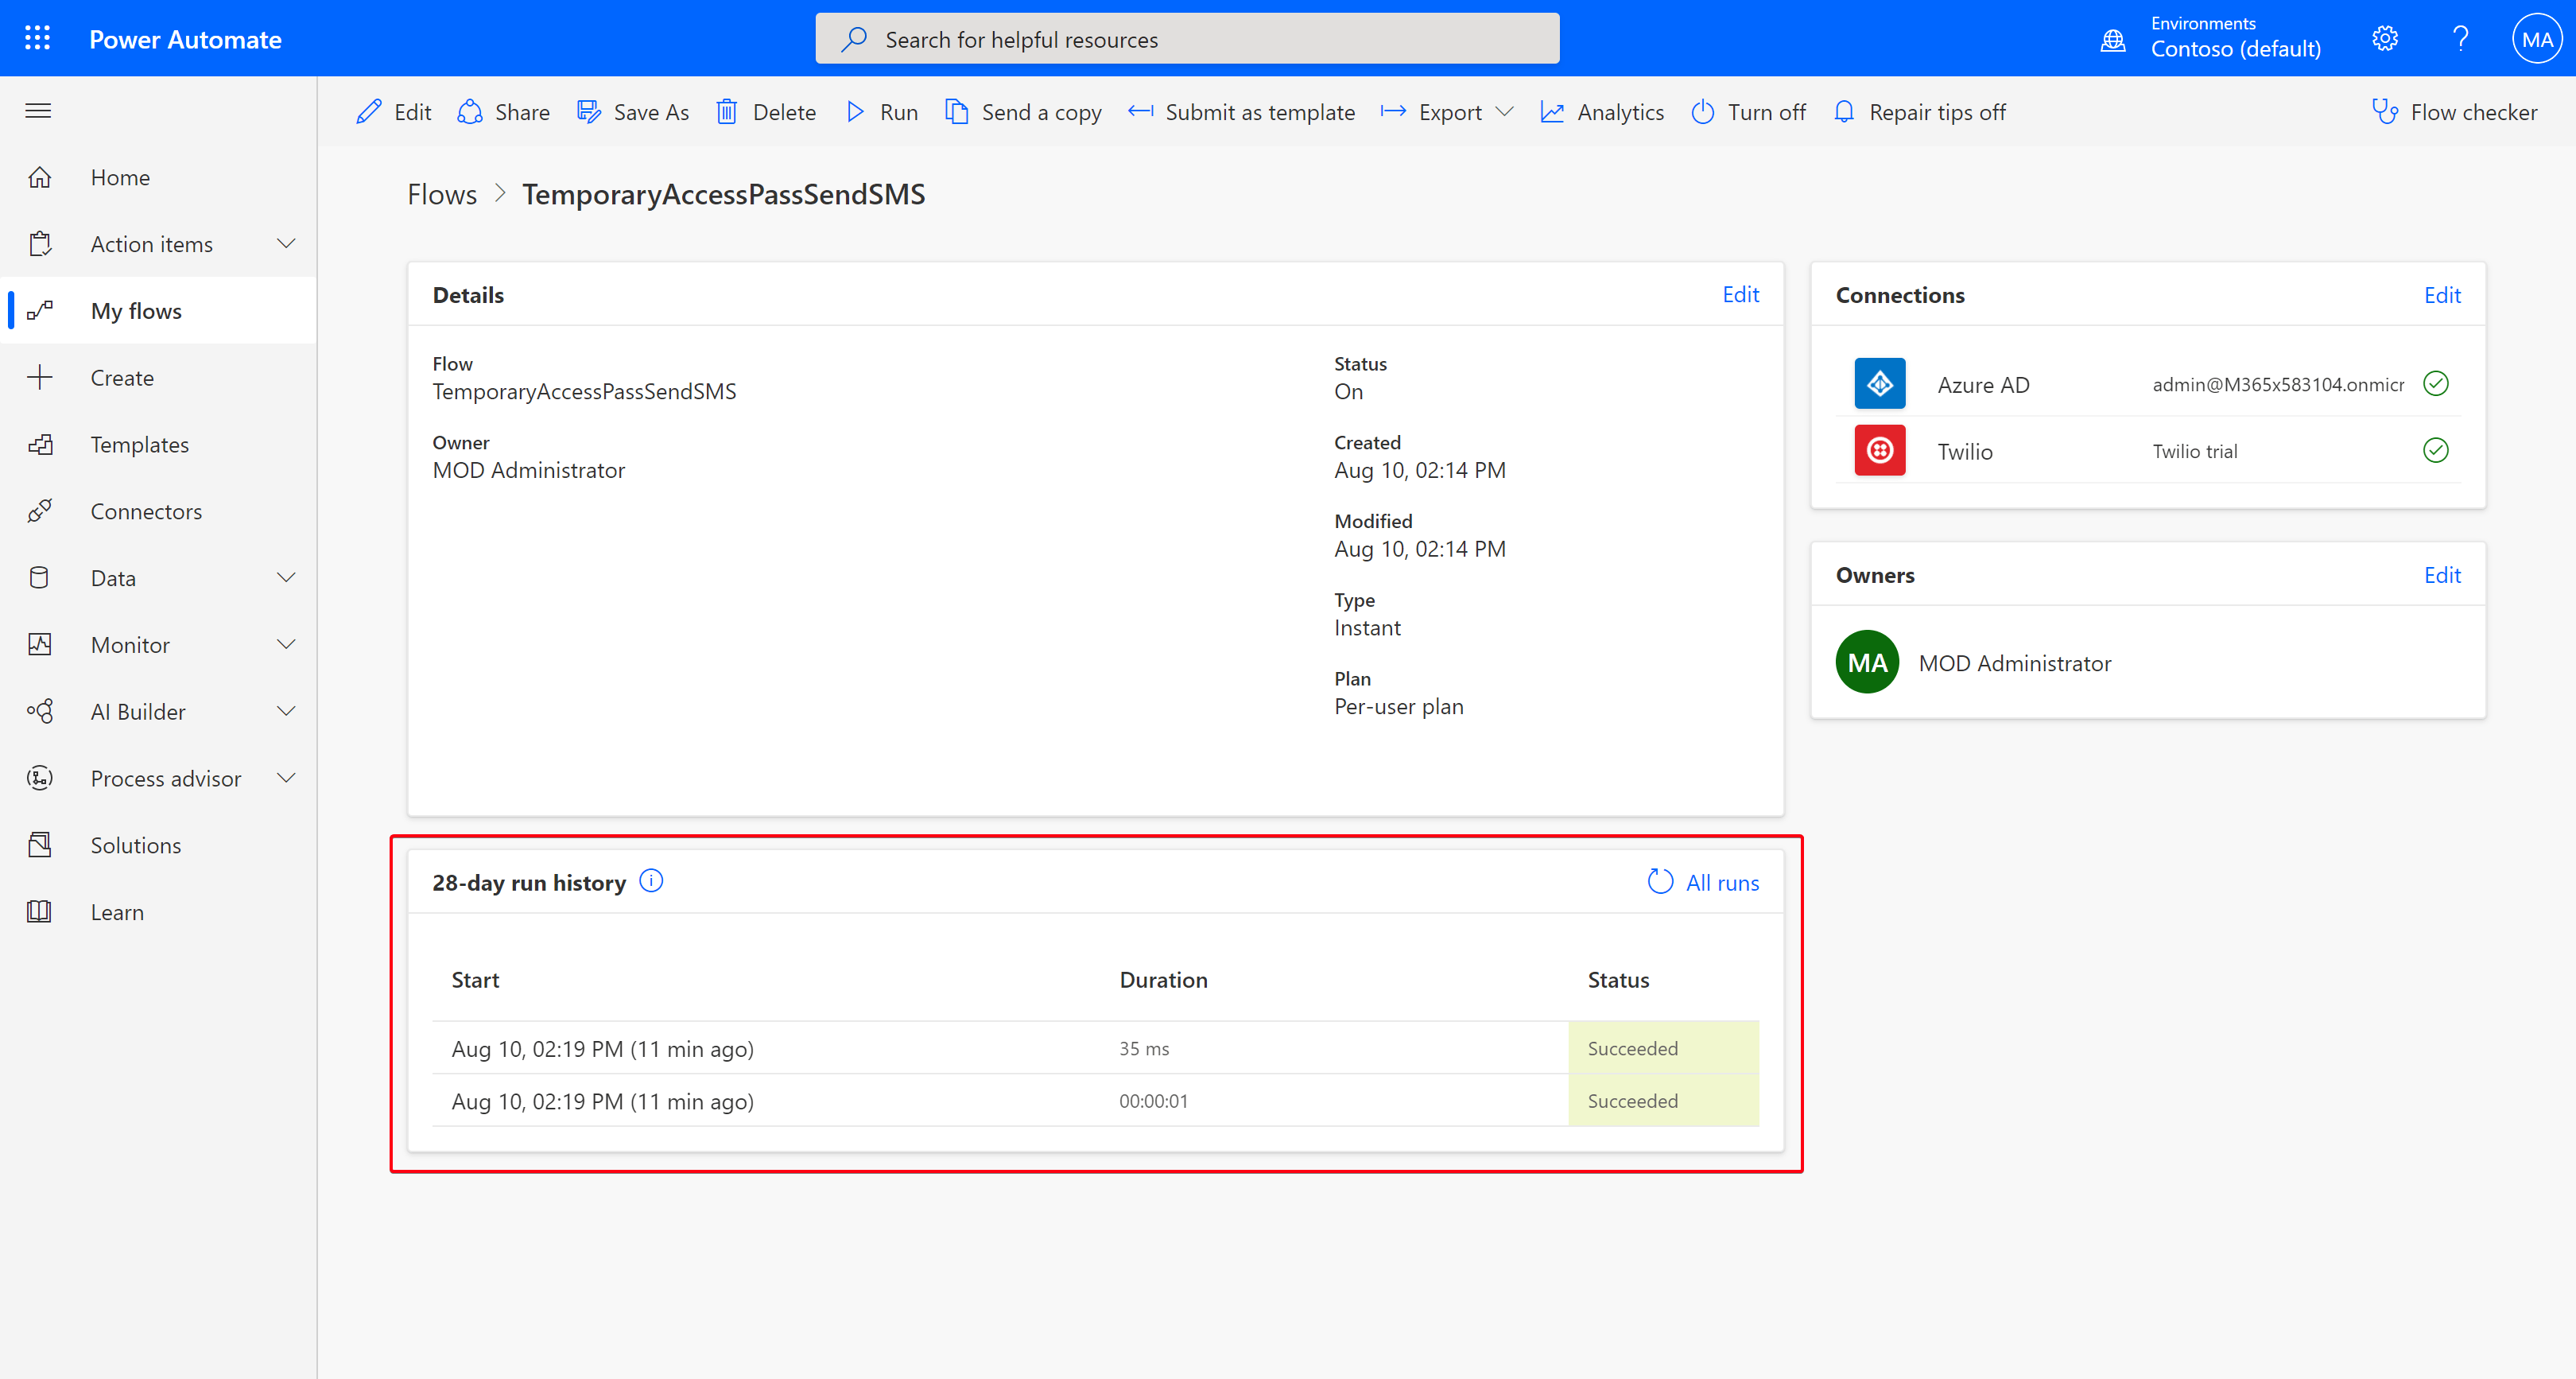
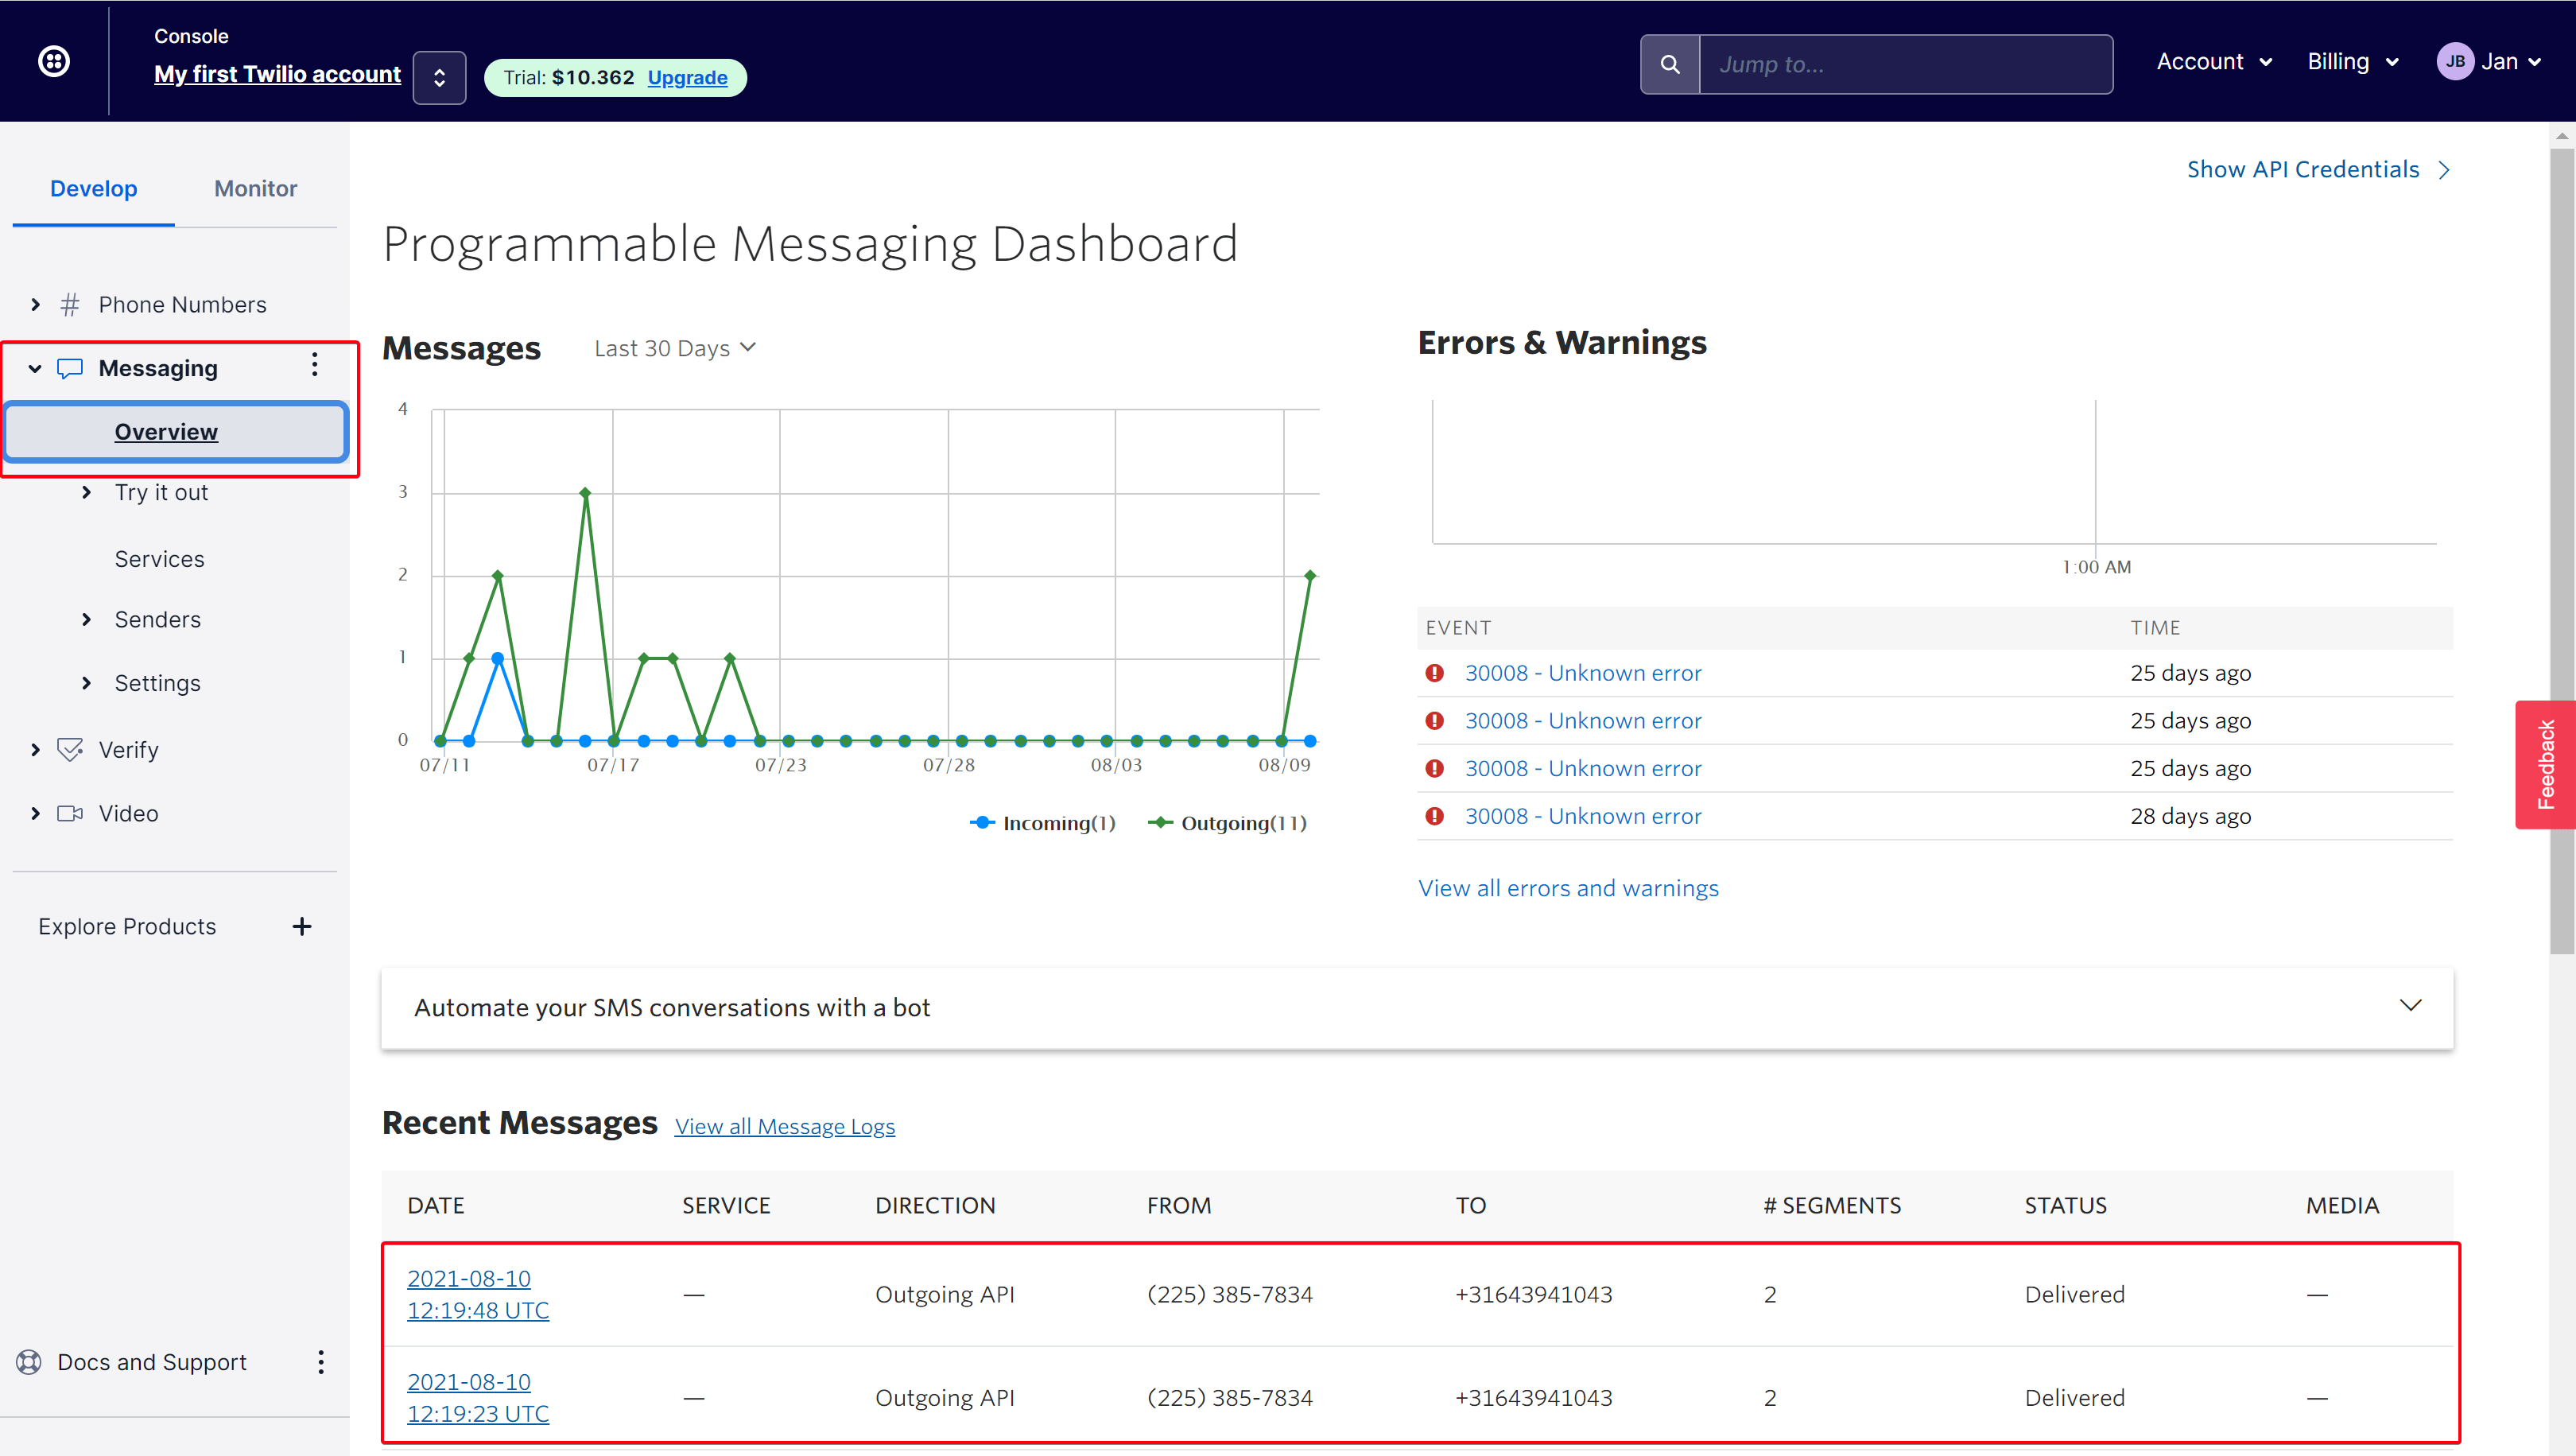
You could also see the log files on the Twilio back end.
If all goes well, it should look like this:
Wrap things up!#
And that’s it folks. I hope this was a nice learning experience for all of you. It is fun to create such apps with so little code. Honeslty, if I can do it, anyone can!
Stay safe!
Comments
Comments load when you scroll here.