
Azure Active Directory Identity Governance – Privileged Identity Management
On this page
In this series, we take a look at Azure Active Directory Identity Governance. This premium feature provides you with all the tools that you need to take and keep control over your (external) identities and access to roles, resources, applications, and groups. In short, Identity Governance gives you three ways to do this:
- Azure AD Access Reviews(review membership of groups and access to applications)
- Azure AD Privileged Identity Management (manage time-based and approval-based role activation to protect your resources with just-in-time and just-enough privileged access) (This blog post)
- Azure AD Entitlement Management (manage identity and access lifecycle at scale, by automating access request workflows, access assignments, reviews, and expiration)
Licensing#
Ensure that your directory has at least as many Azure AD Premium P2 licenses as you have employees that will be performing the following tasks:
- Users assigned as eligible to Azure AD or Azure roles managed using PIM
- Users who are assigned as eligible members or owners of privileged access groups
- Users able to approve or reject activation requests in PIM
- Users assigned to an access review
- Users who perform access reviews
For more detailed information about licensing, check out this article.
What is Privileged Identity Management, and why should you use it?#
Azure Active Directory has many administrator roles. The most privileged role is the Global Administrator Role. With that role, you have “the keys to the kingdom”. Microsoft recommends having fewer than 5 Global Administrators per tenant. And yet, most of the tenants I’ve seen have over 20 global admin accounts in place. And to make it even worse, most of those accounts were not even protected with multi-factor authentication…..
In most organizations, admin roles are assigned permanently and are never reviewed. These roles can often be used on untrusted locations and devices, even when the user is not working, or having some extra time off.
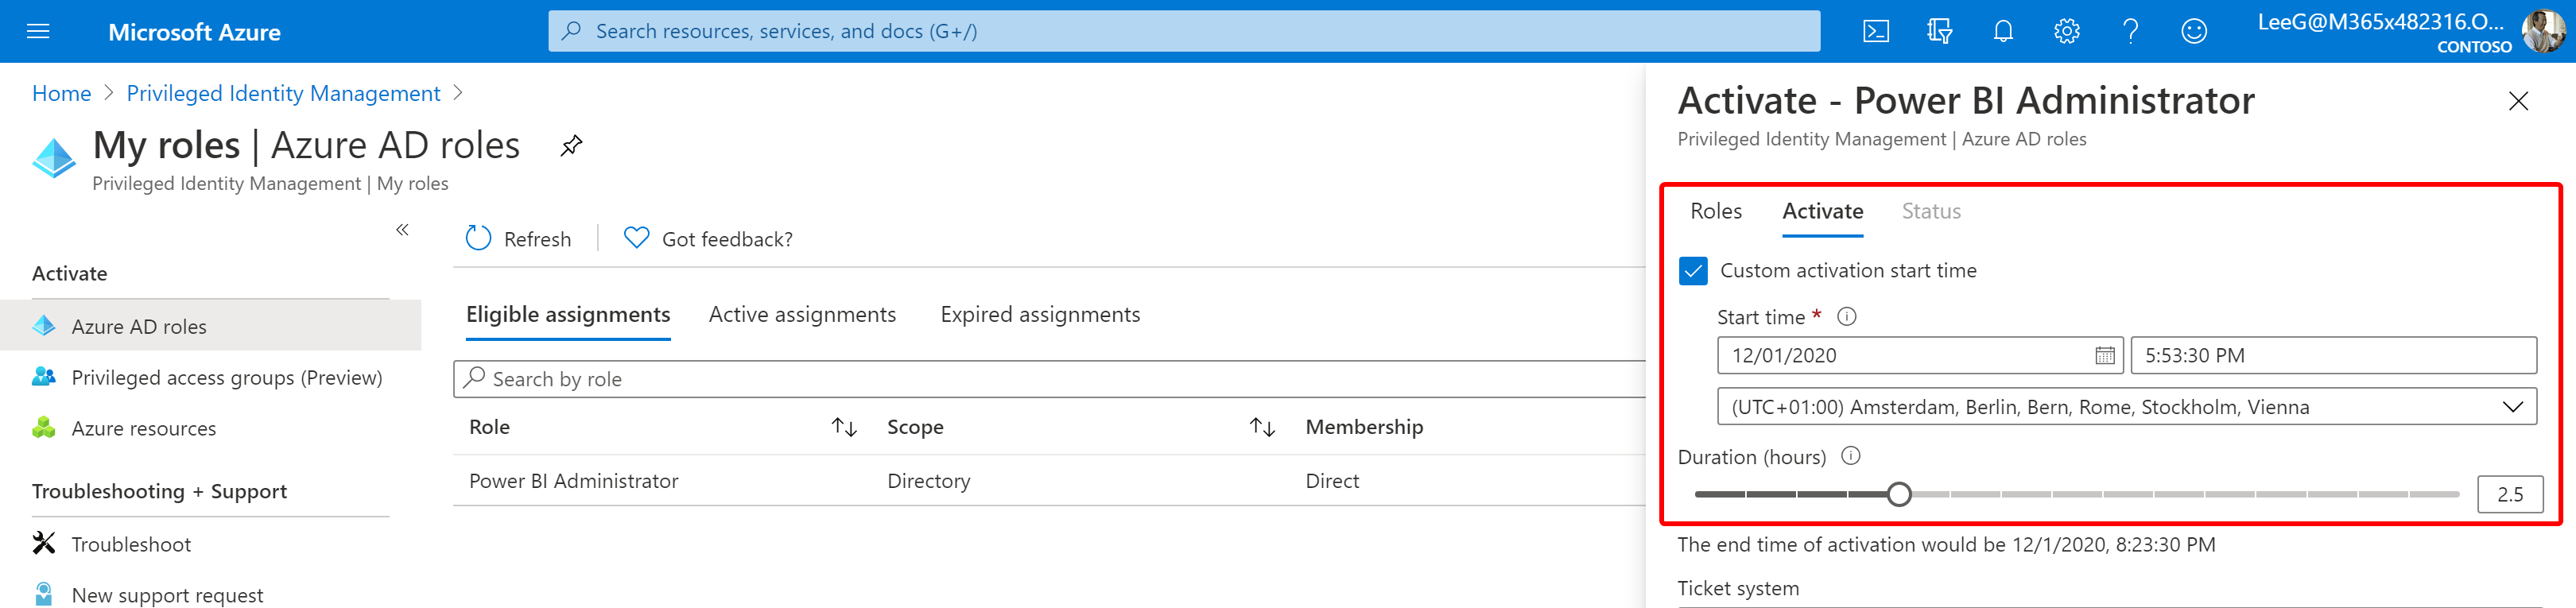
Just-in-time
With Privileged Identity Management, your administrators can request their eligible roles whenever they need them. Roles are active for a specific amount of time and can be requested upfront.
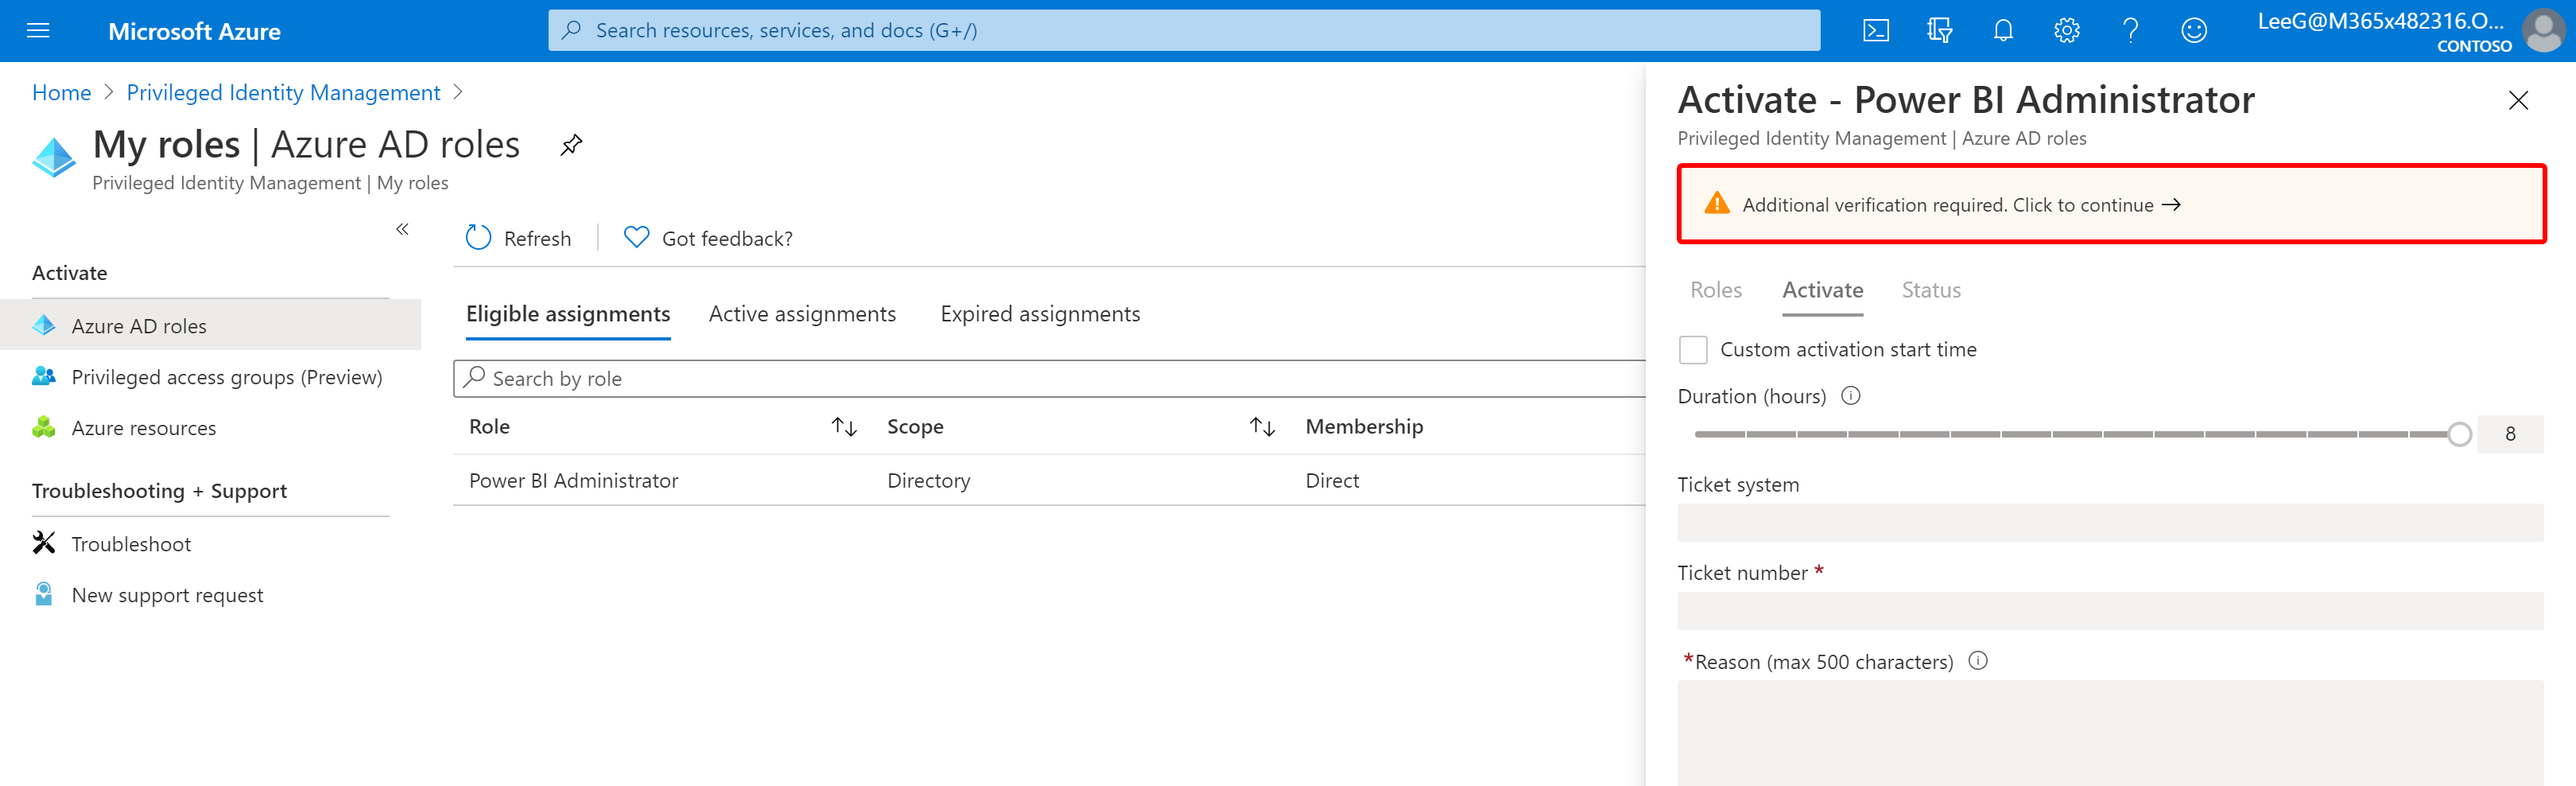
MFA
Every time an admin requests a role, MFA is required. So, despite any other MFA configuration done by Conditional Access or Identity Protection, your admins are always protected. Without extra verification, the role cannot be applied.
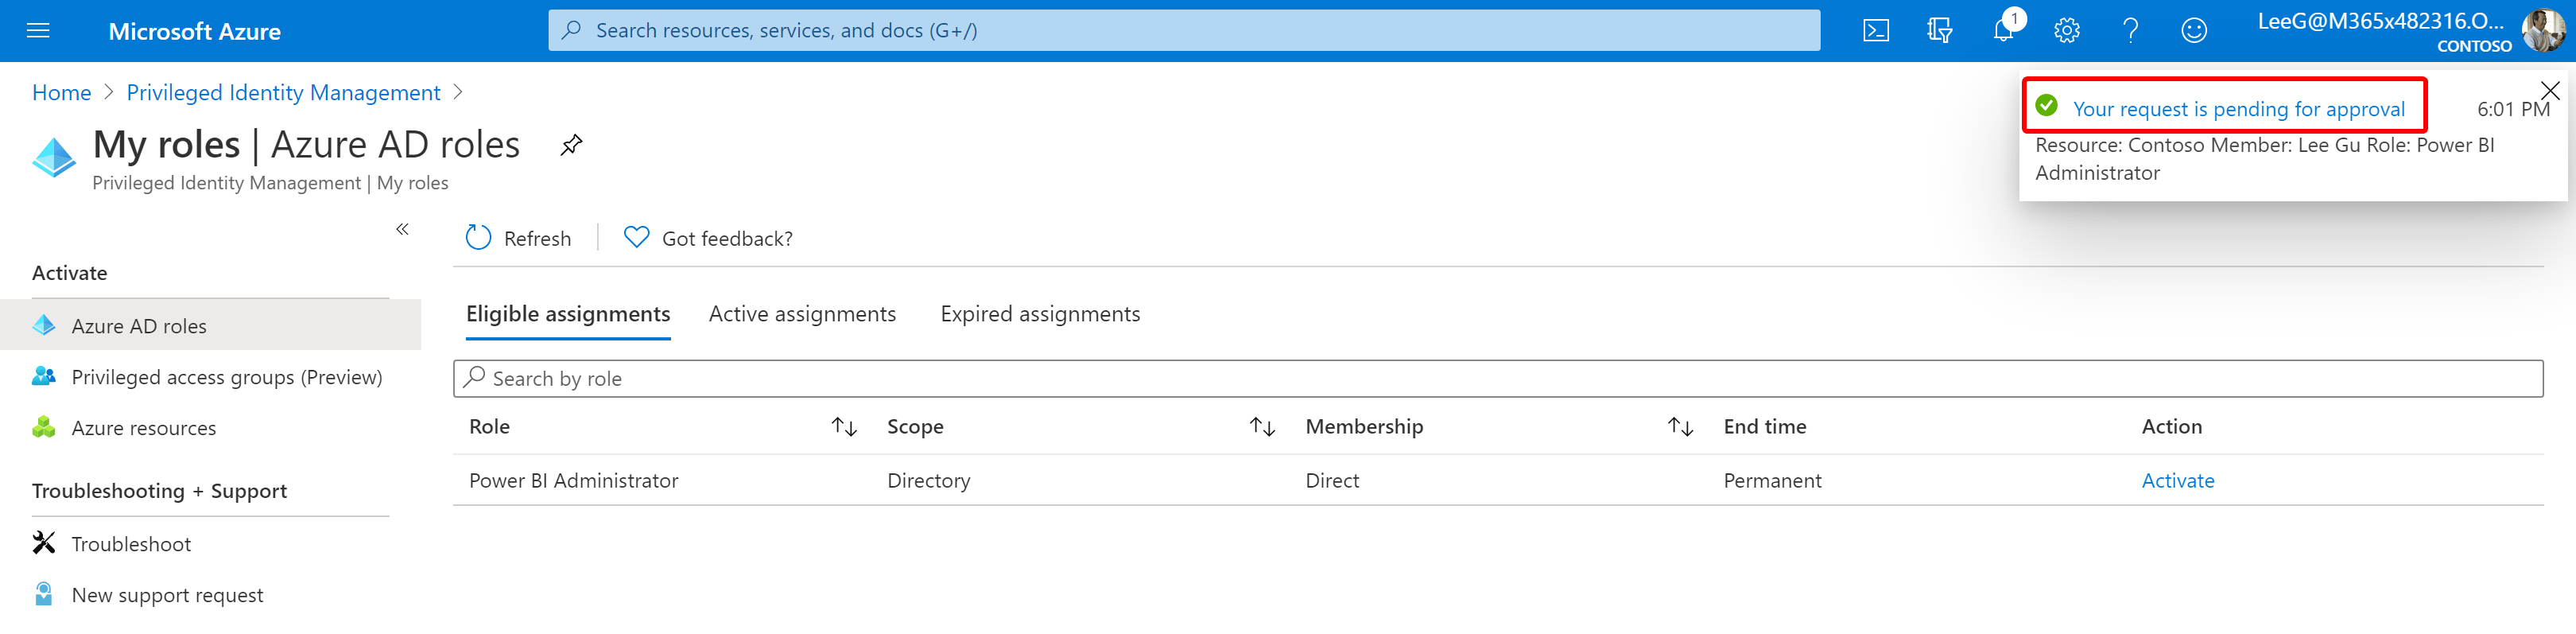
Approval
Like the 4-eyes principle, you can add an extra layer of approval before a role is activated. This way you have total control of anyone using the global admin role for example. You can add multiple approvers. If no specific approvers are selected, privileged role administrators and global administrators will become the default approvers.
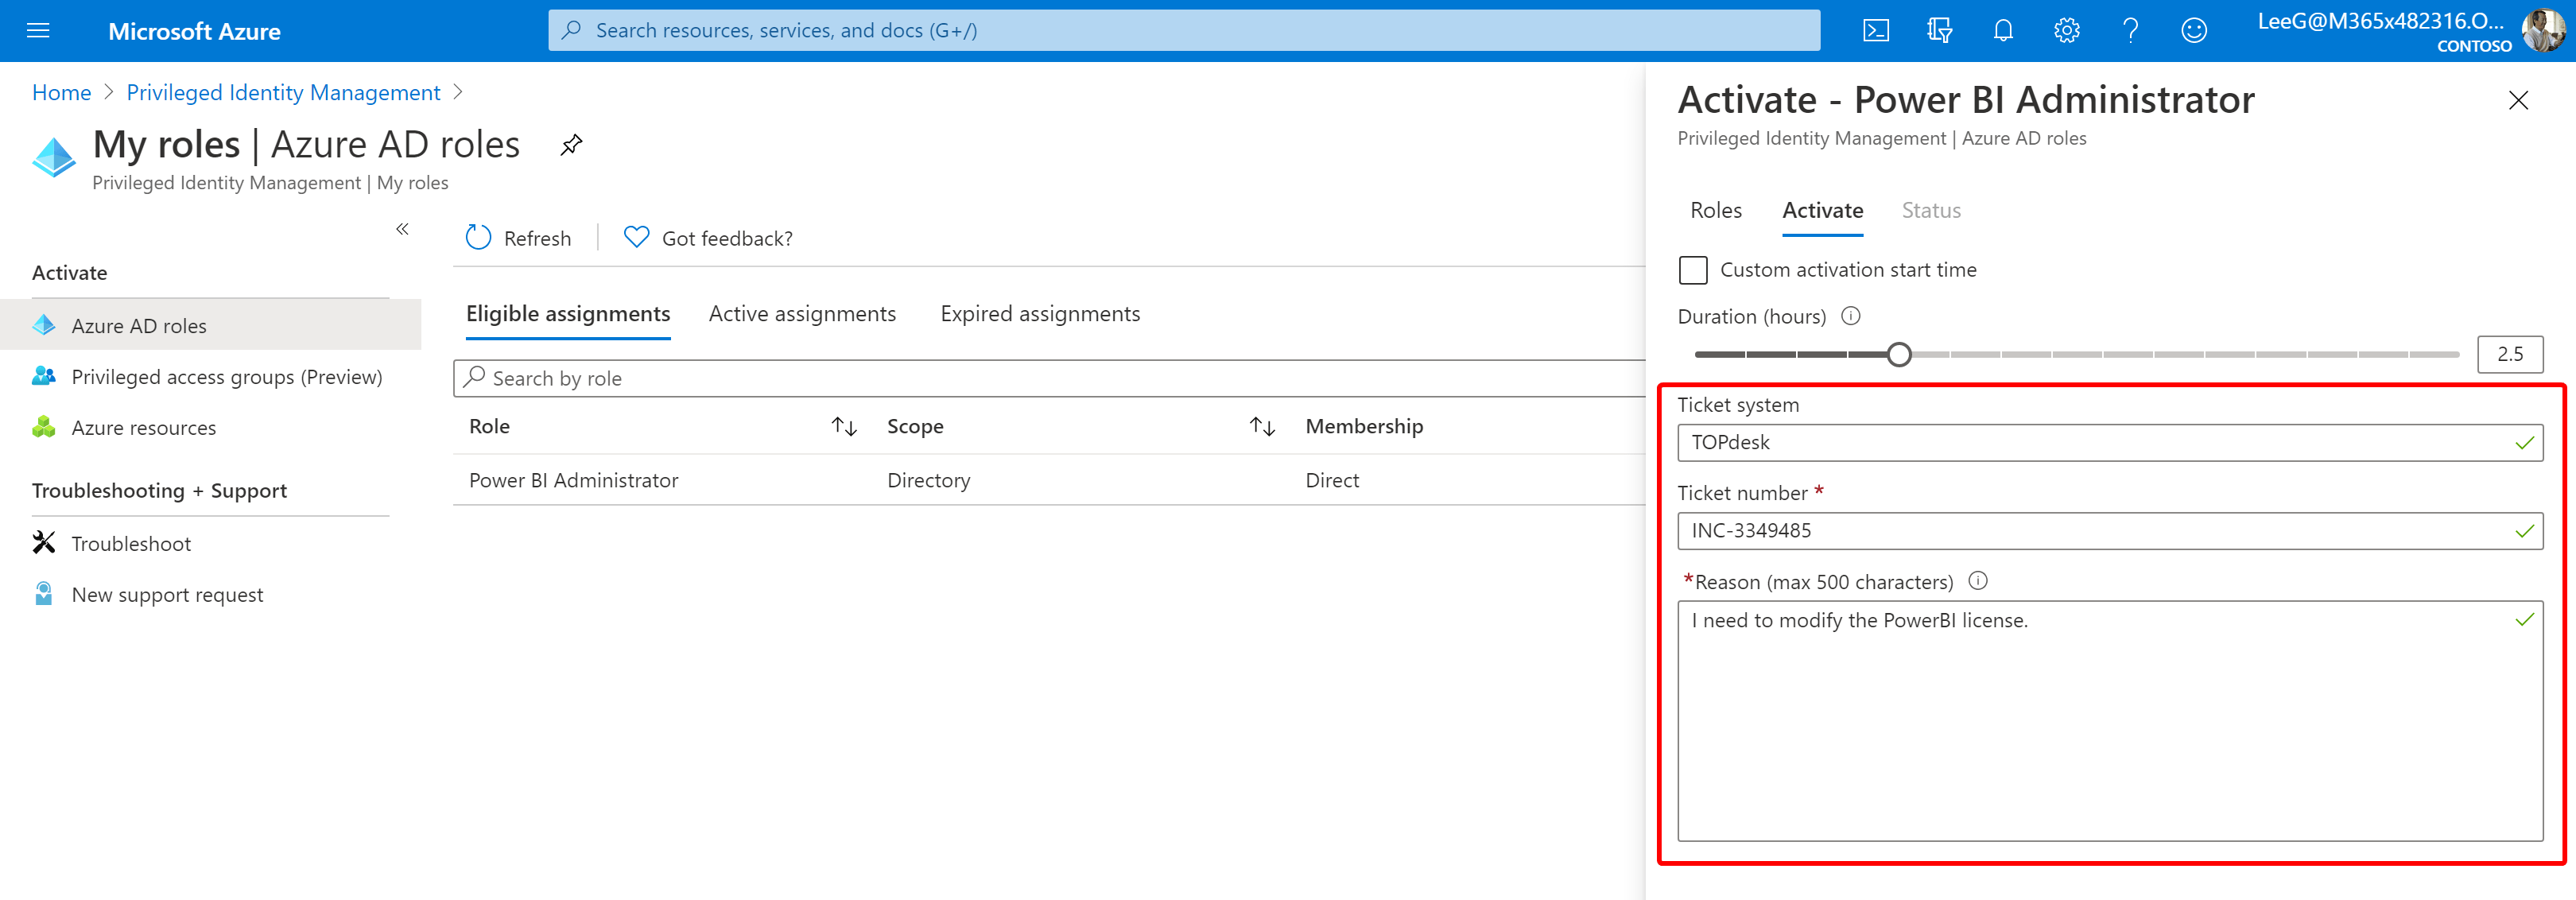
Justification / ticket information
You can require some justification or a ticket number before approval. With this information, you can add valuable information to your audit trail.
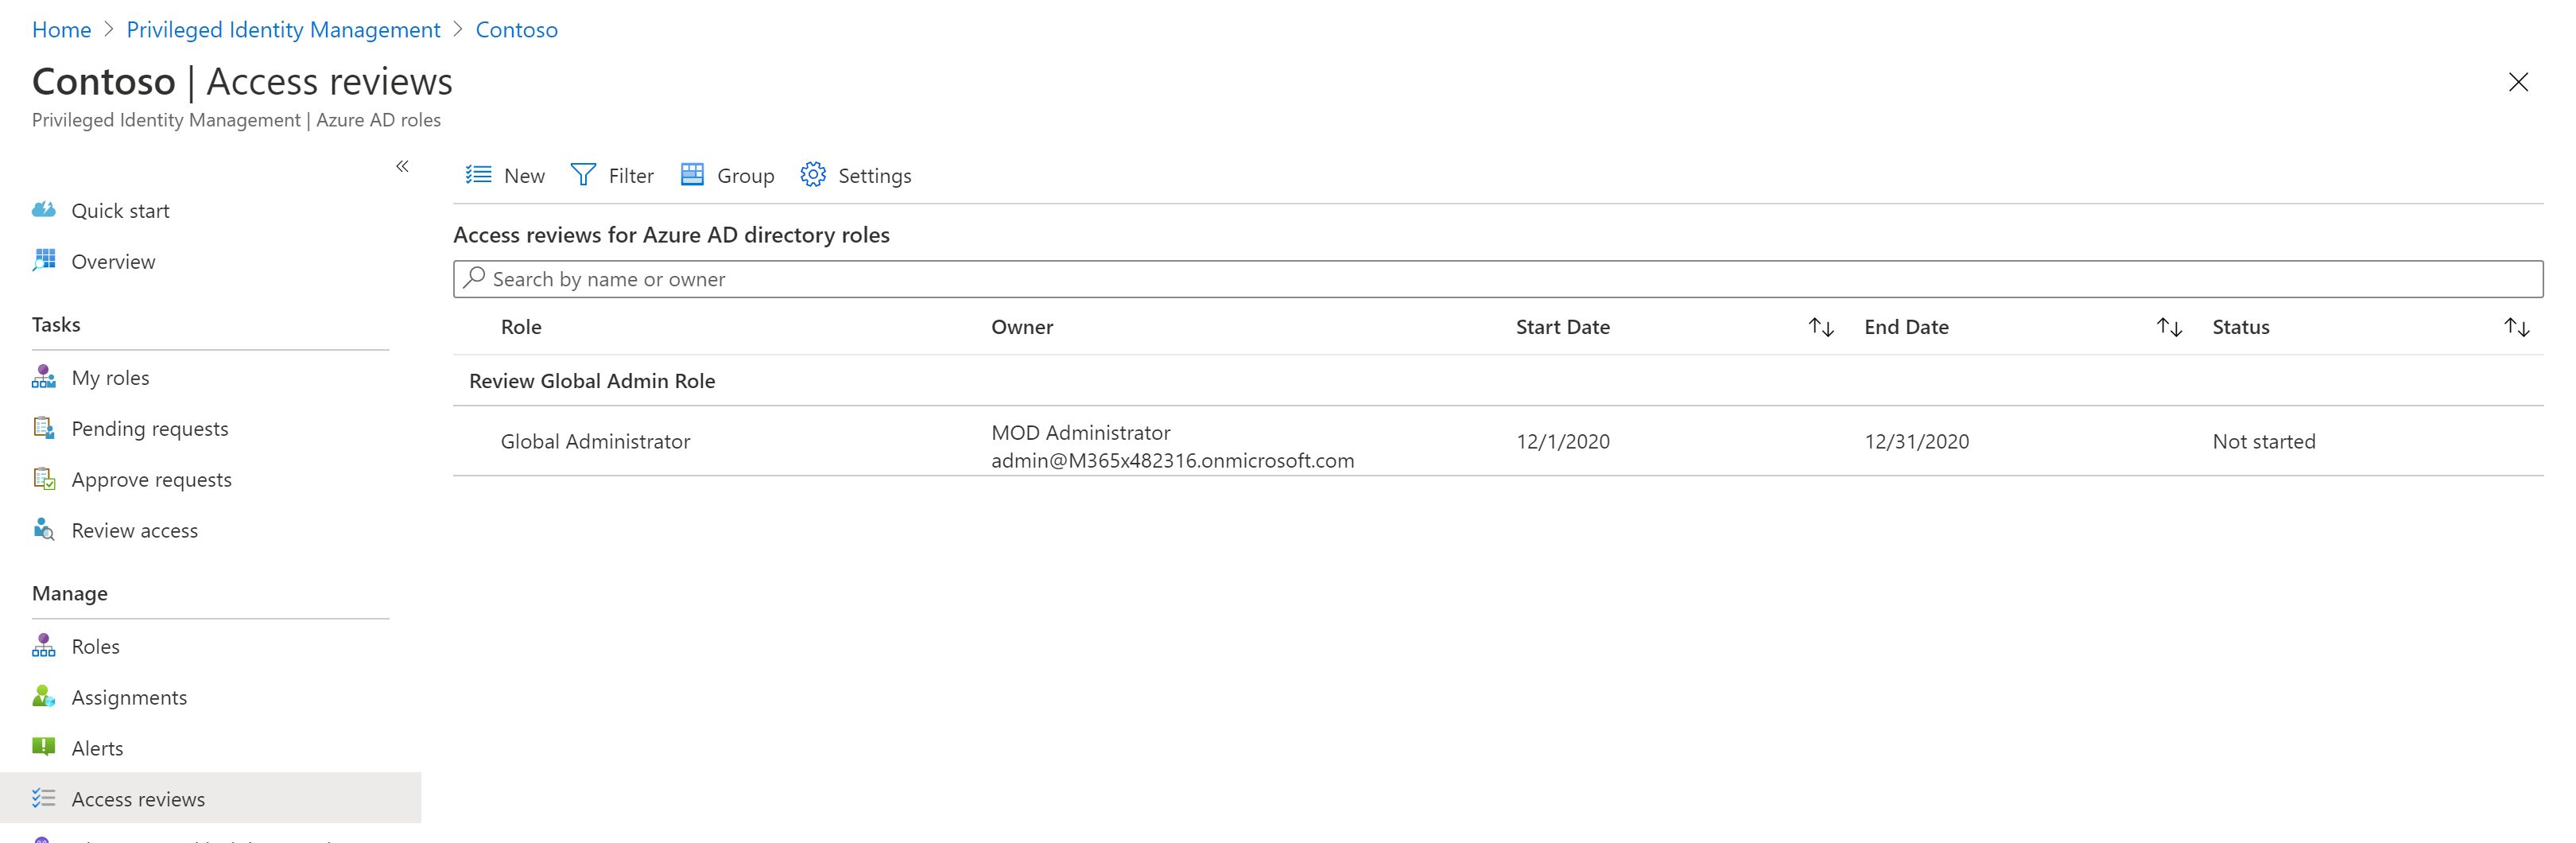
Access Reviews
As explained in my previous blog post, access reviews can also be used to review admin roles or access to resources. By using this feature you can make sure that active and eligible roles are still needed.
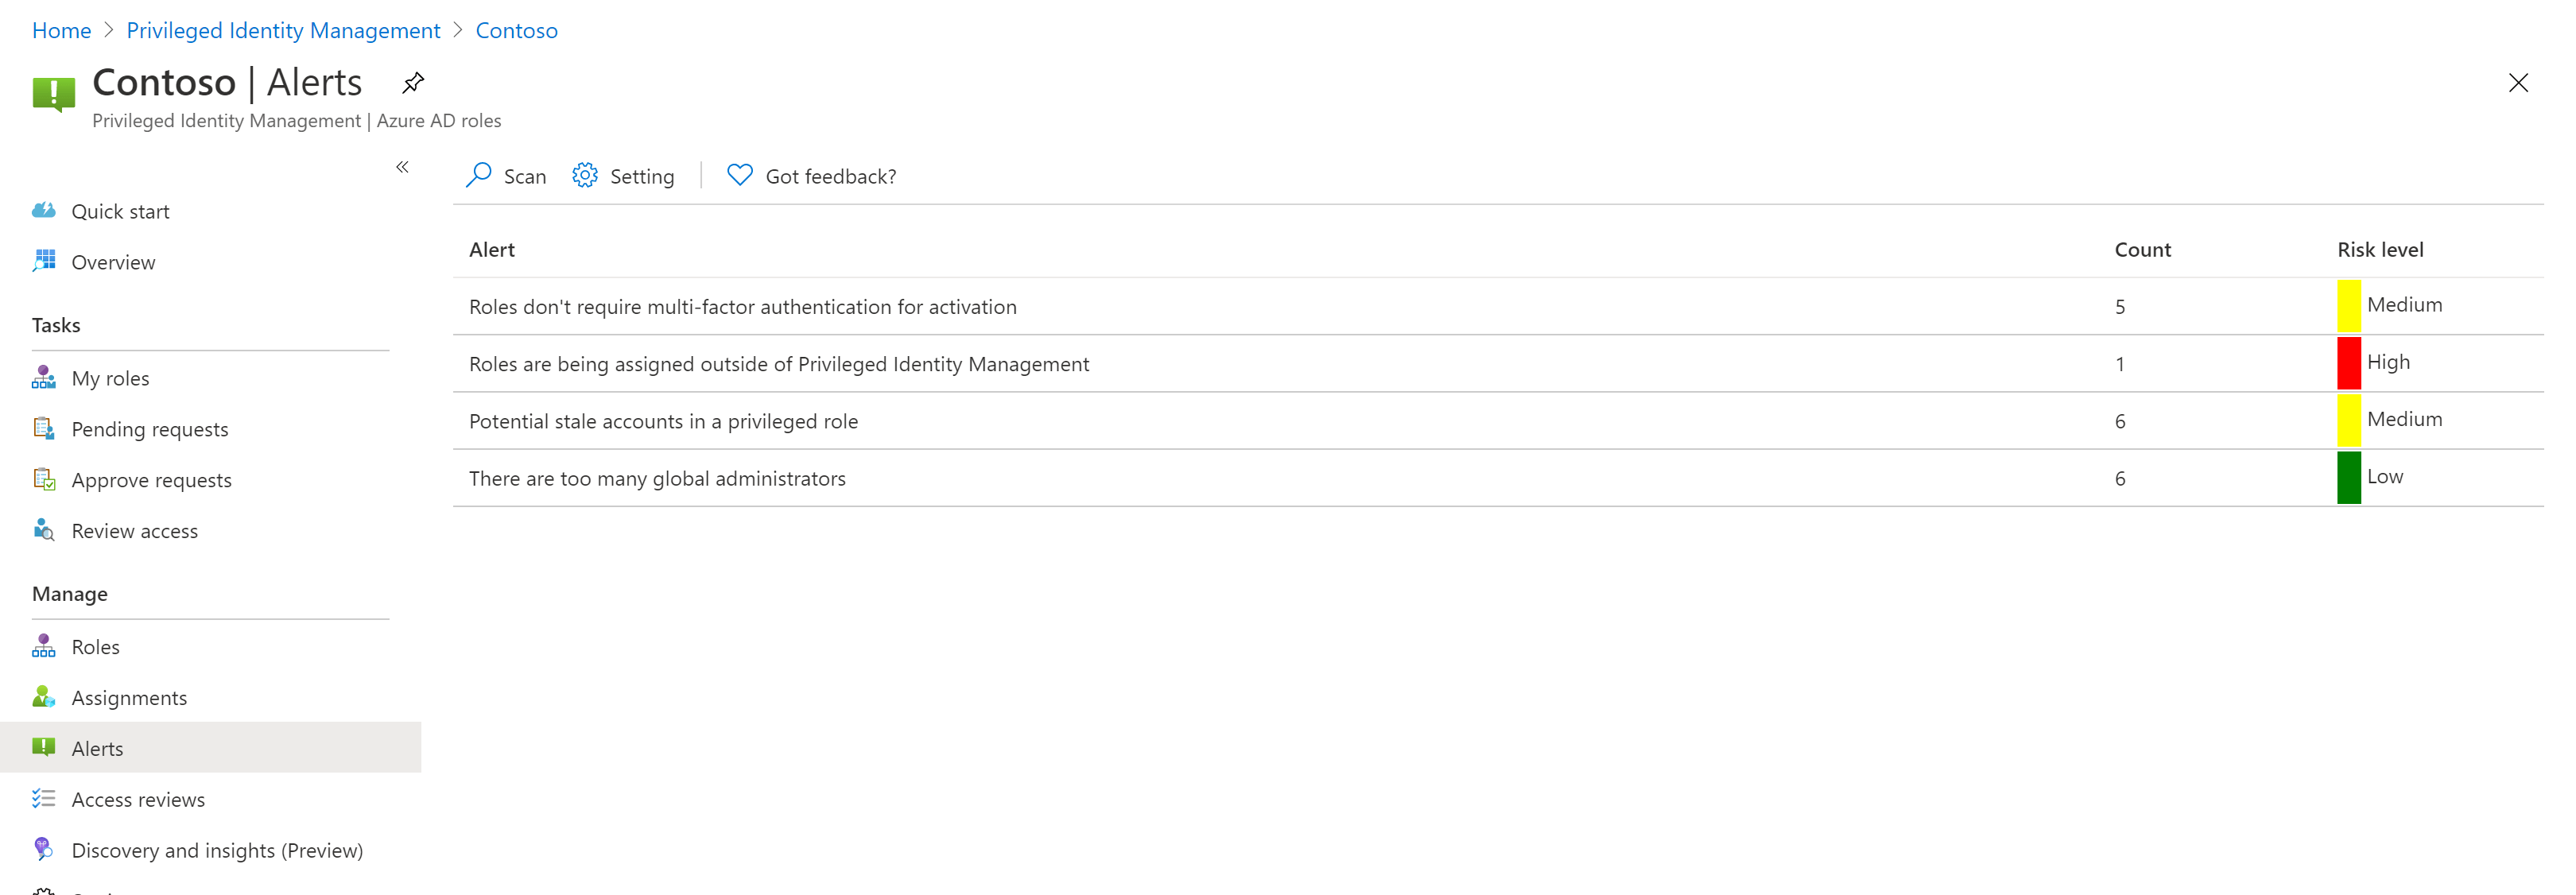
Alerts
Privileged Identity Management is keeping an eye on your Azure Active Directory. When suspicious activity is detected, an alert is raised. Roles that are being assigned outside of PIM, are also detected.
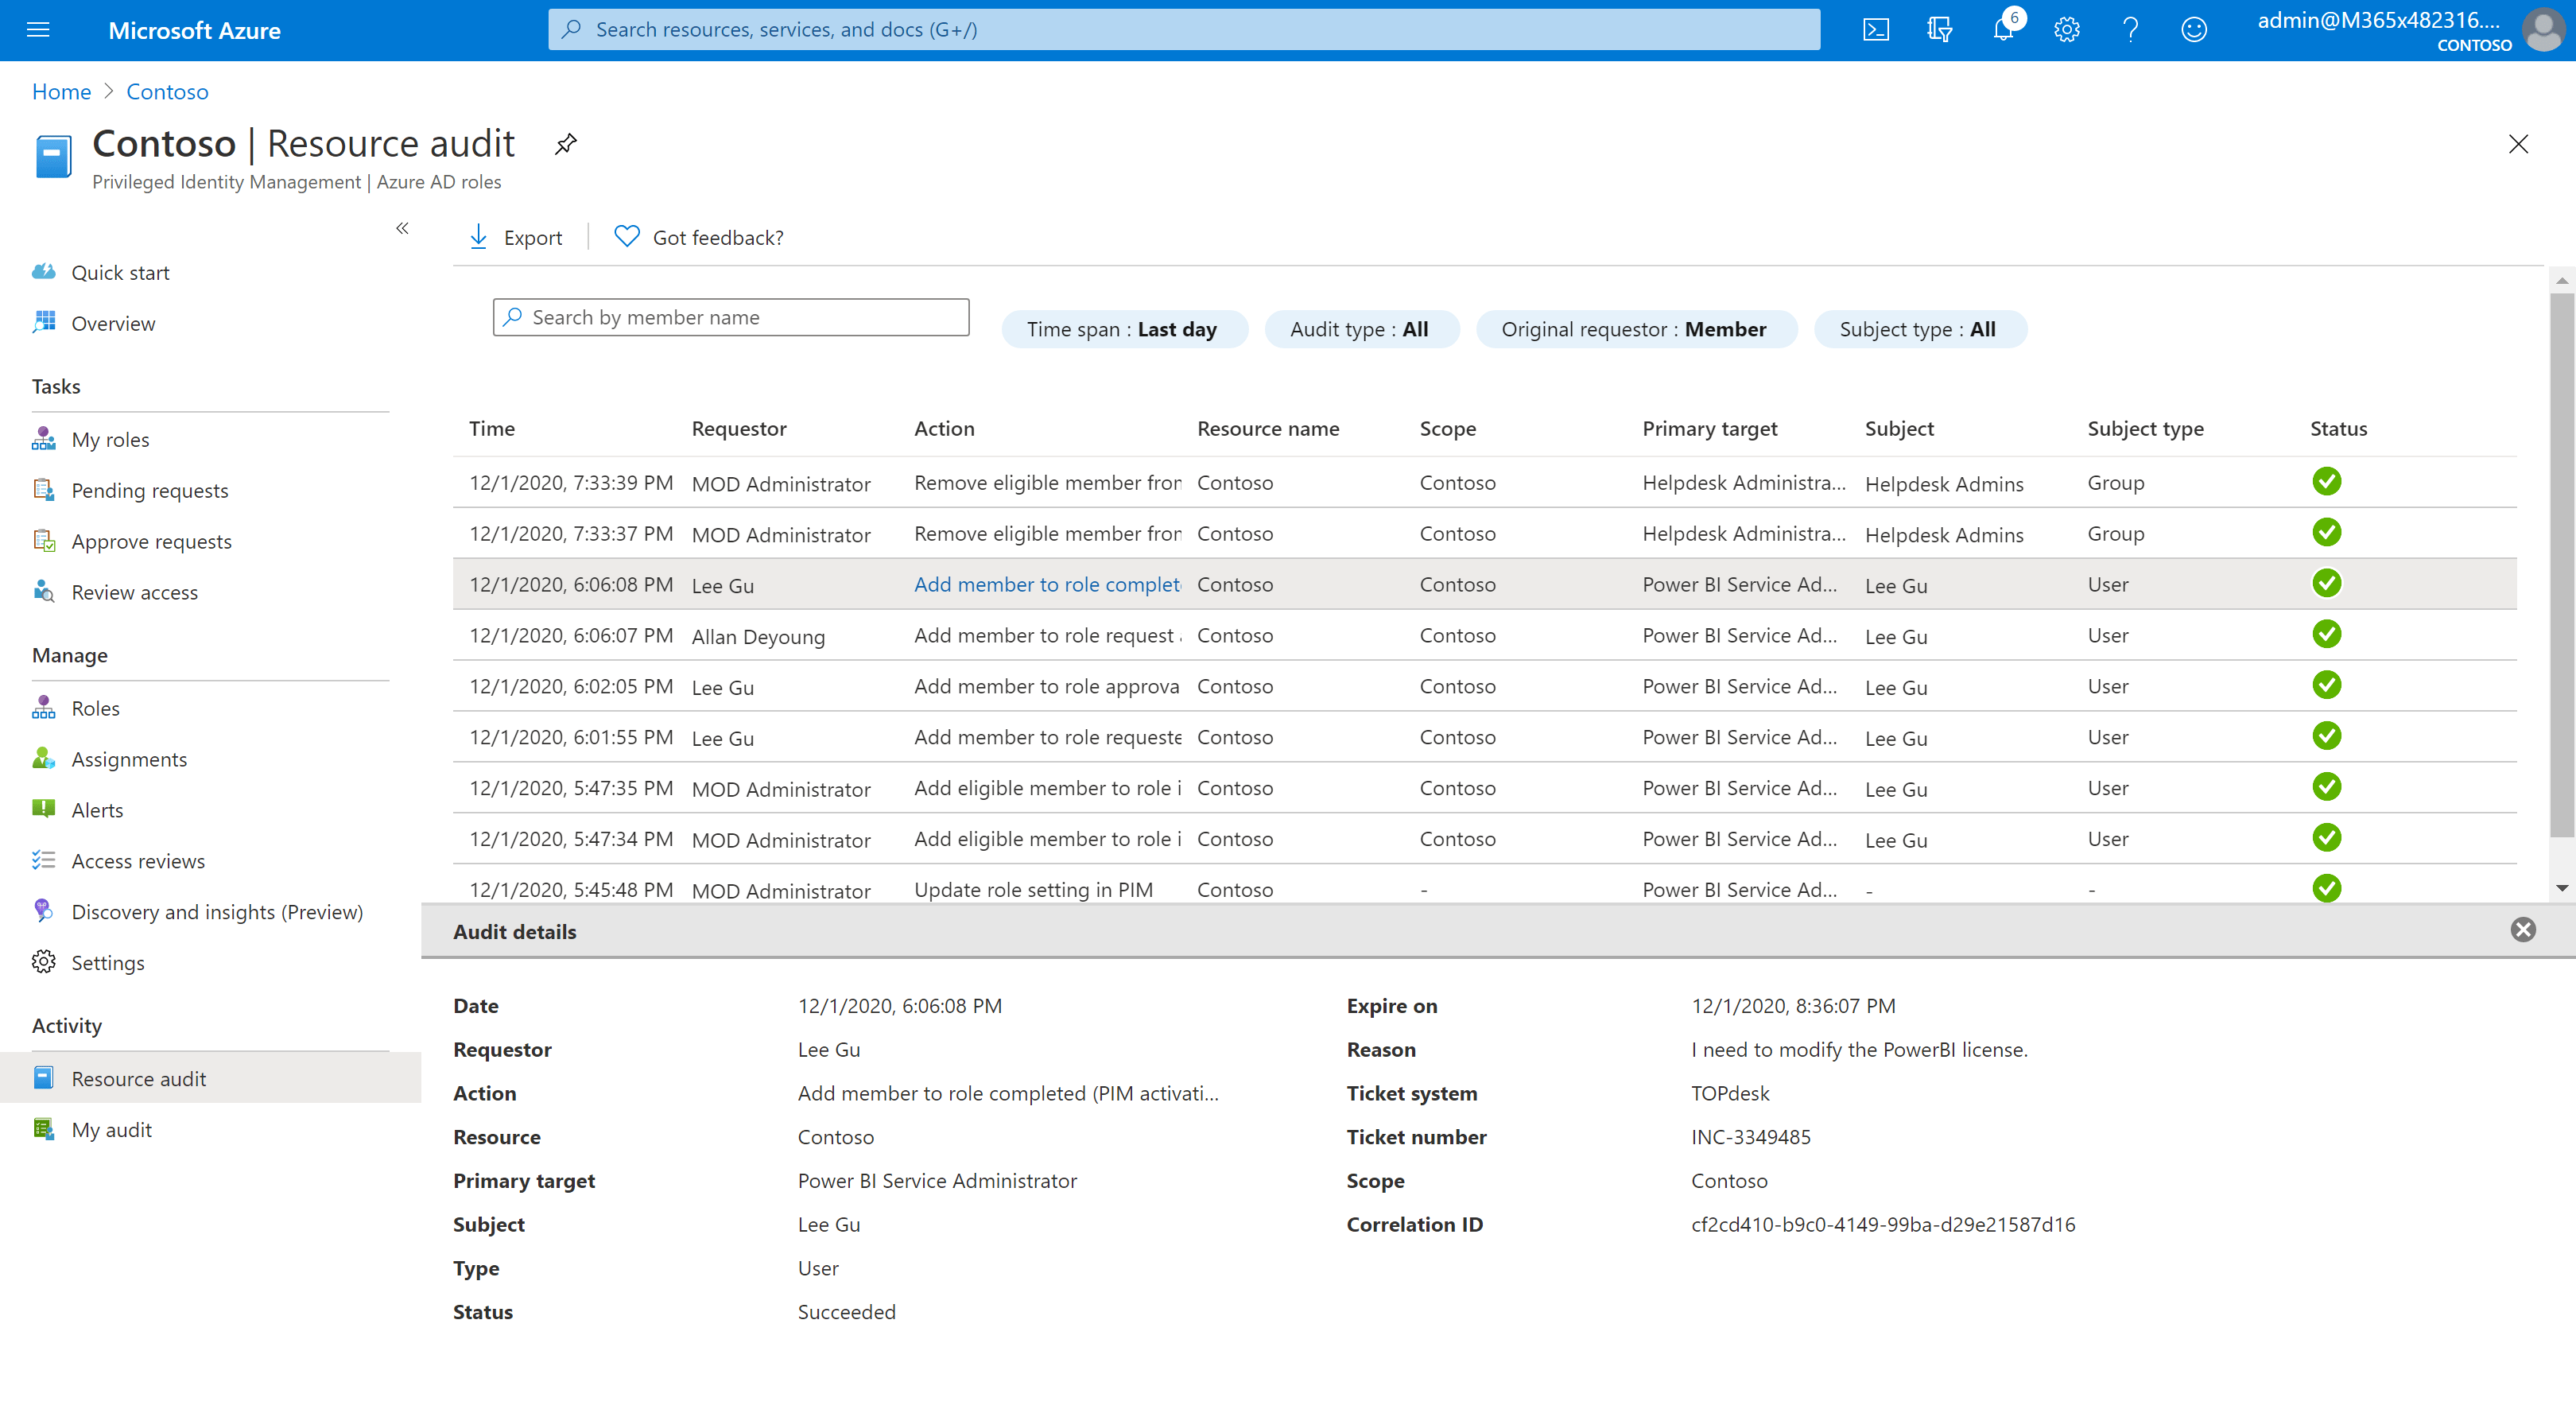
Audit Logs
Who did what, why, and when? What roles are being used, and for what purpose? Especially in larger organizations audit logs are crucial. You can easily keep track of all role-based activities in PIM, including the resources, roles, and subscriptions involved.
The admin (requester) experience#
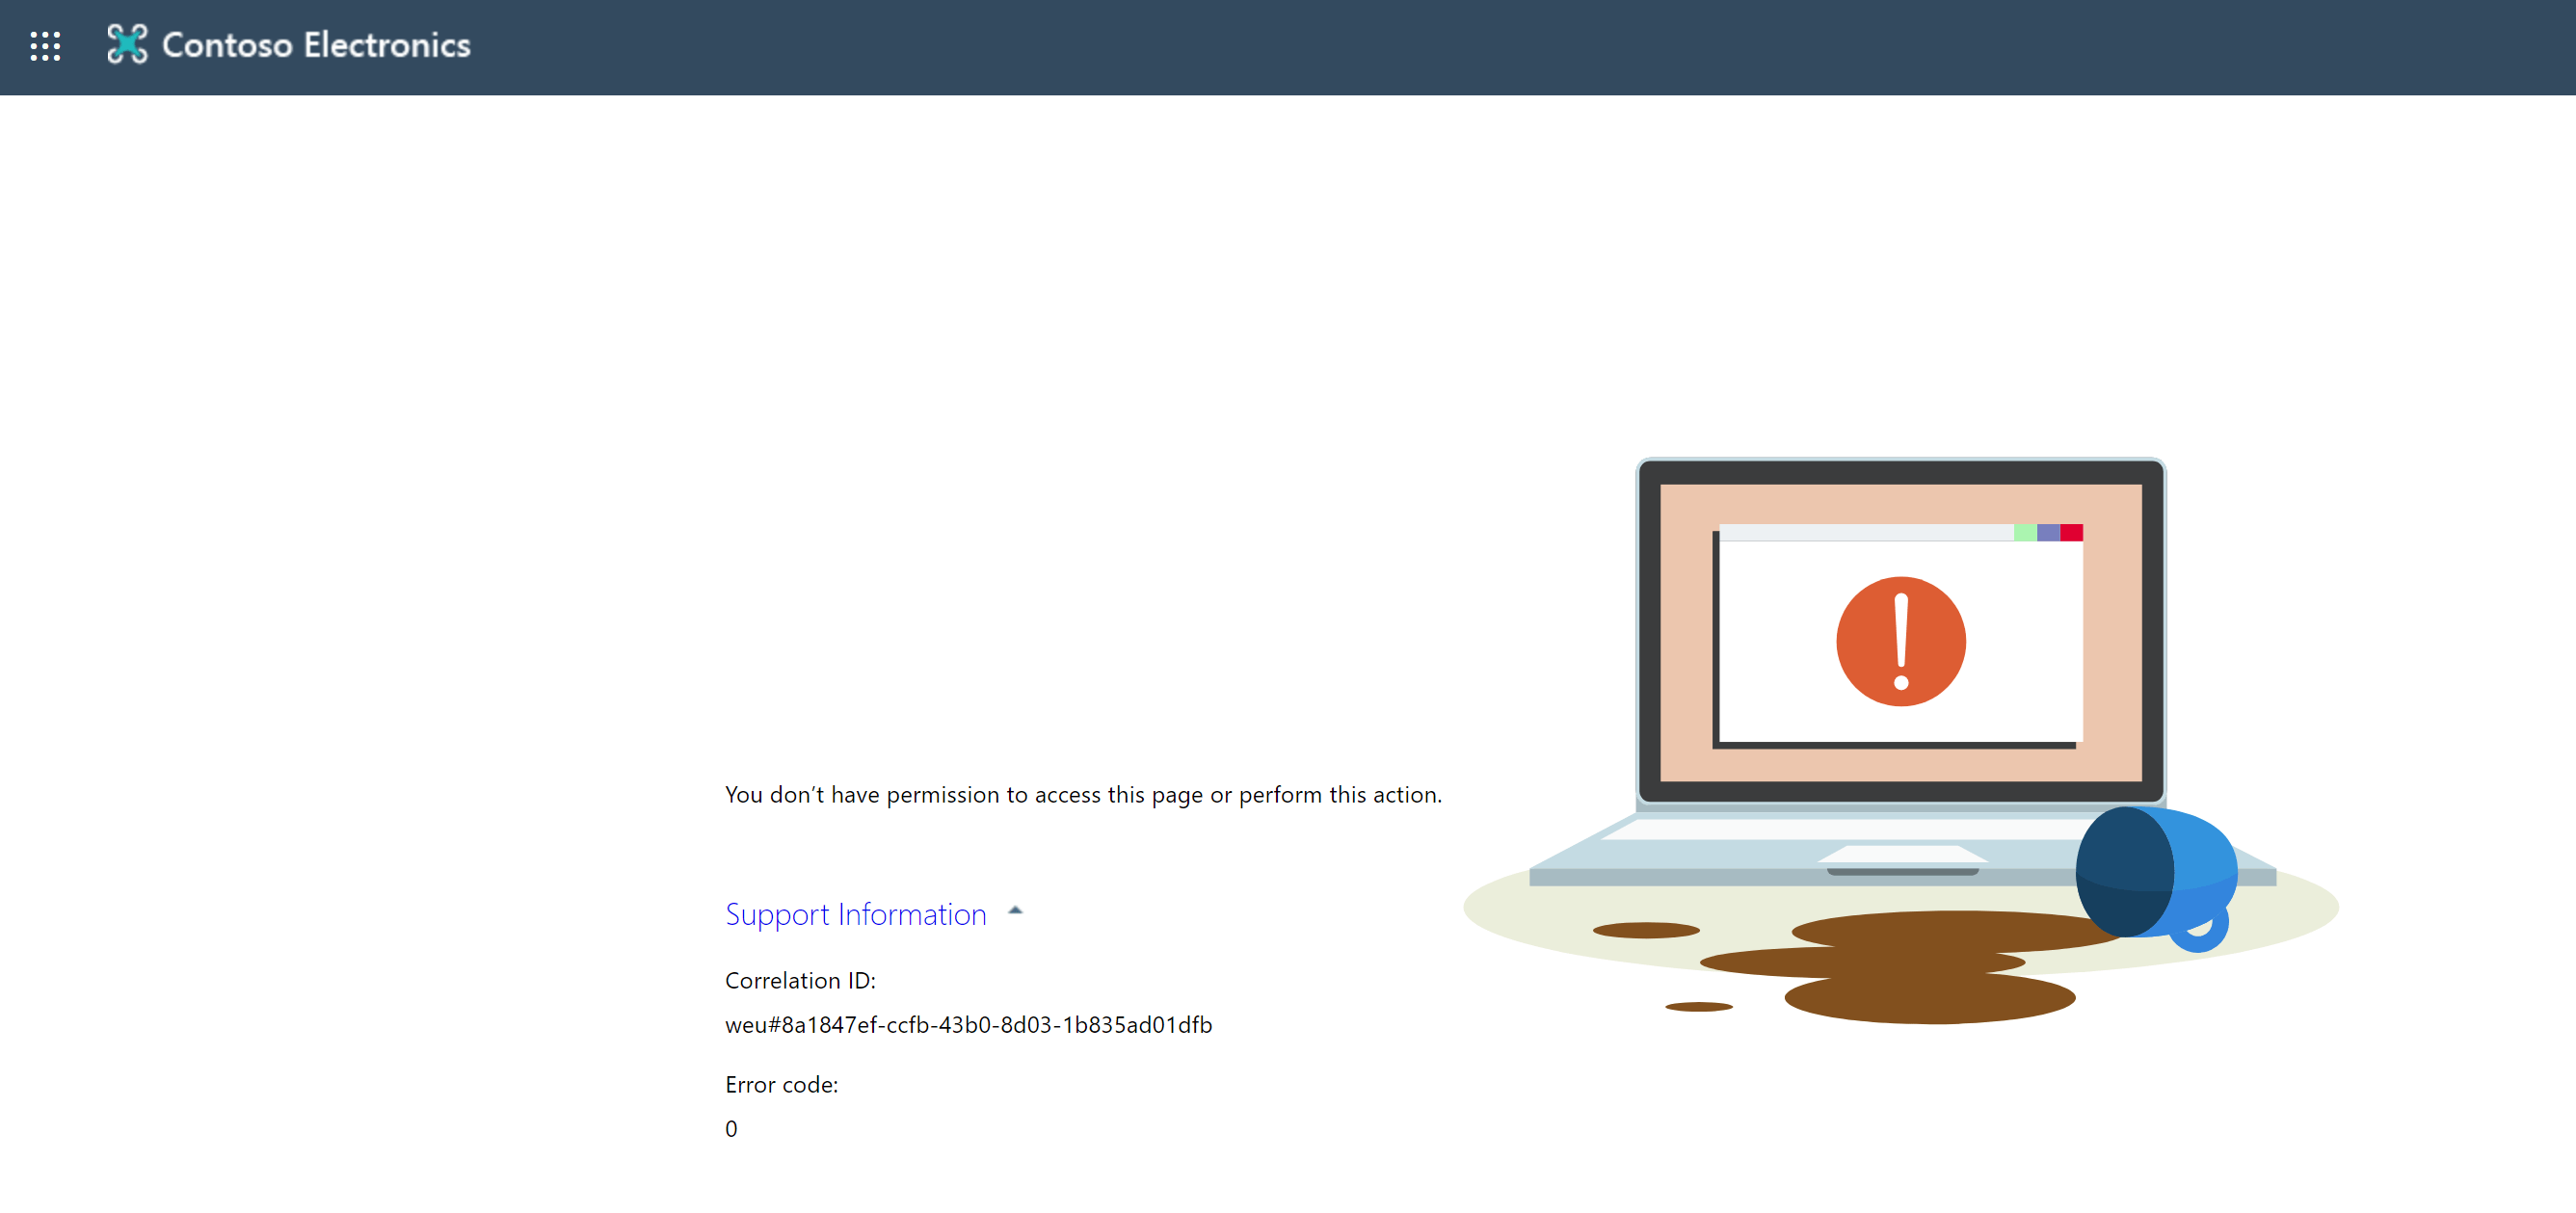
So, how does this looks from an administrators’ perspective? Assume our administrator Lee Gu is eligible for the Exchange Administrator role. Without this role active, he cannot change any settings in the Exchange Admin Center.
.
First, Lee needs to activate the role trough Azure AD Privileged Identity Management.
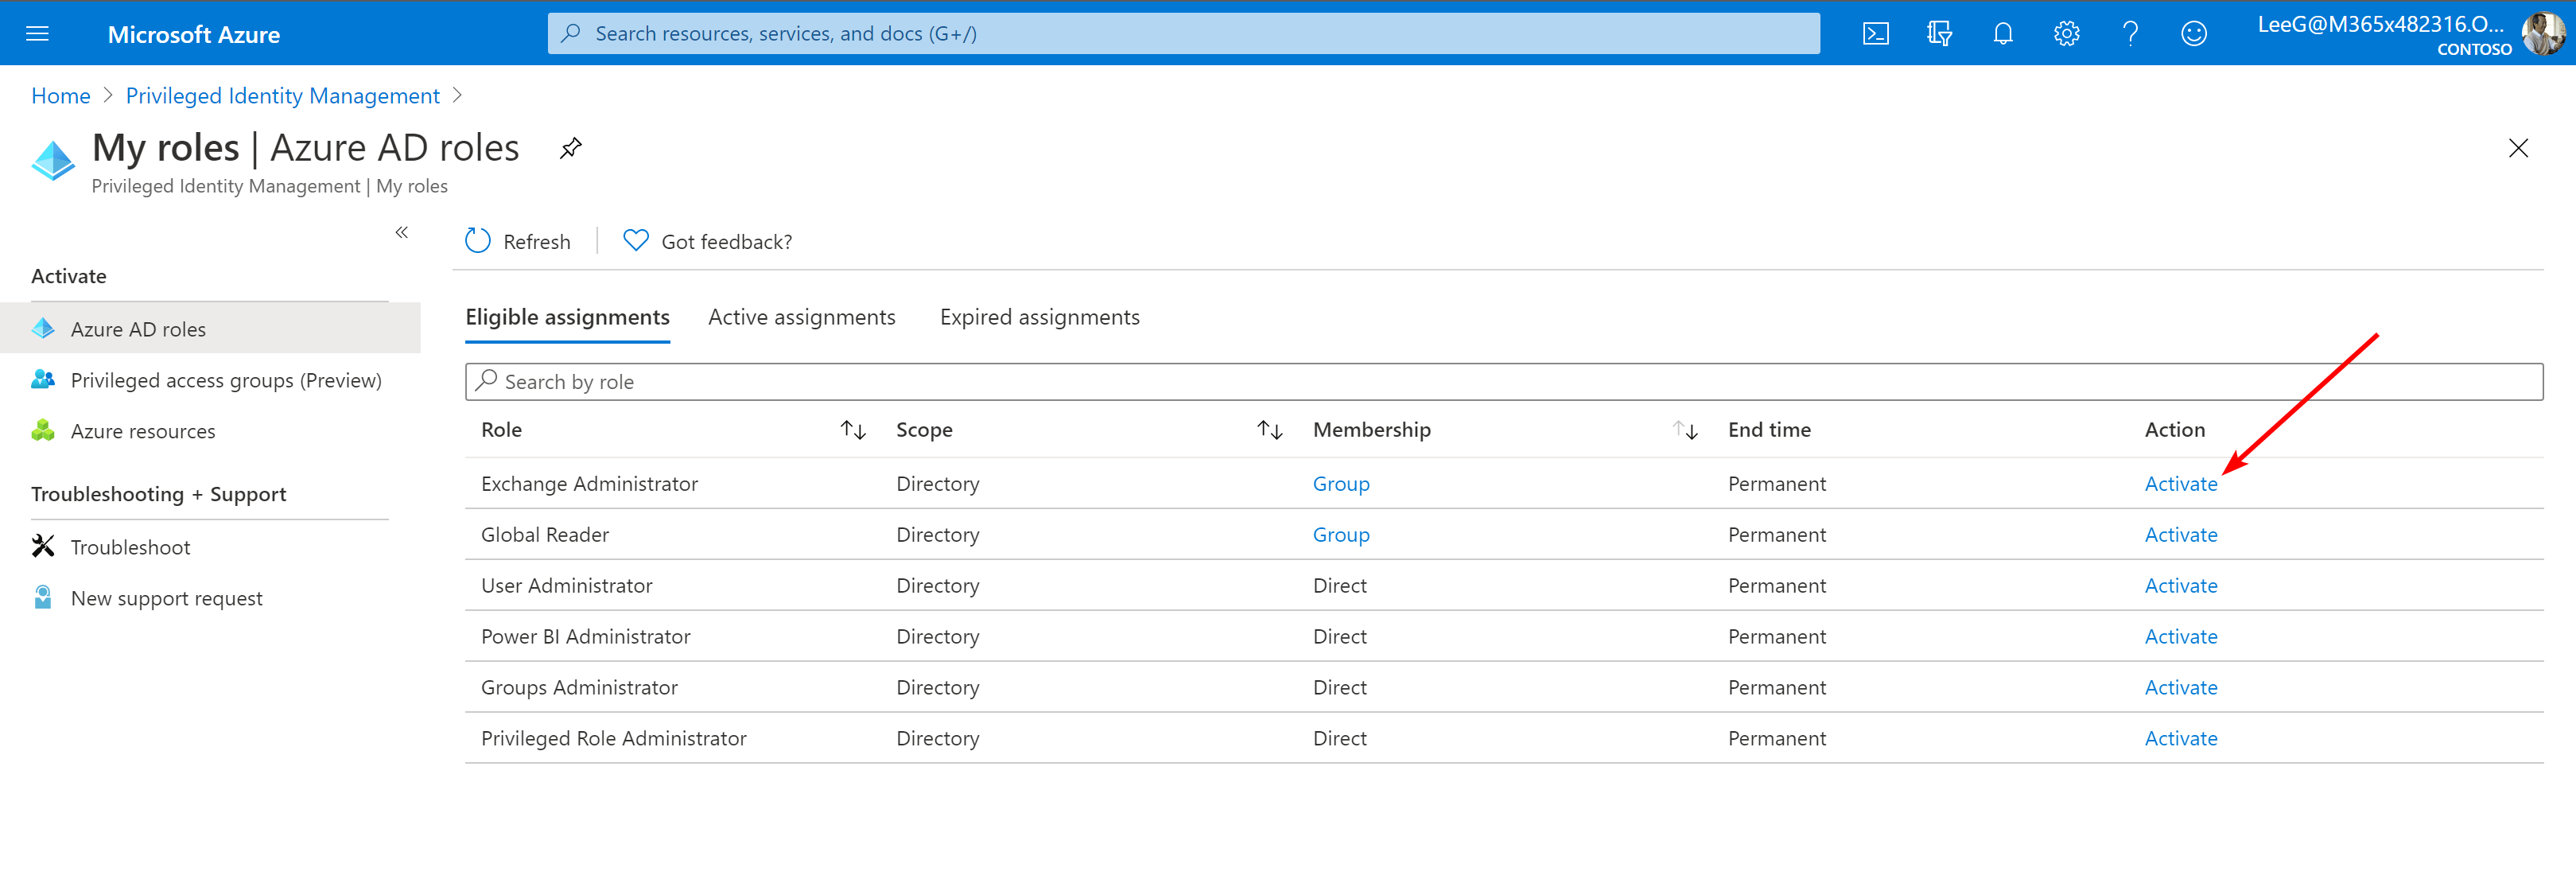
*Roles can be assigned directly, or trough groups (more on that later)*
Before Lee can activate the role, MFA is required. If Lee was prompted for MFA earlier, the session would have been valid.
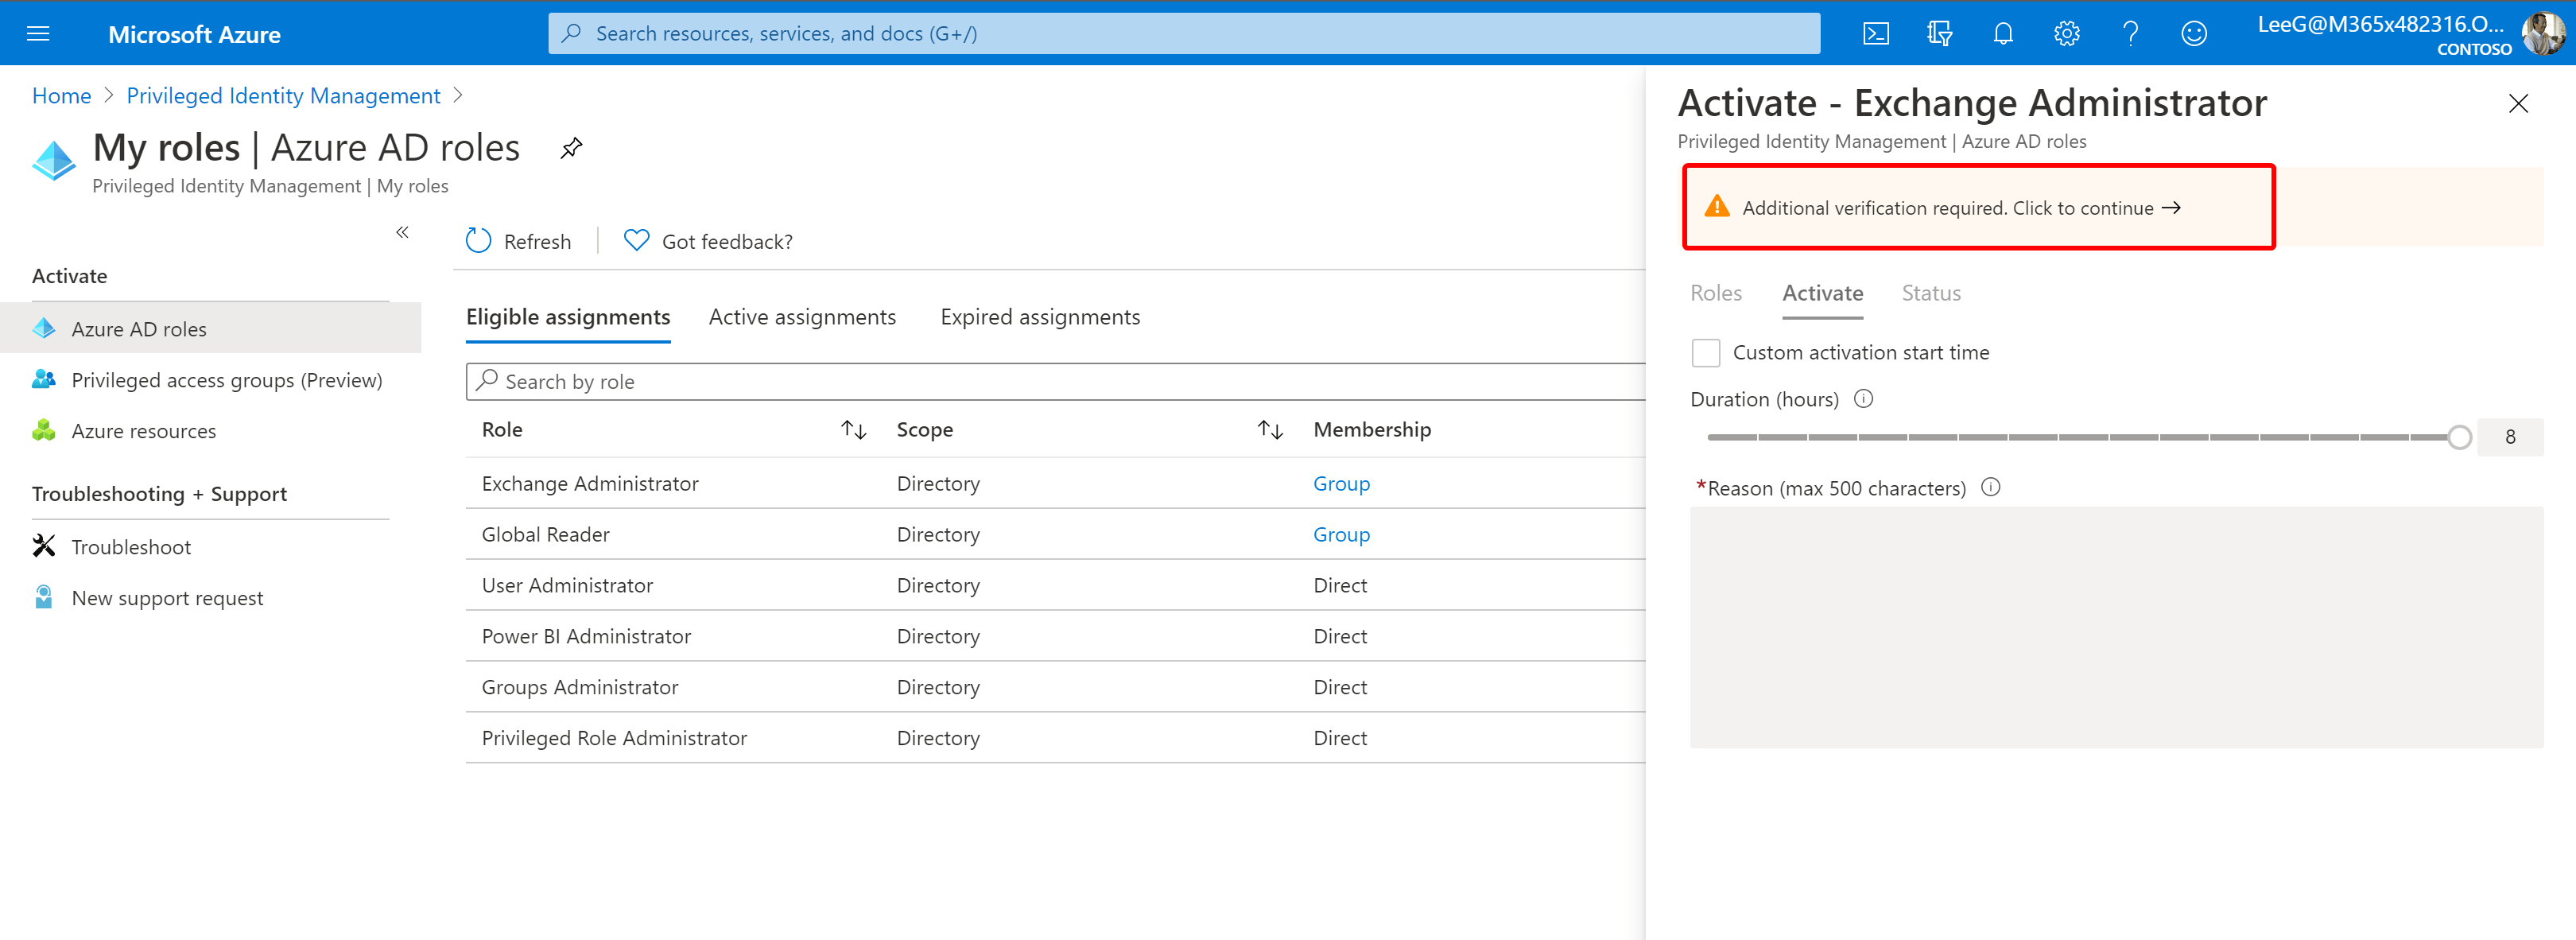
After the verification, Lee has to provide some justification before enabling the role. This is optional.
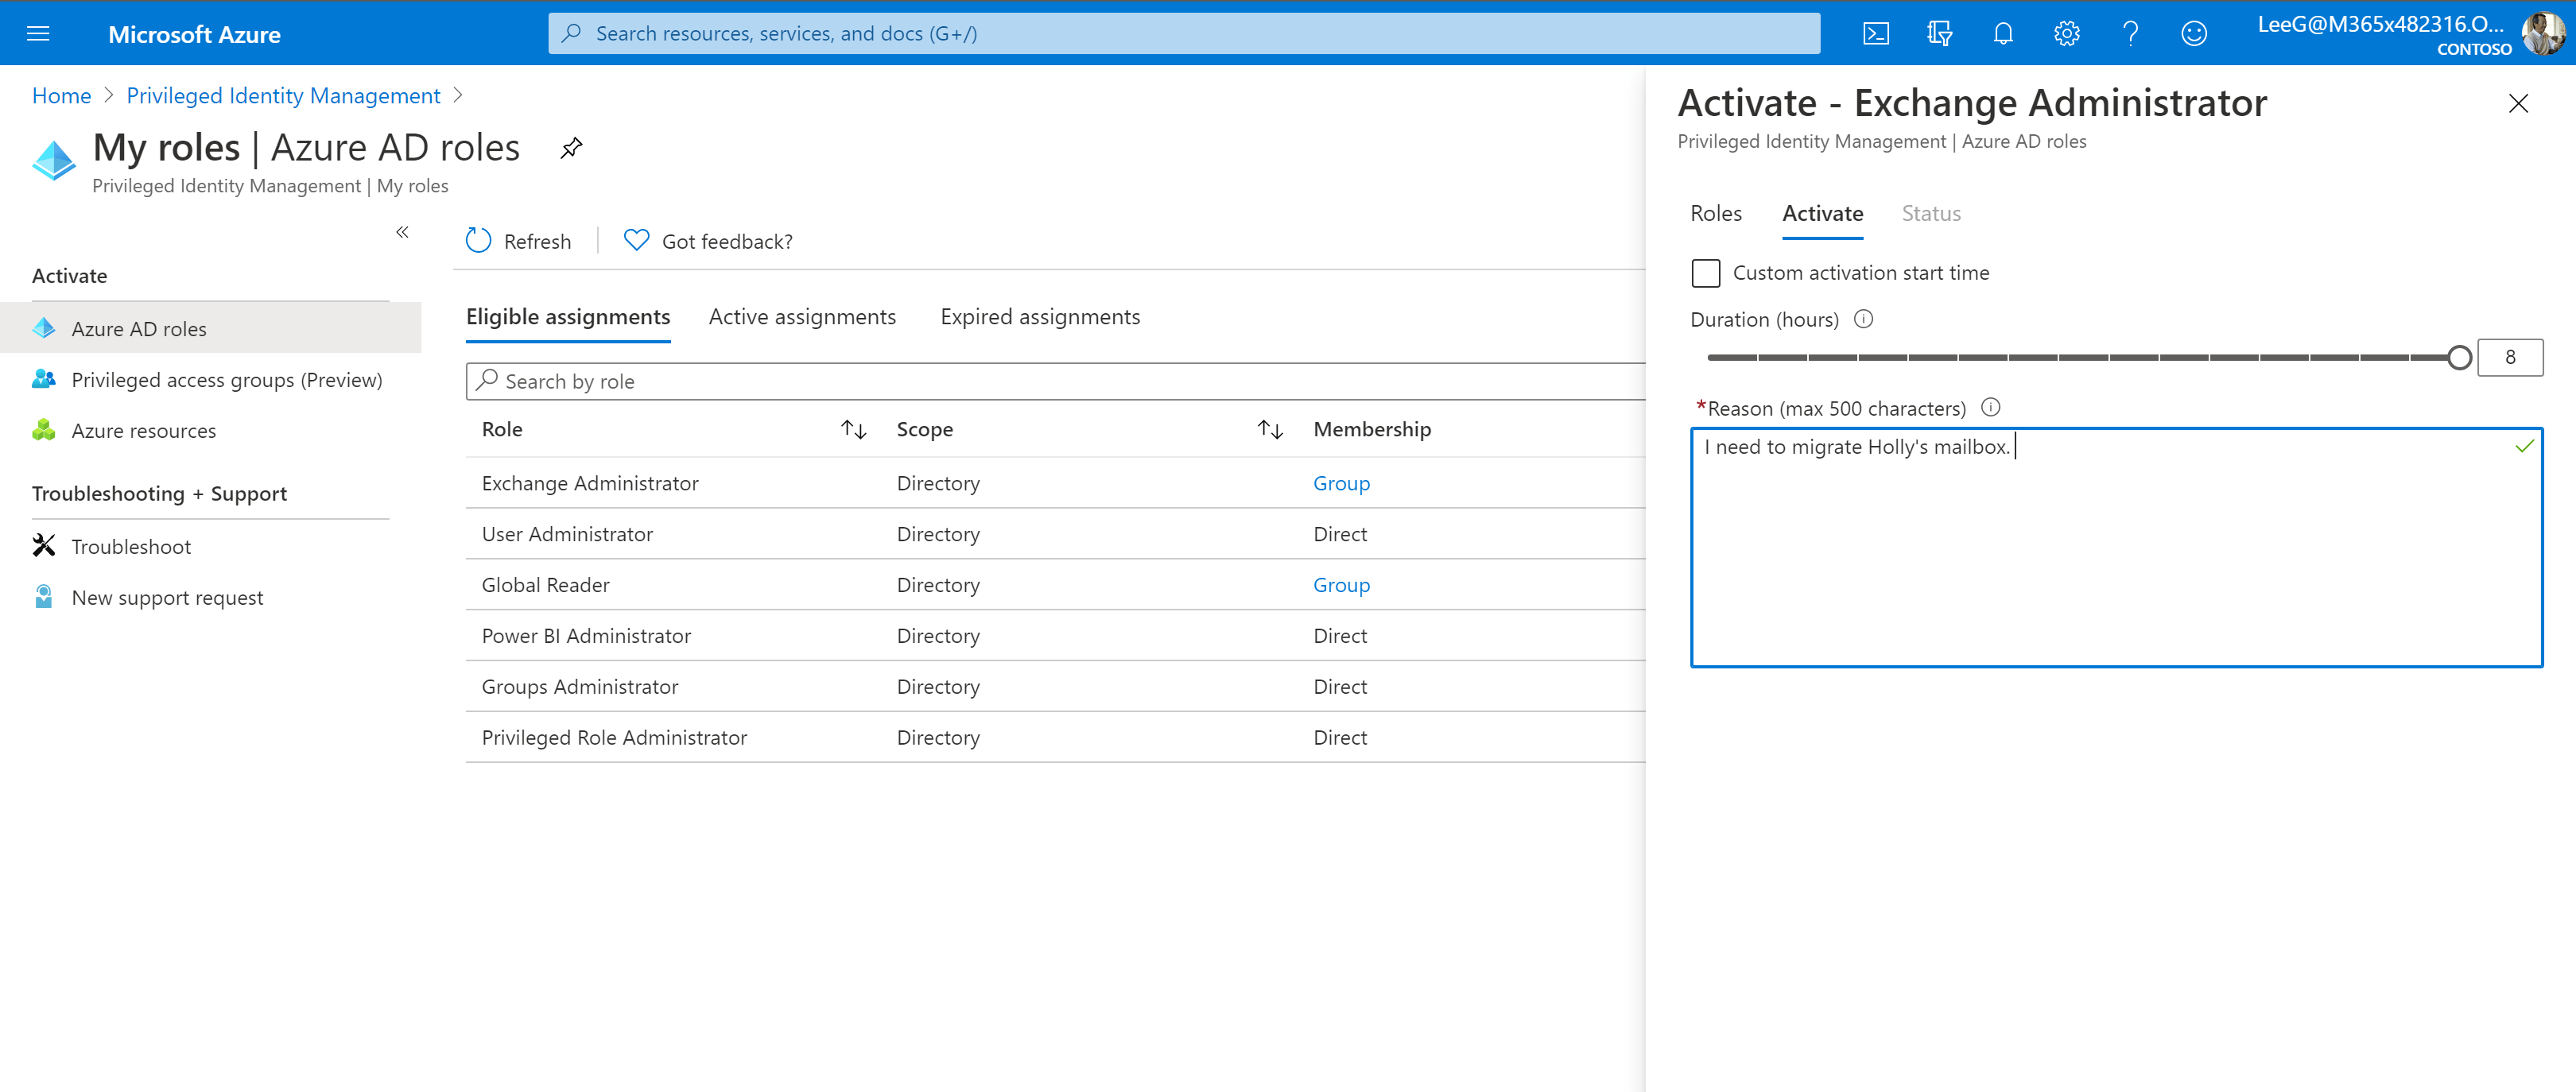
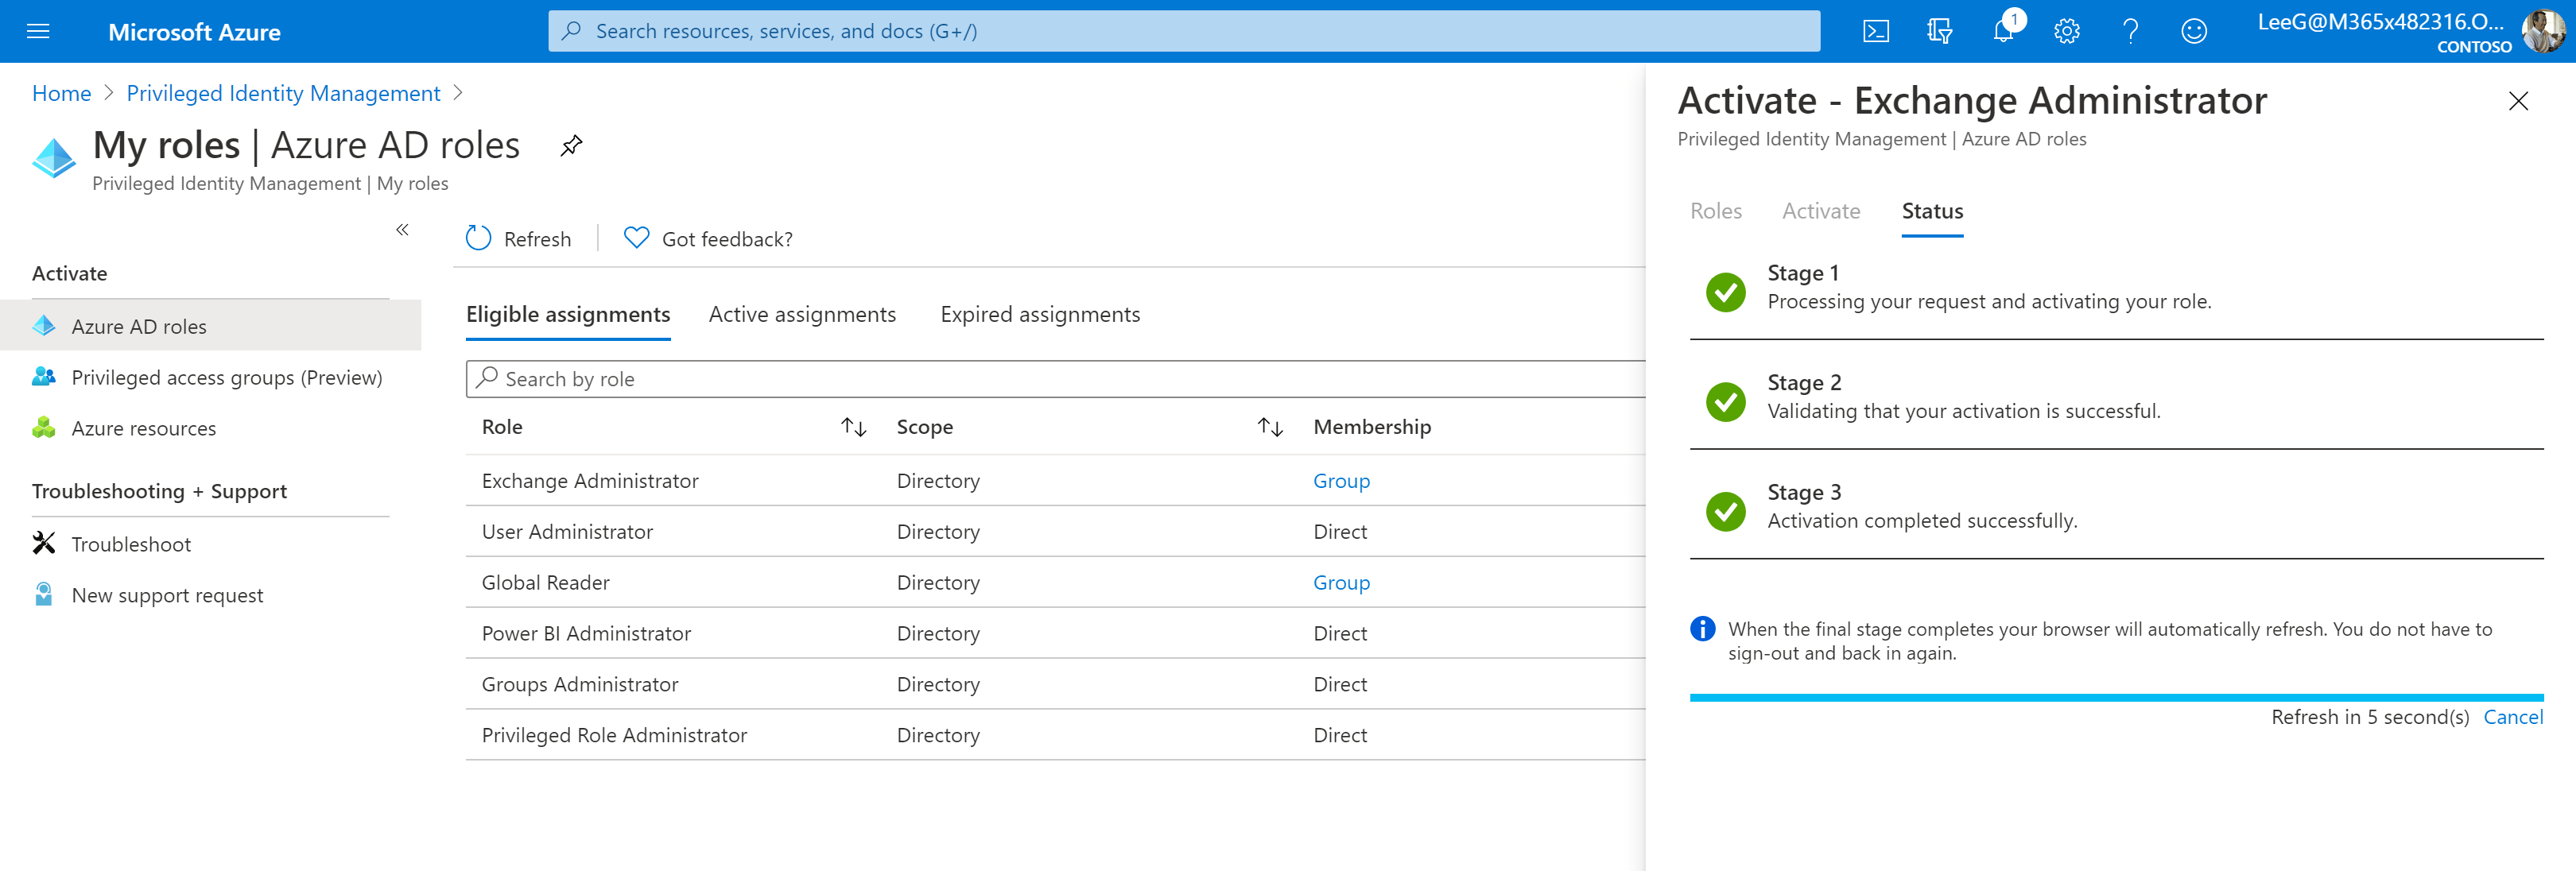
Finally, the role is applied in three stages, and the browser will refresh automatically. The Exchange Administrator role is now active.
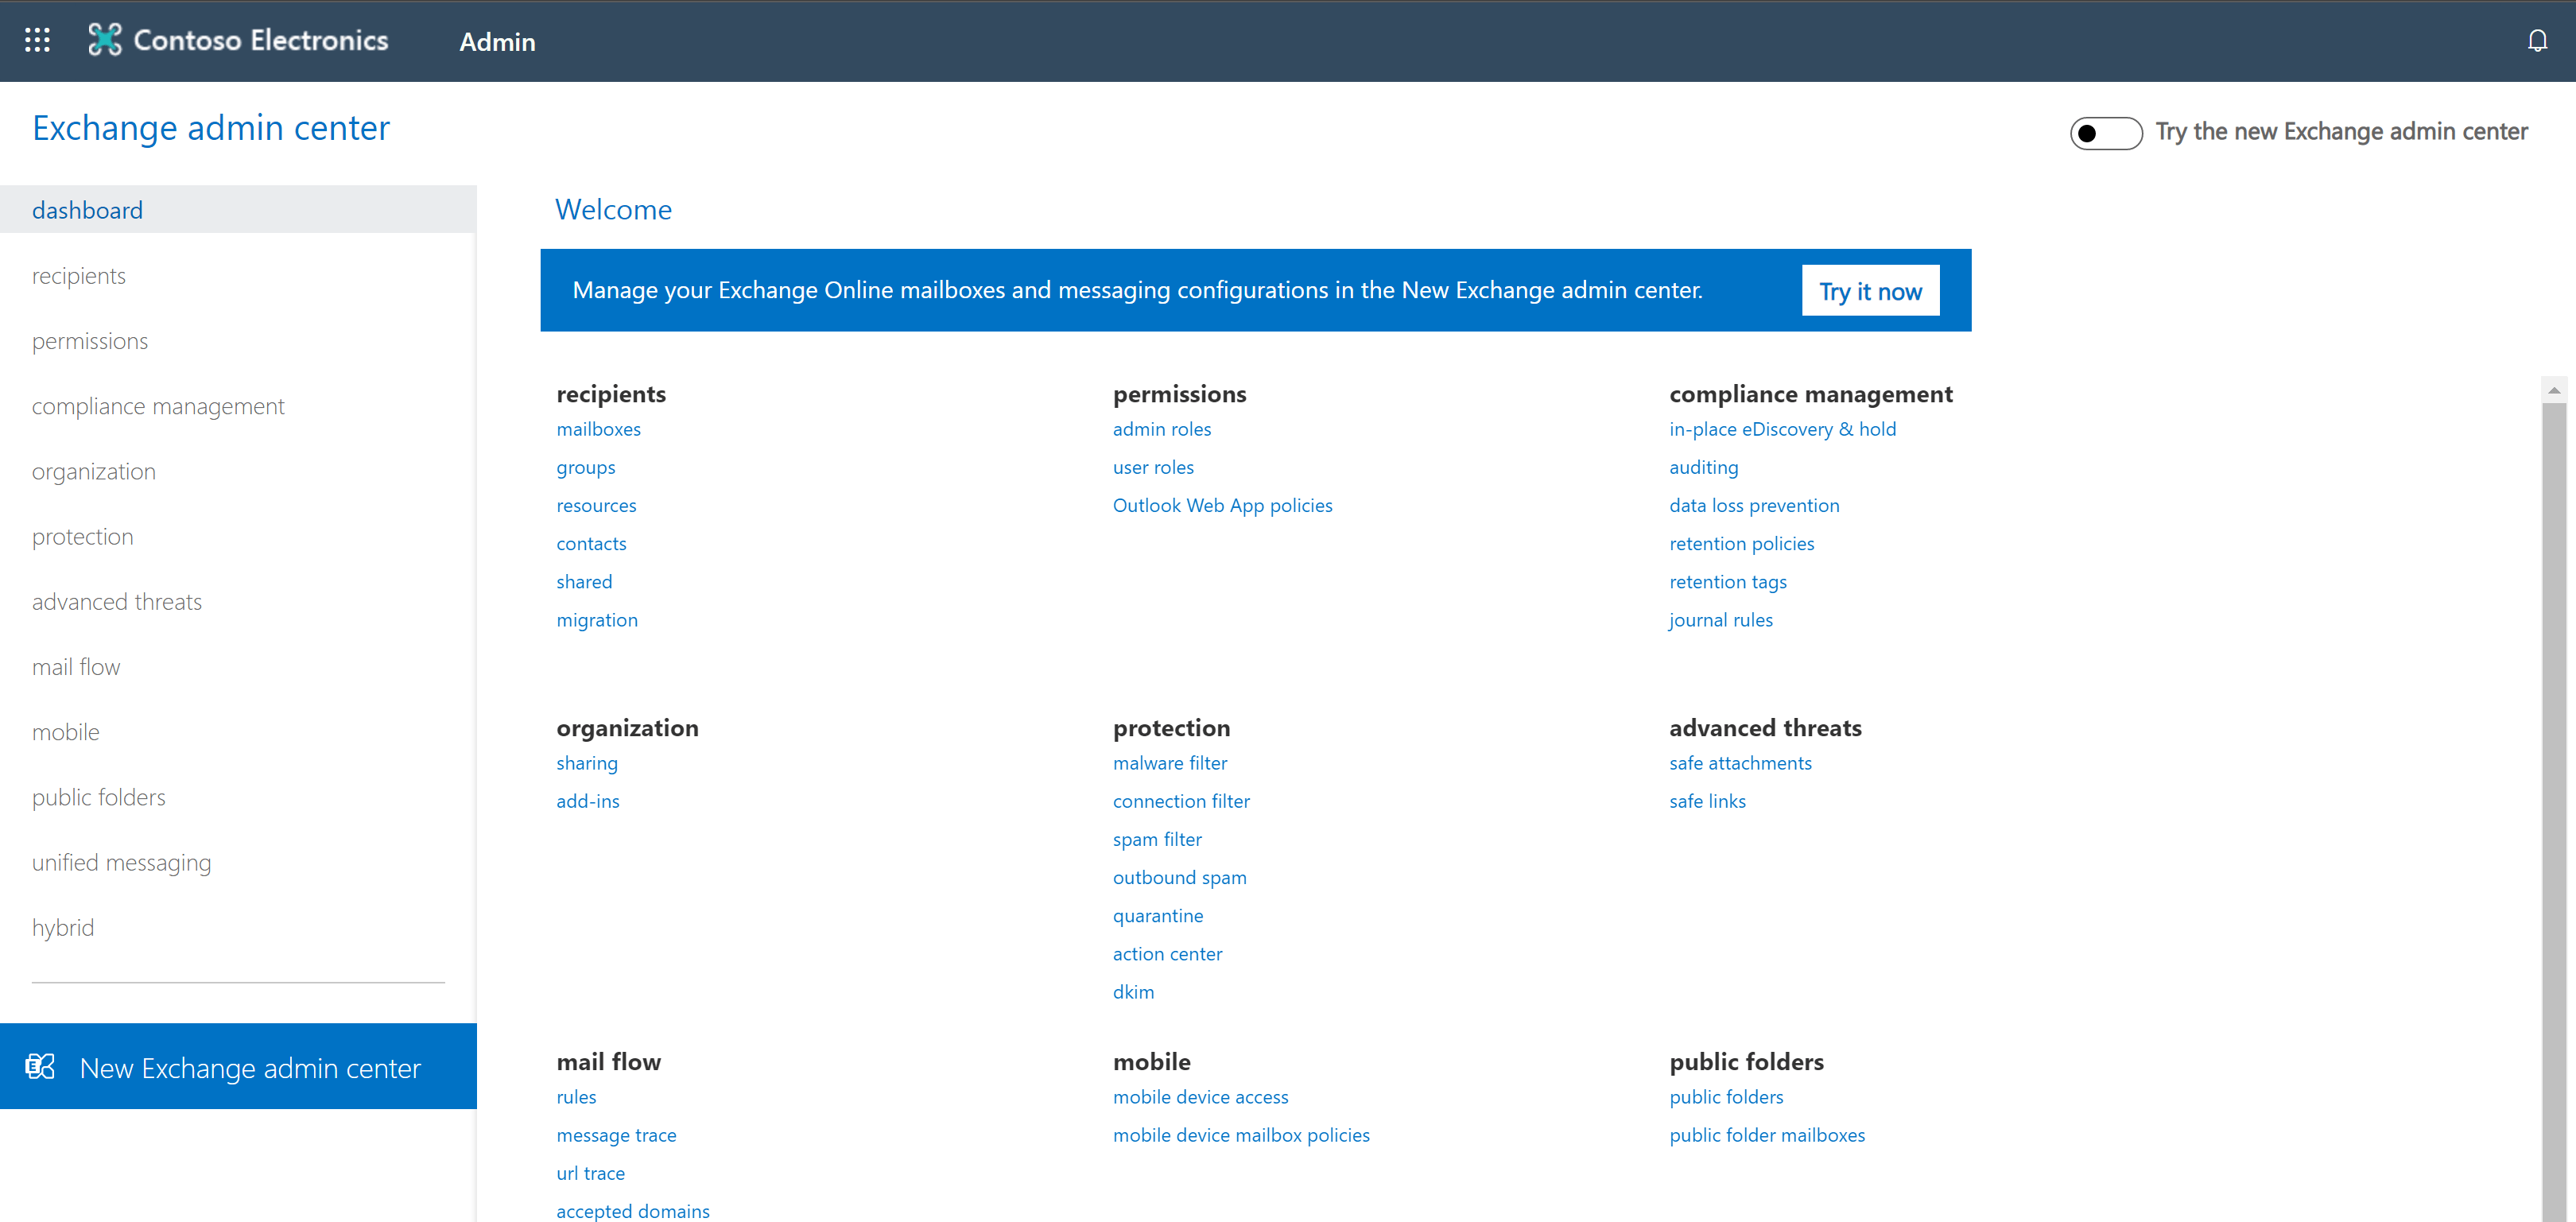
As Lee tries again, the (Exchange) admin portal is now accessible.
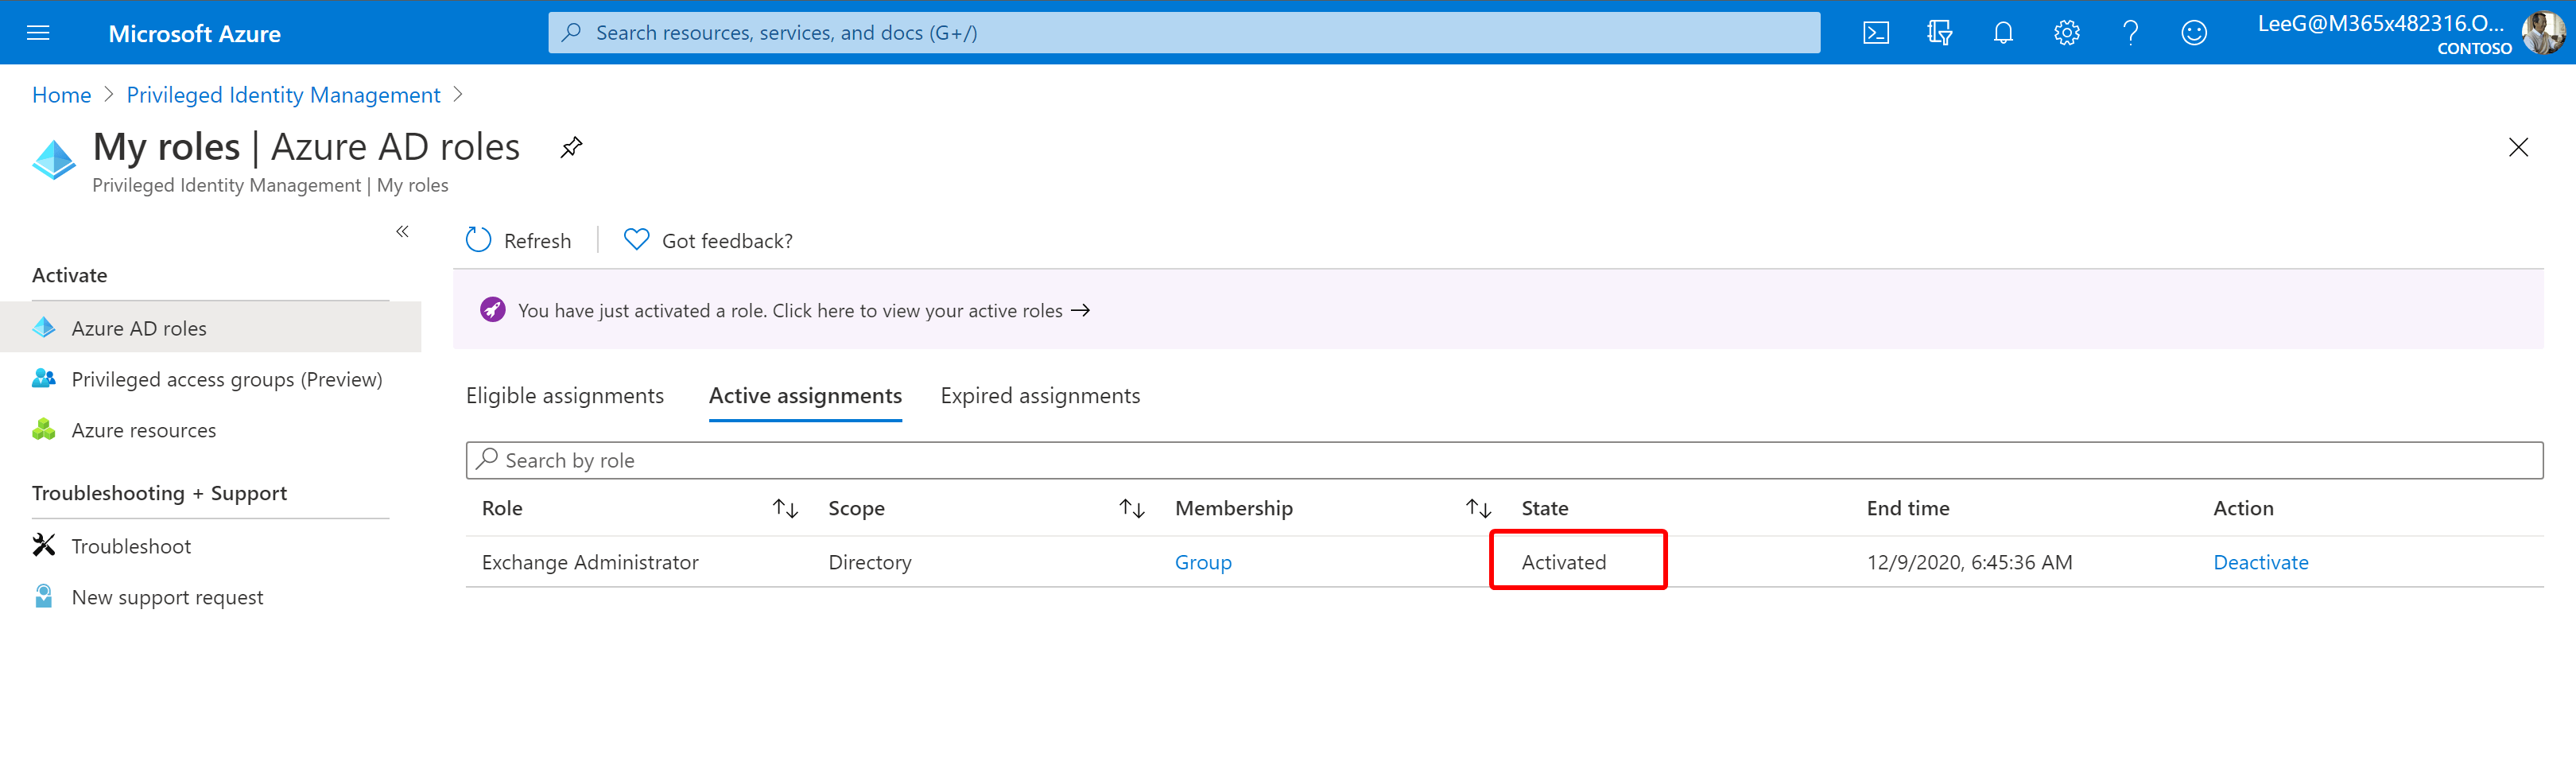
The role is active for a fixed amount of time and will expire automatically.
Finally! Groups!#
Up until now, you could only apply roles to users directly. Being able to assign groups to Azure AD roles was a highly requested feature. So how does this work?
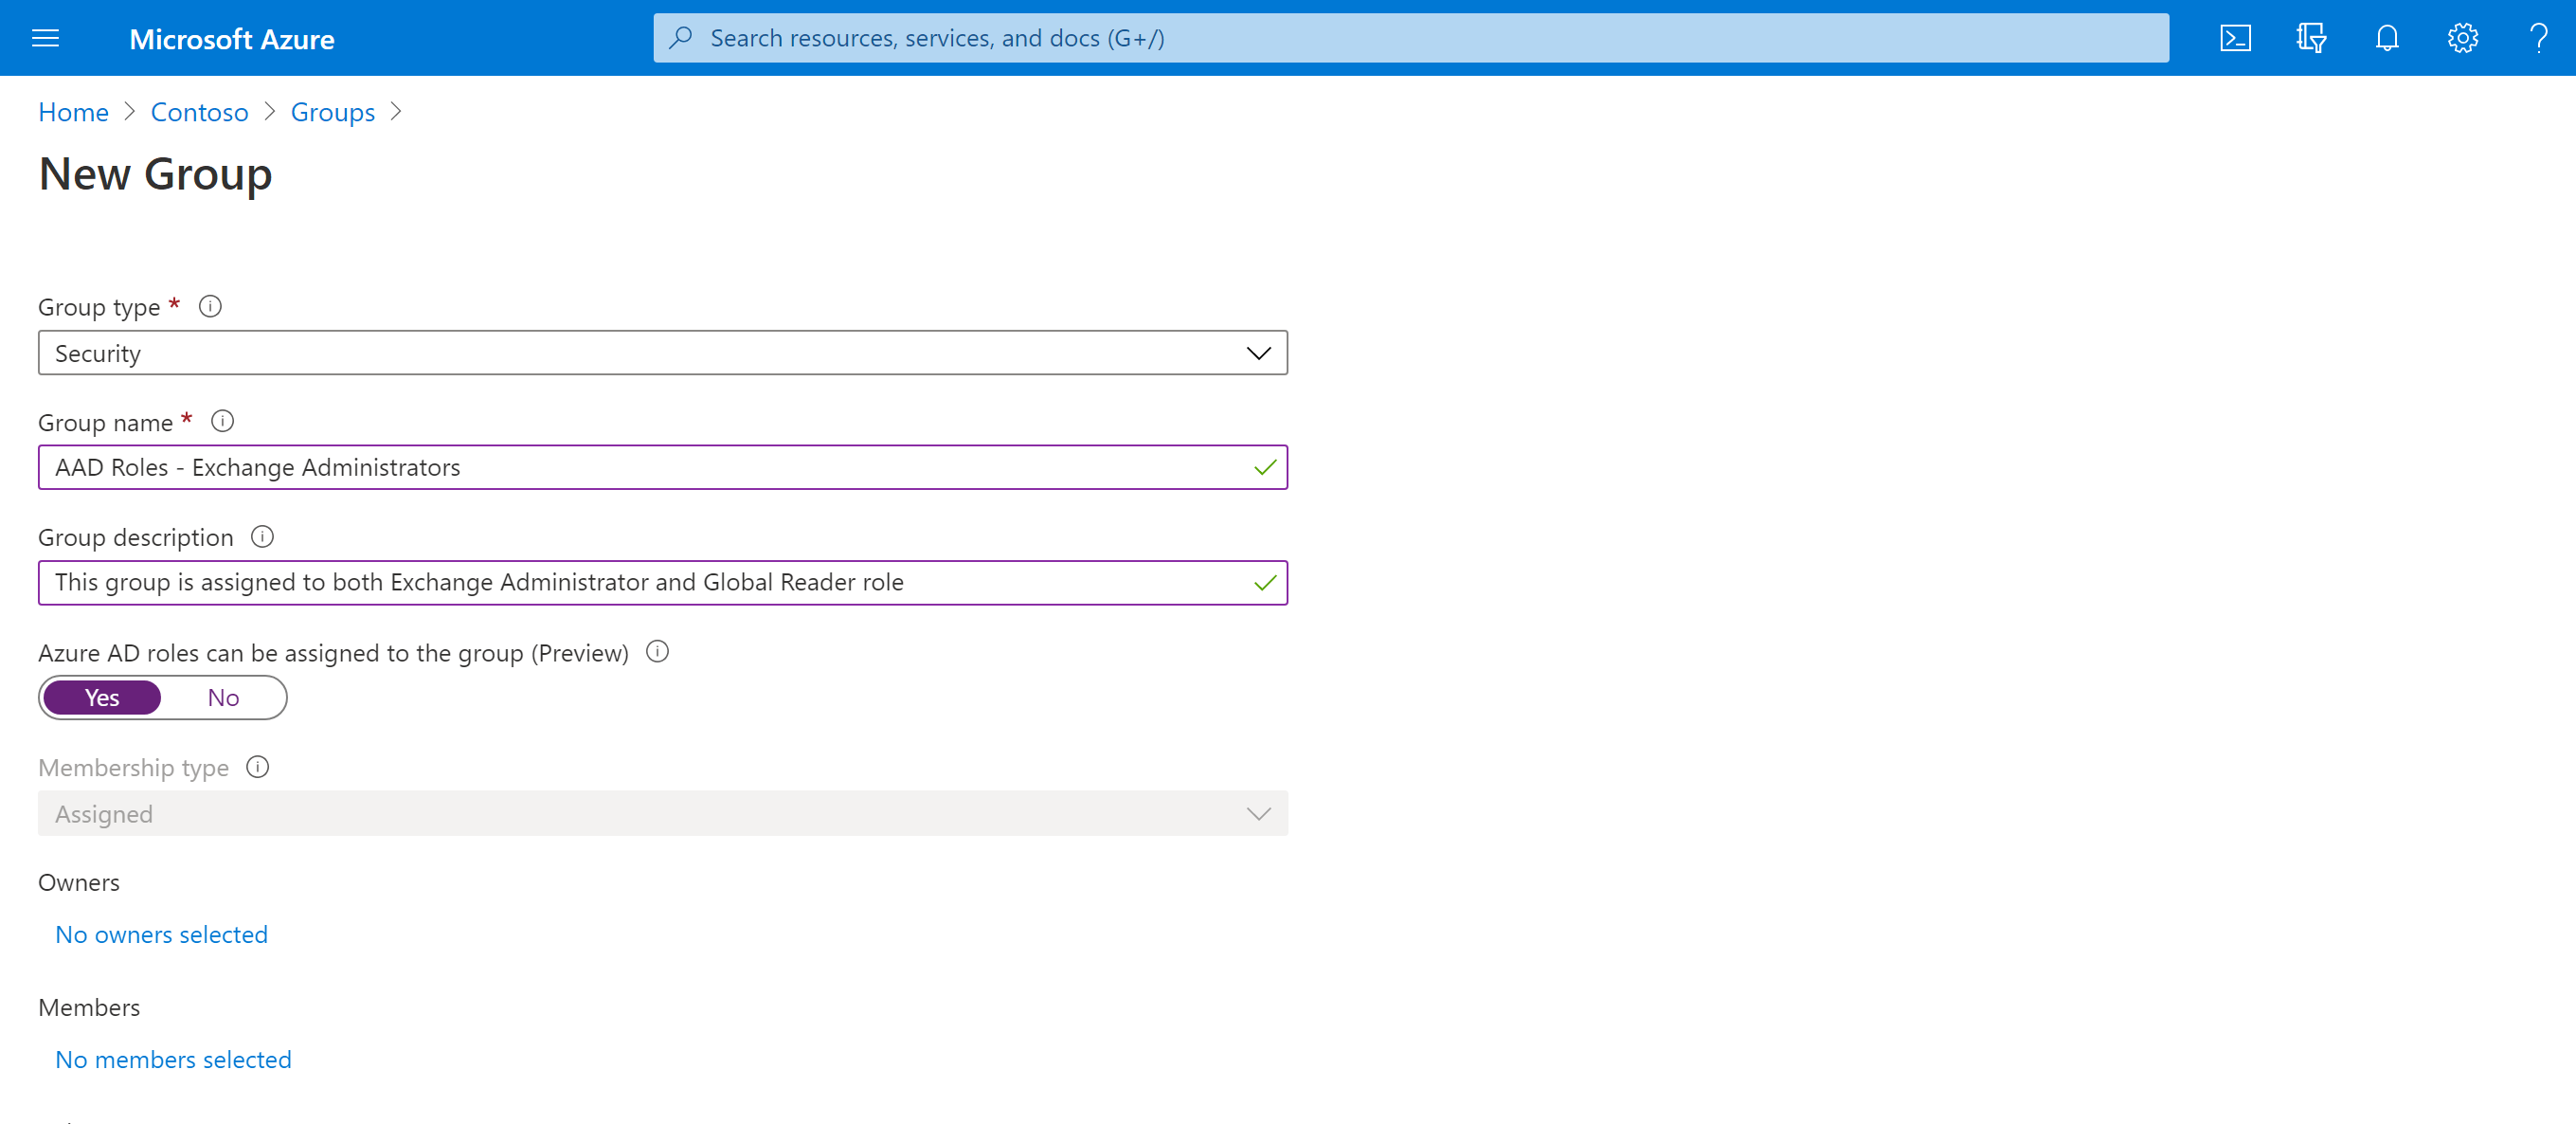
First, you have to create a new, cloud-only security group. This feature does not work with existing groups. TIP: you can easily copy members from existing groups to role-assignable groups. Make sure that you have either the Global Administrator or the Privileged Role Administrator. Without that role active, you cannot create groups that are compatible with Azure AD roles.
The reason behind this is the fact that the group needs to have a special parameter (-IsAssignableToRole) This will prevent a User Administrator from adding users to that group. To prevent elevation of privilege, the credentials of members and owners of a role-assignable group can be changed only by a Privileged Authentication administrator or a Global administrator. This groups can only be static groups for the same reason.
You can create such group in three ways:
- Using the Azure Active Directory Admin Center:
- Using PowerShell:
$group = New-AzureADMSGroup -DisplayName "AAD Roles - Exchange Administrators" -Description "This group is assigned to both Exchange Administrator and Global Reader role" -MailEnabled $true -SecurityEnabled $true -MailNickName "exchangeadmingroup" -IsAssignableToRole $true- Using Graph API:
POST https://graph.microsoft.com/beta/groups

{
  "description": "This group is assigned to both Exchange Administrator and Global Reader role",
  "displayName": "AAD Roles - Exchange Administrators",
  "groupTypes": [
    "Unified"
  ],
  "mailEnabled": true,
  "securityEnabled": true,
  "mailNickname": "exchangeadmingroup",
  "isAssignableToRole": true
}
Just so you know, you cannot change this group to a regular group later on.
Once you’ve created the group, you can assign (multiple) Azure AD roles. In this example, I assign the Exchange Administrator and Global Reader role as eligible roles. Member of this group can now request both Exchange Administrator and Global Reader role.
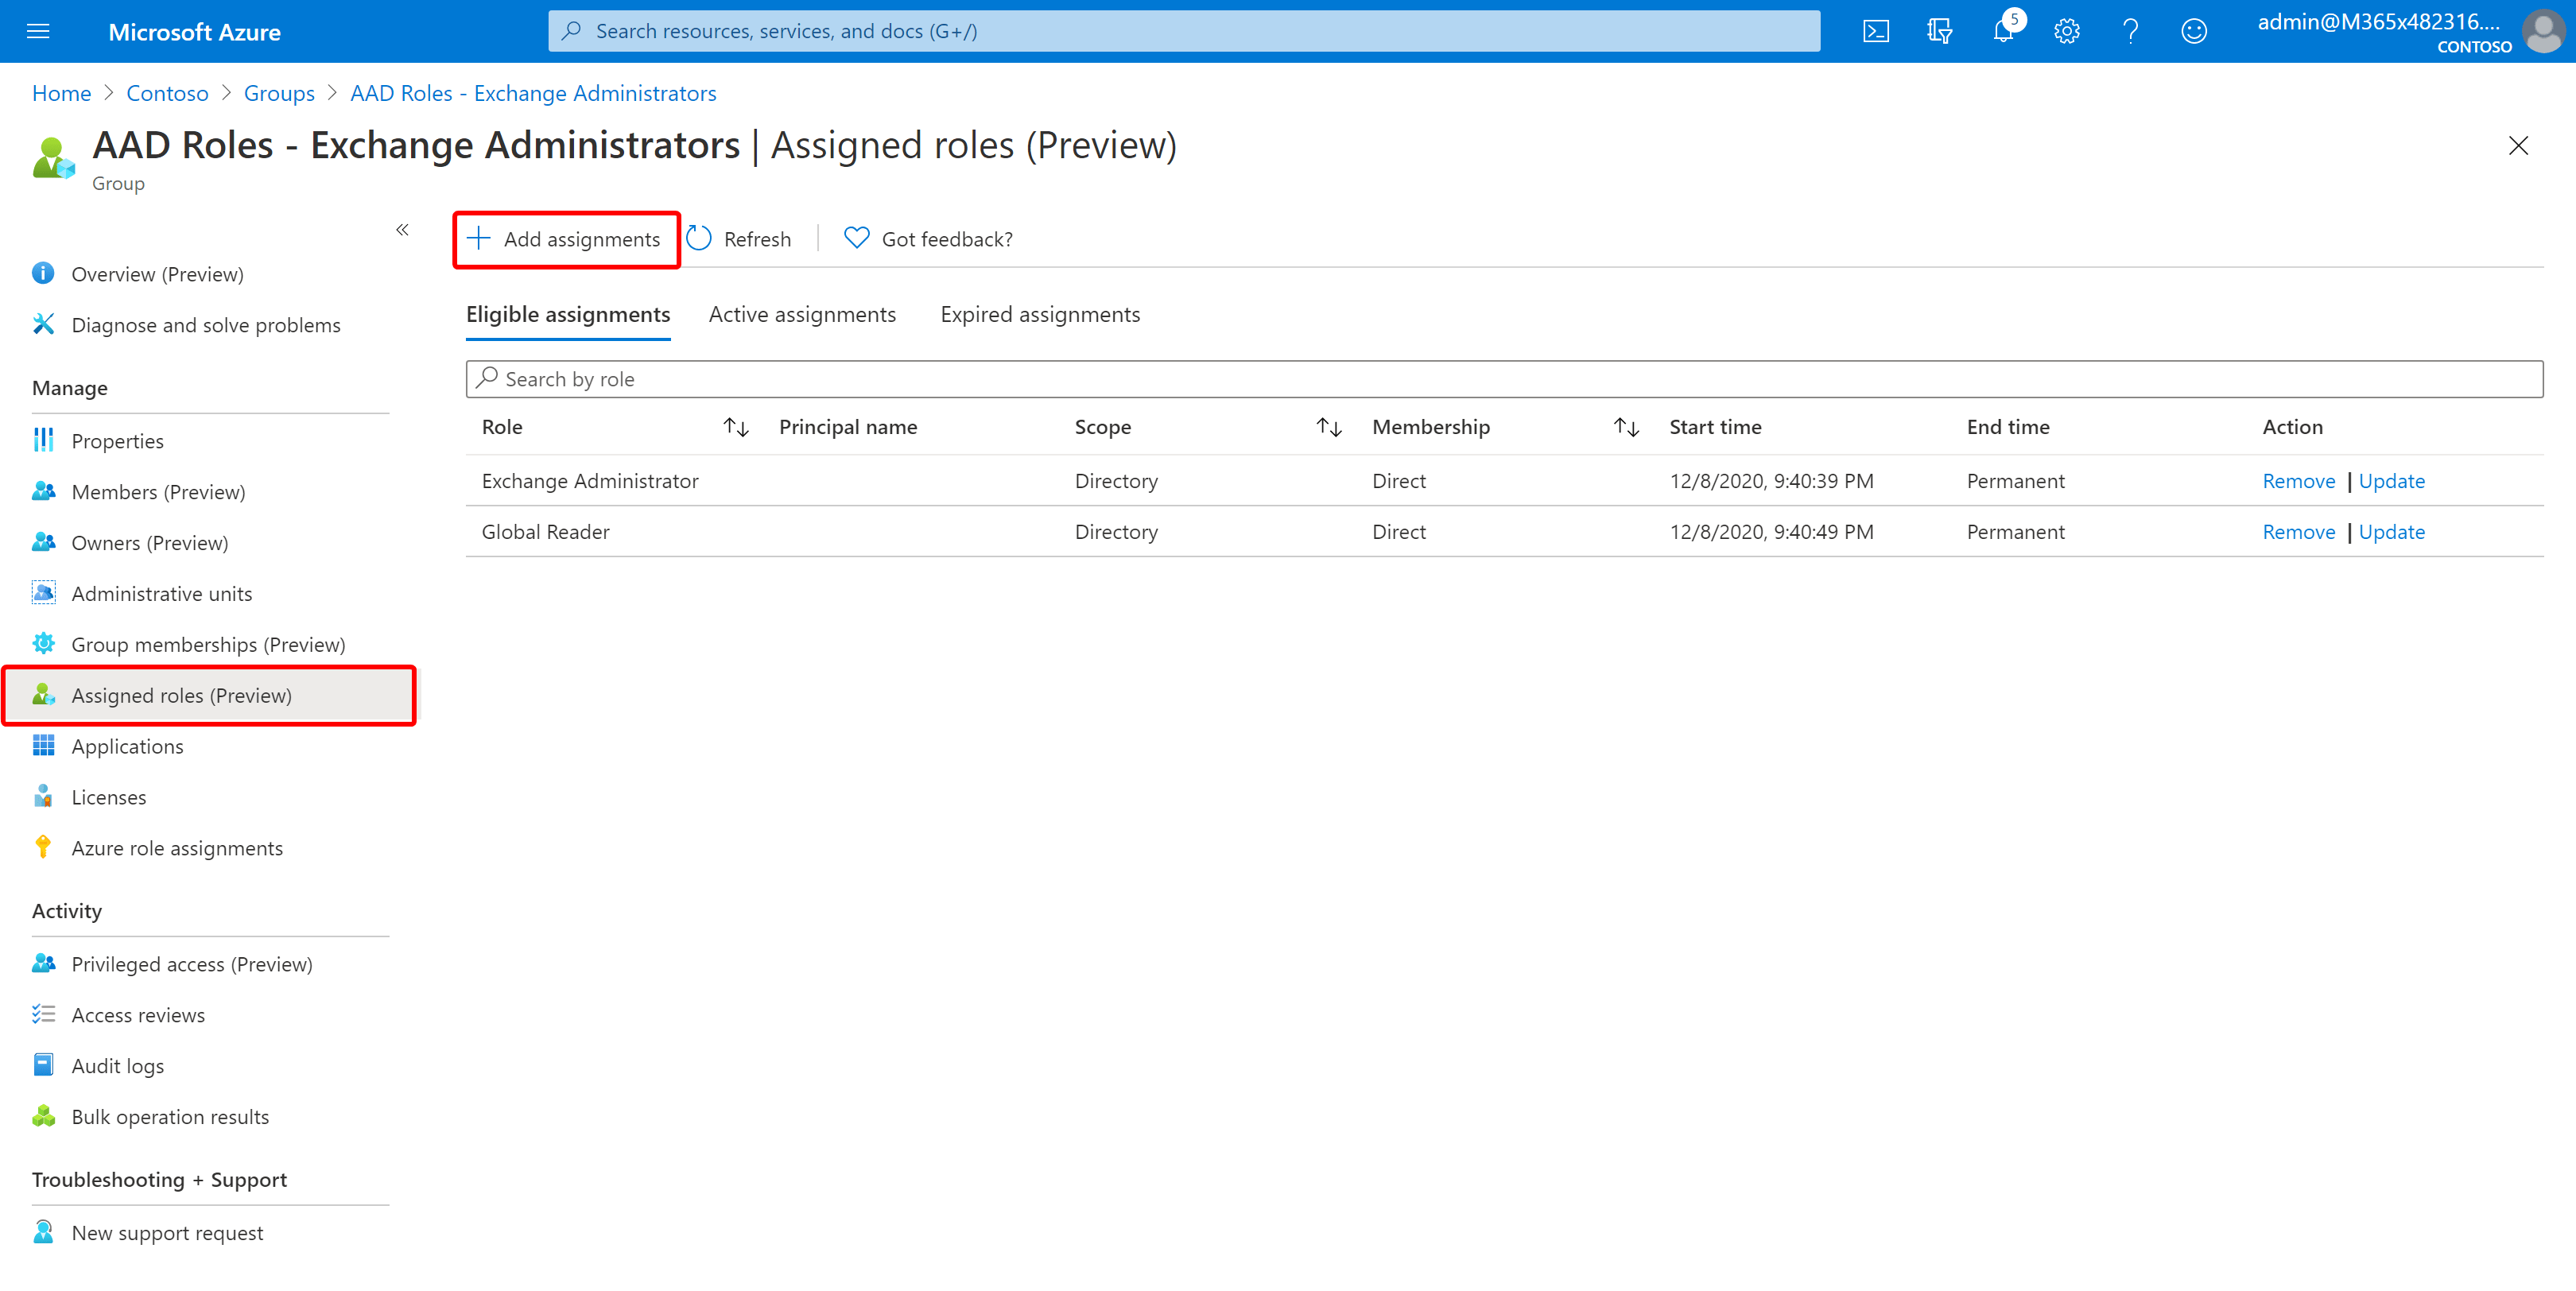
One more thing about the role-assigned group itself:
The owner of the group can add or delete members and owners
User Administrator or Group Administrators cannot add or remove members and owners
Privileged Role Administrators and Global Administrators can add or delete members and owners
Wait, there is more#
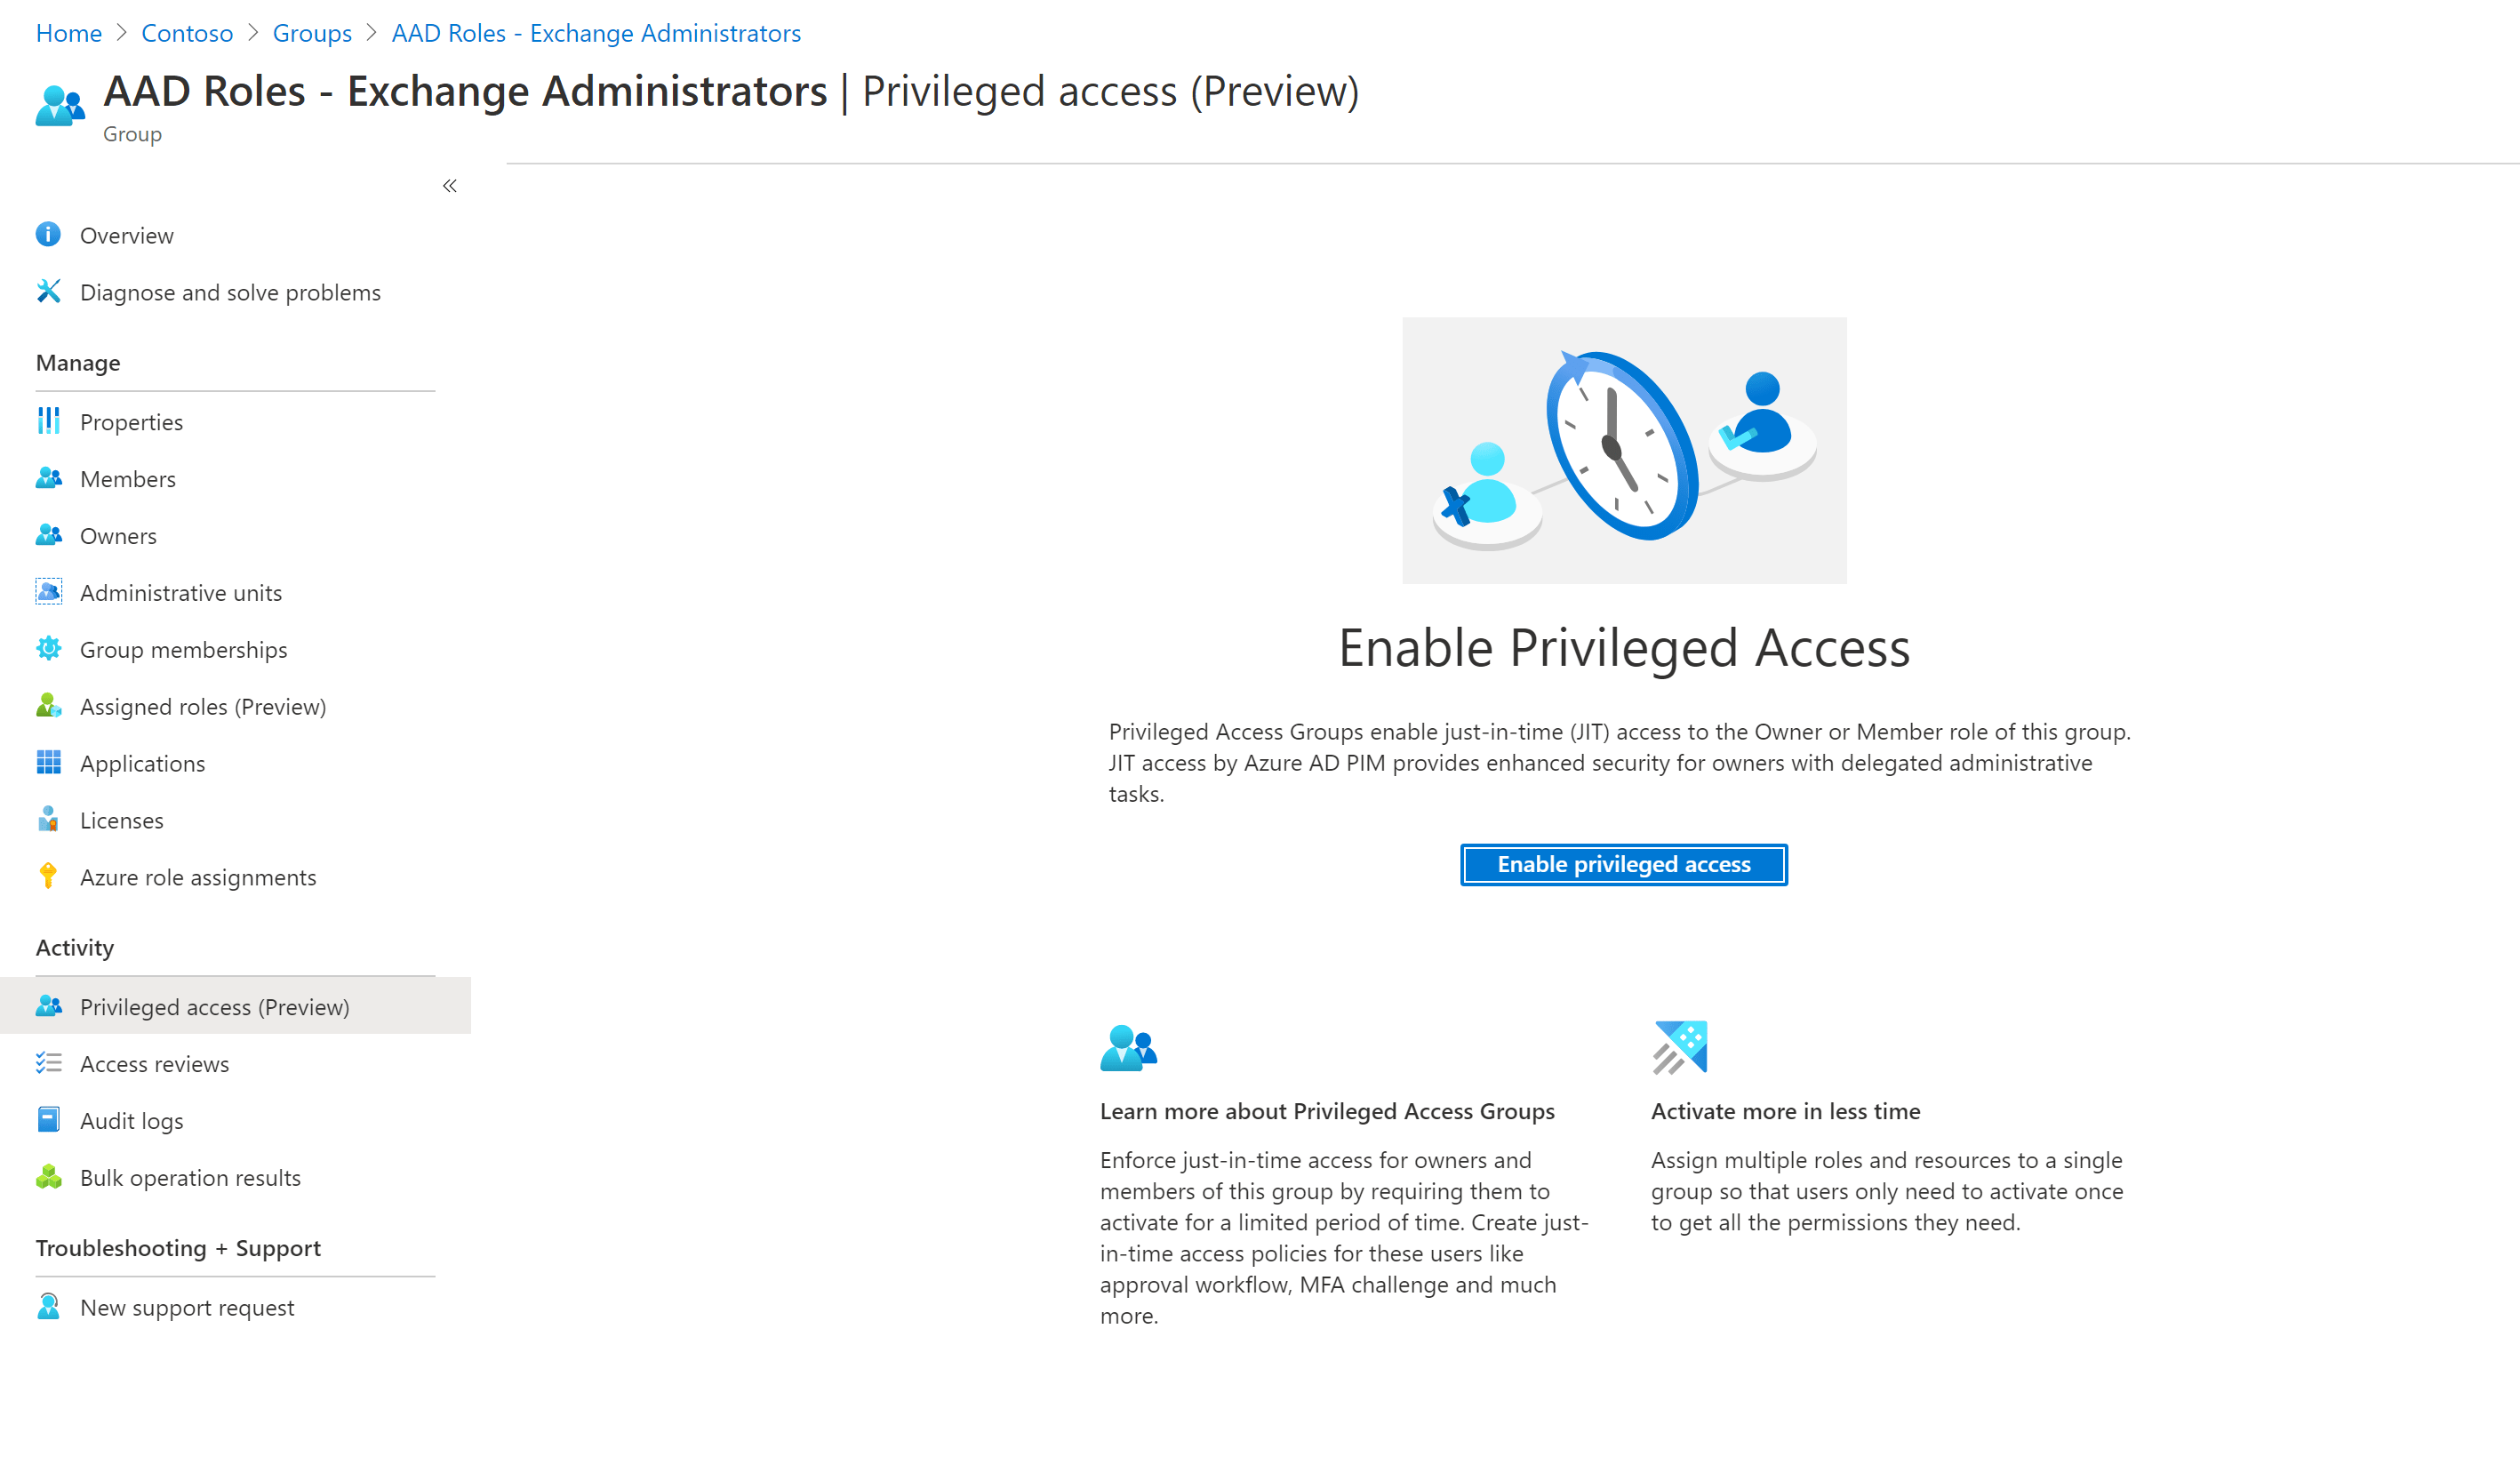
On top of the role-assignable groups, there is a new feature called Privileged Access Groups. I suggest you read this and this blog post to learn more. The so-called PAG’s cover even more use-cases for JIT RBAC (Just In Time Role-Based Access Control)
Let’s wrap things up#
So, what did we just watch? Role-Based, Just In Time, Least Privileged Access Control. How do I start you might ask? Microsoft provides a clear path to secure privilege access. Depending on the maturity level of your organization, this can take up to a few months to walk the entire roadmap to secure privilege access.

Read more: Secure access practices for administrators in Azure AD | Microsoft Docs
Azure AD Privileged Identity Management is included in Azure AD Premium P2 or EMS E5. To help you protect access to applications and resources on-premises and in the cloud, sign up for the Enterprise Mobility + Security free 90-day trial.
Stay safe!
Comments
Comments load when you scroll here.