
Access Azure Virtual Desktop and Windows 365 Cloud PC from non-managed devices
Many organizations use Azure Virtual Desktop or Windows 365 Cloud PC. But how do we secure access to those resources? A very common use case is to connect from a non-managed device (BYOD). Then, from there, a user would have access to other resources, such as applications, email, and documents. The virtual workspace is managed, well-secured, and controlled by the organization, with end-users’ (BYO) devices used as stepping stones.
But that also gives some challenges. First, it would break the clean-source principle, which requires that all security dependencies be as trustworthy as the object being secured. Since we don’t control the end-user’s device, this principle cannot be met. This is an inherent consequence of BYOD, often referred to as “Bring Your Own Disaster”.
But life goes on, users need to be productive and flexible, and money needs to be made, so many organizations take this risk and poke some holes in their security policies to allow unmanaged devices access to their corporate resources, either directly or via a stepping stone pattern.
Now, let’s assume the following scenario:
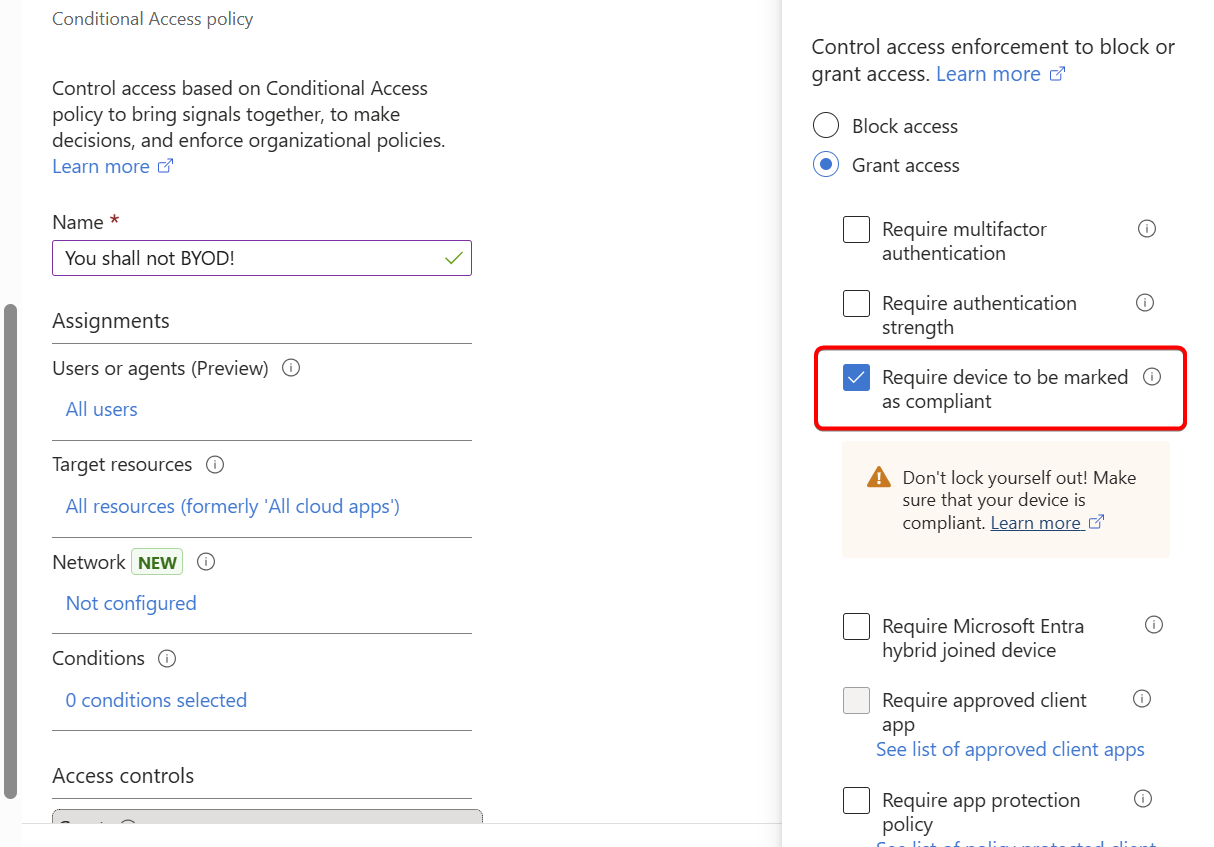
A strict Conditional Access policy is in place that requires a compliant device for all resources.
One option would be to configure your cross-tenant access settings to trust compliant devices from other tenants. That will cover most MSP and external contractor, or partner scenarios, where you can build a “tenant-trust” to support cross-tenant device claims.
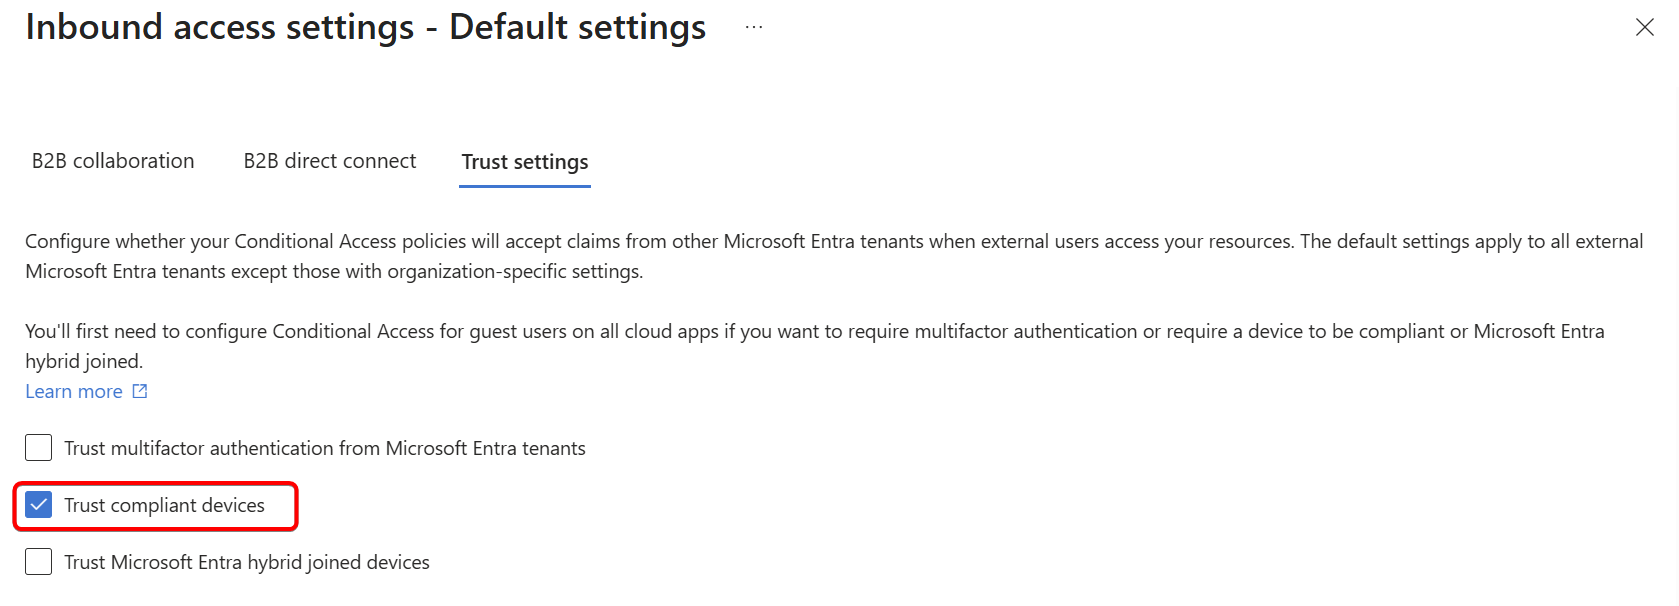
This solution is great and does not require any exclusions in your current Conditional Access policies.
But for your typical end-user scenario, this would not work. So to support that, you would need to poke a hole in the Conditional Access policy to exclude Azure Virtual Desktop and Cloud PC resources. Assuming you are using the Windows App, you would exclude these three resources:
- Azure Virtual Desktop
- Windows 365
- Windows Cloud Login
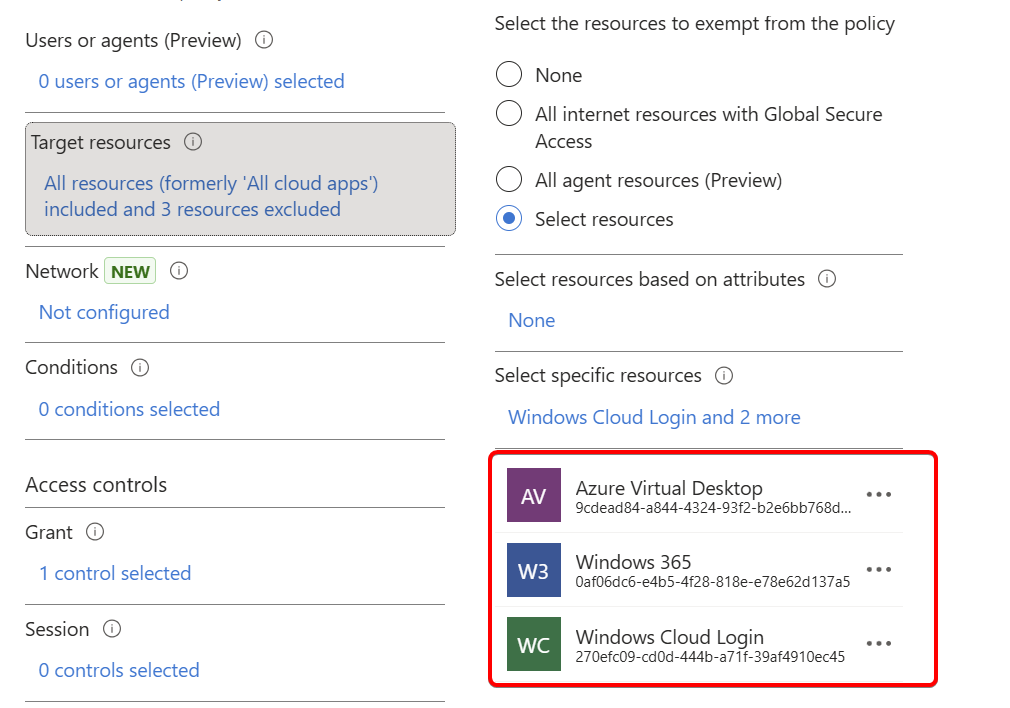
So that leaves us with quite a big gap, where these resources can now be accessed from unmanaged devices. Now, let’s see how we can ease the pain so attackers are disrupted as much as possible.
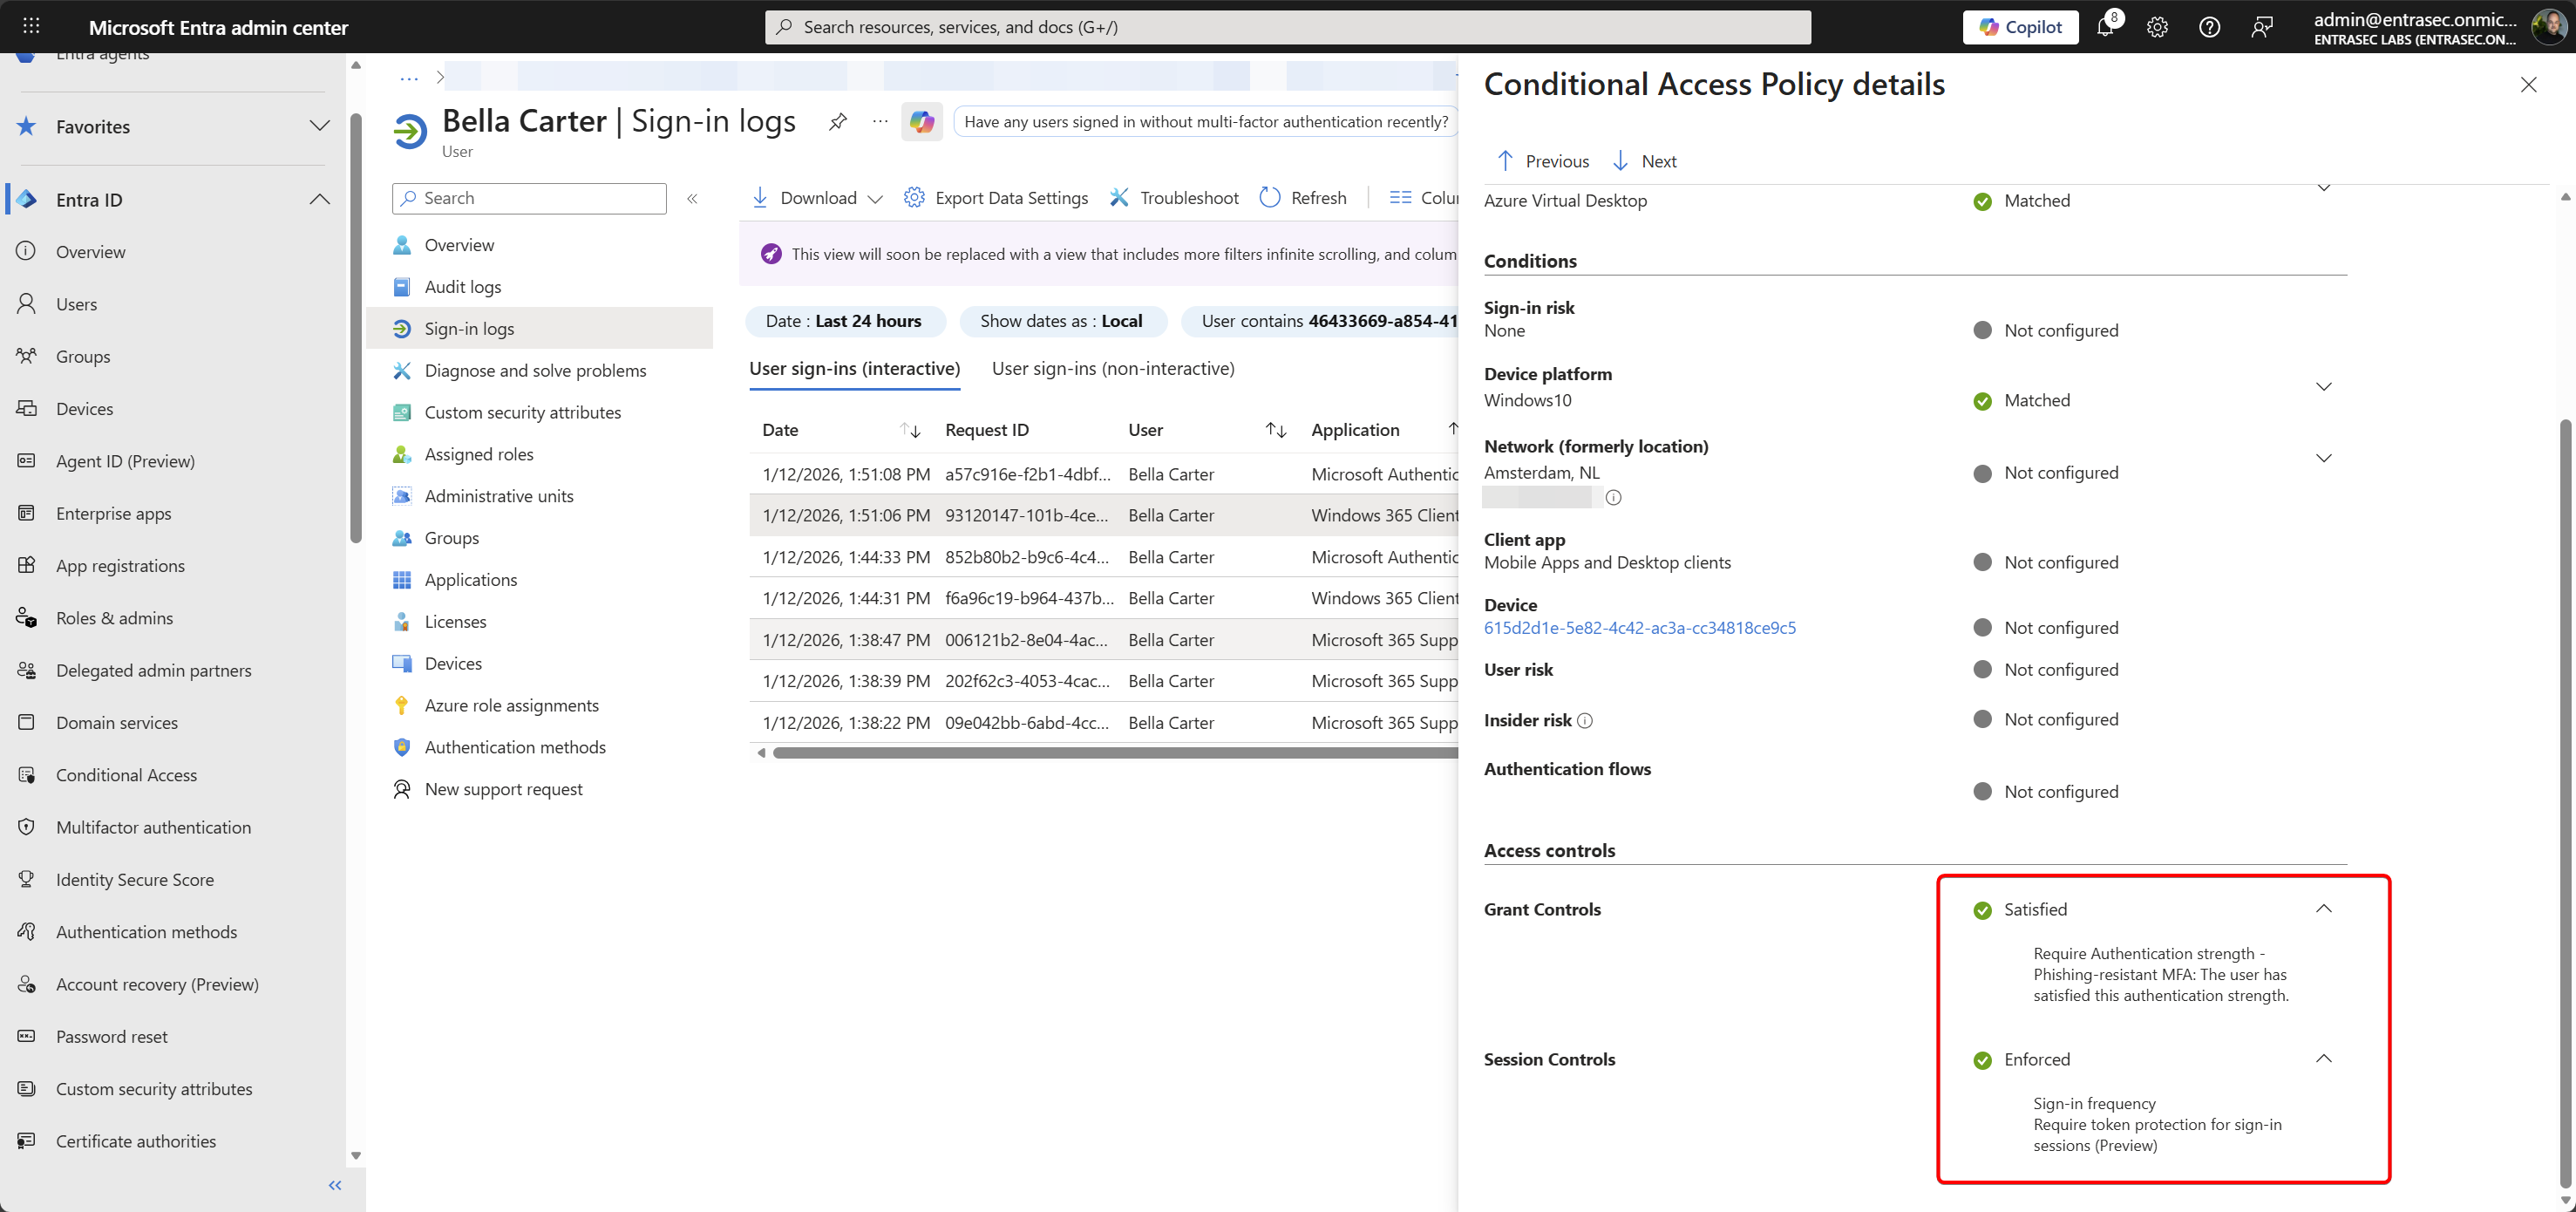
Let’s build a new policy for those excluded resources, and enforce three controls:
- Authentication Strength to enforce device-bound passkeys.
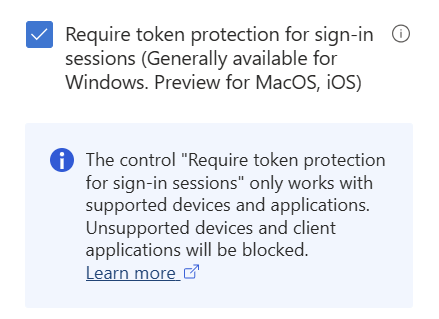
- Token Protection to protect the token from being replayed when stolen.
- Sign-in Frequency to enforce a short token lifetime.
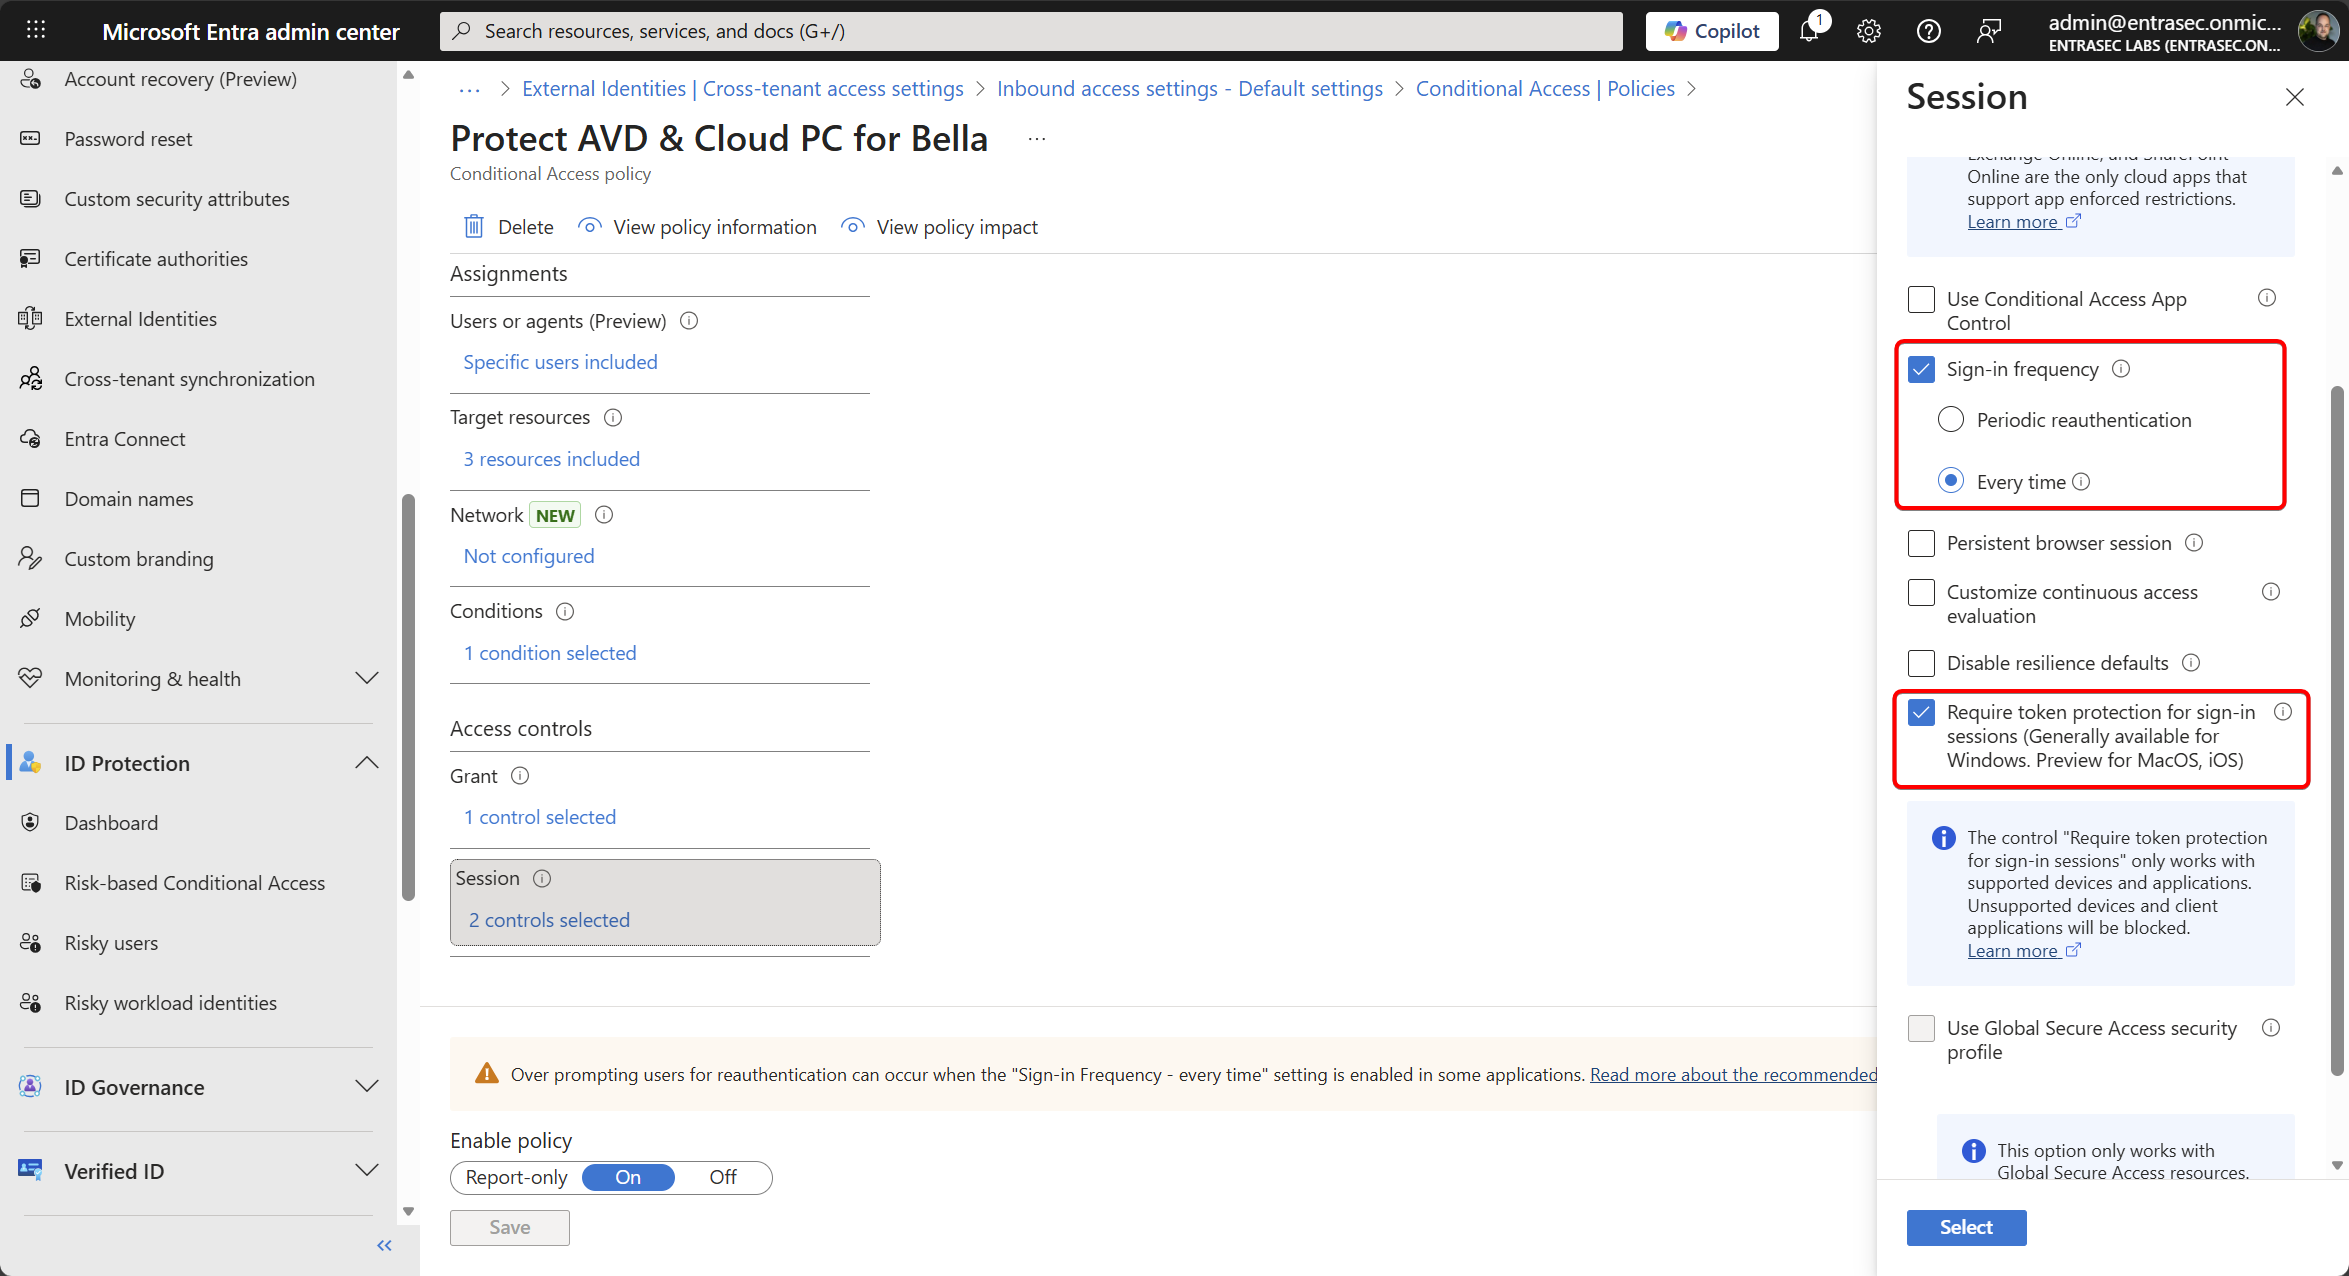
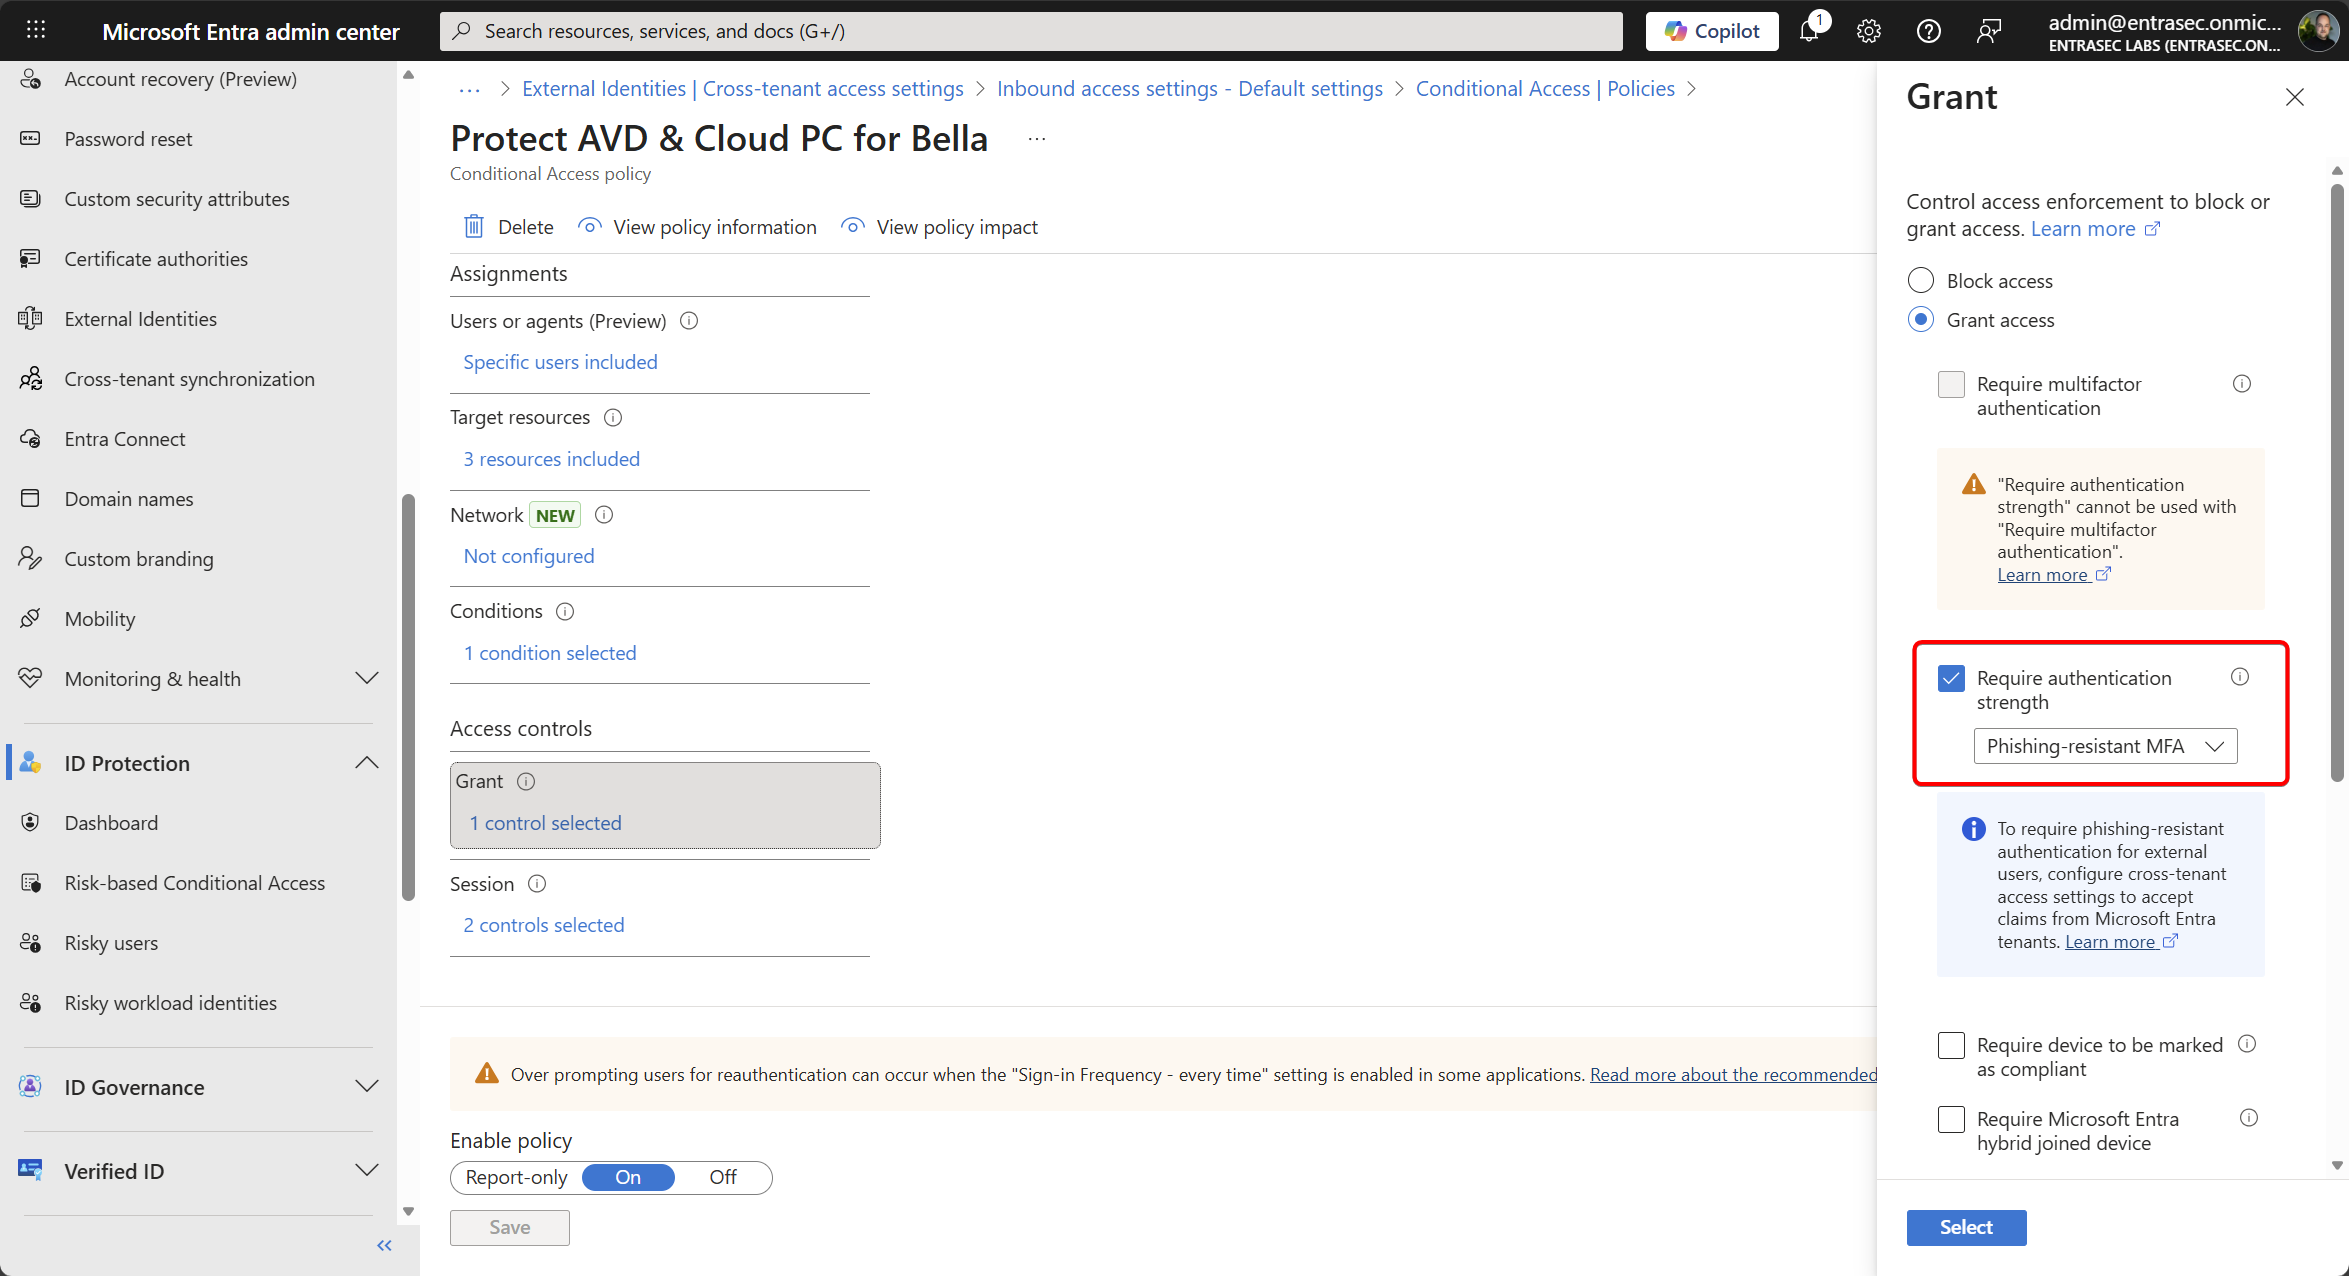
Now, at the time of writing, Token Protection is a very powerful but limited feature in Entra ID. In the context of this post, focused on BYOD, it only works on Windows 10 and later, where the device is Entra-registered.
Our test user is Bella Carter. She uses a Windows 11 device and connects to her Windows 365 Cloud PC via the Windows App. Bella uses a YubiKey to authenticate. Passwordless and secure!
Because the device is not Entra registered (yet), this error page is shown.
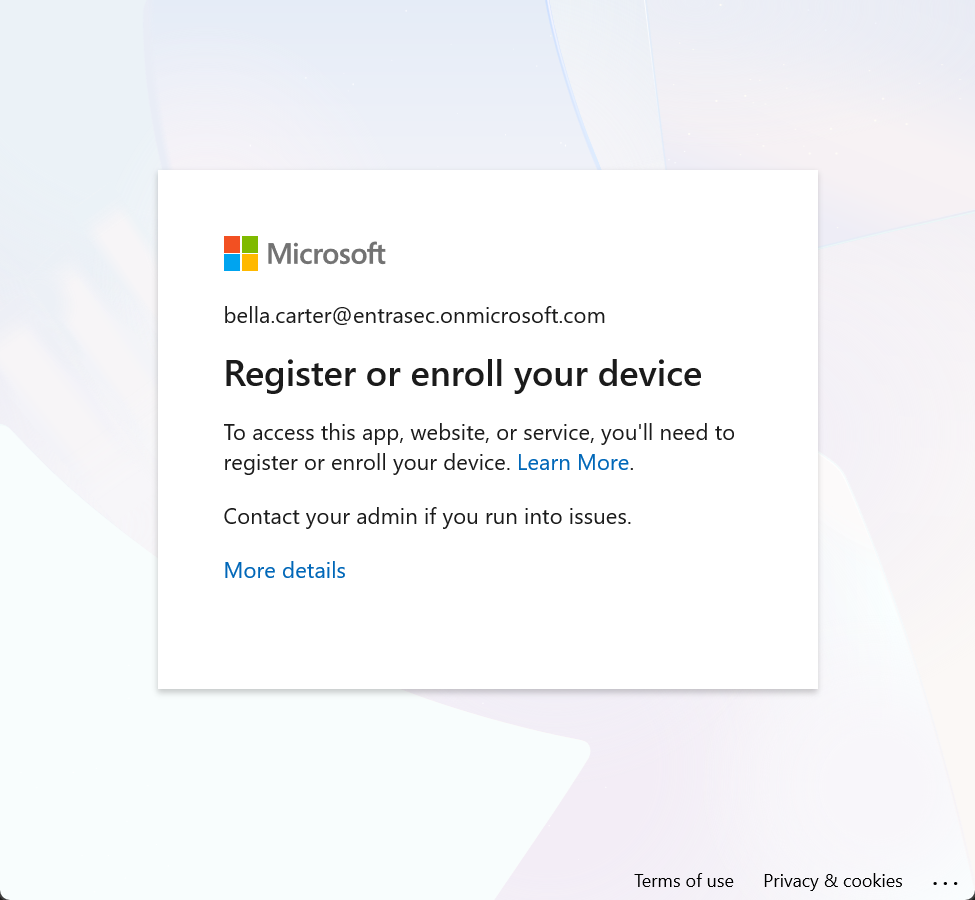
Fun fact: the Learn more page links to the Microsoft Learn documentation about Token Protection. I’m sure your end users find great value in that. 🙂 In my opinion, it would be better to tell them how to register their device.
Now on to the funky world of Entra device registration. Apparently, this button (ms-settings:workplace) does not work when your device is already part of another organization or enrolled in Intune.
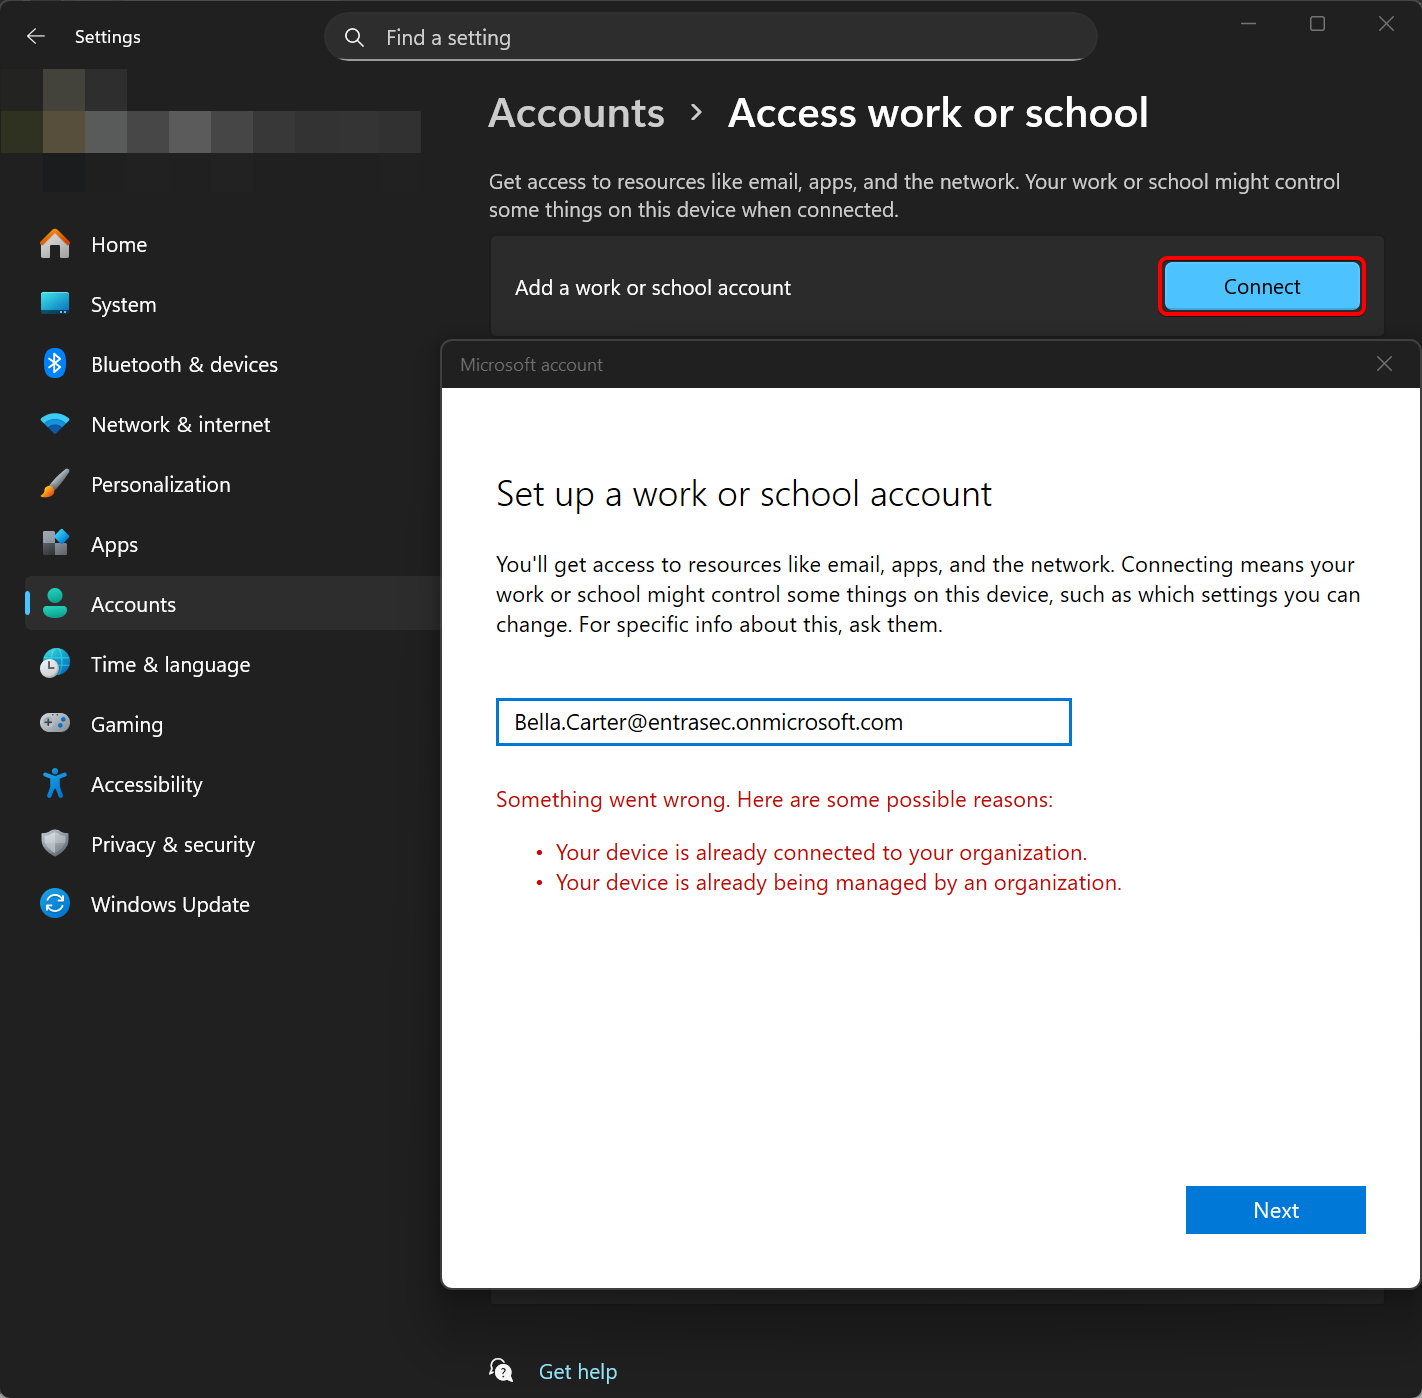
Instead, you need this button: (ms-settings:emailandaccounts)
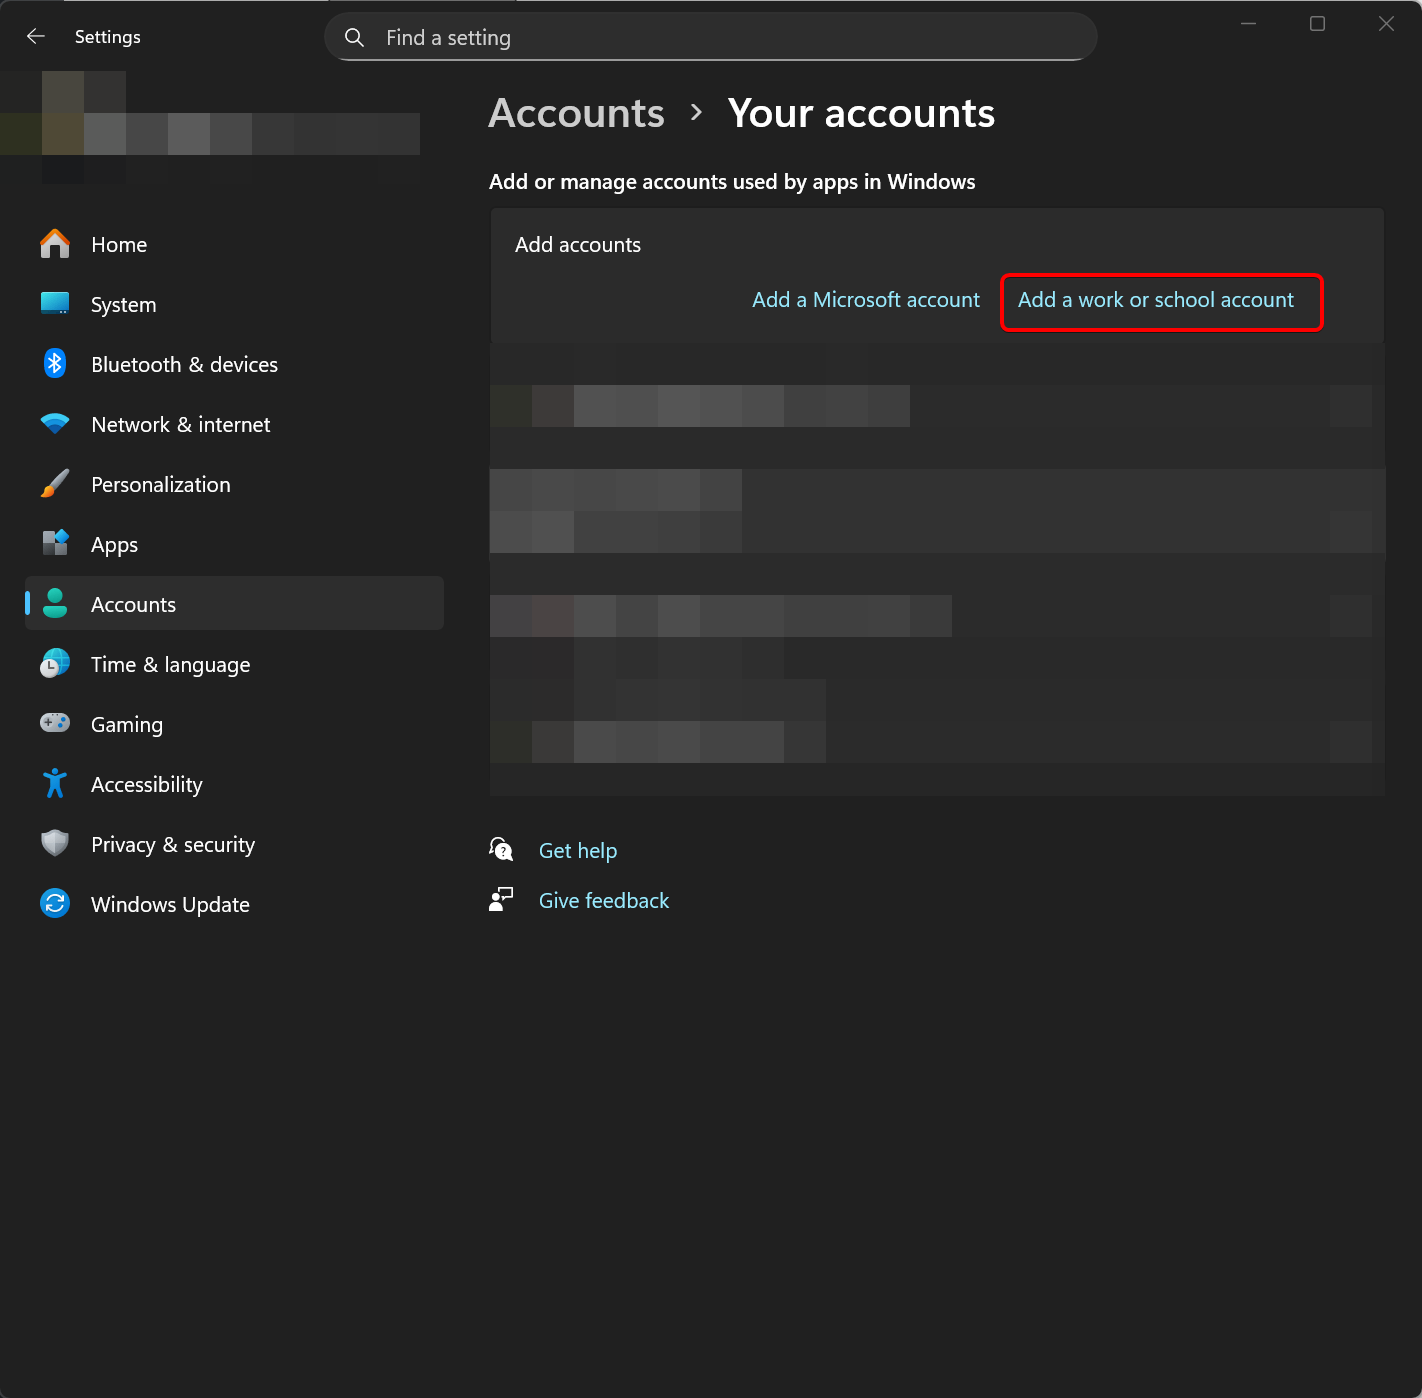
I asked on LinkedIn who could tell the difference, but apart from some giggles, it was dead silent. In another life, I will become Rudy Ooms II and get to the bottom of this. For now, I couldn’t care less. It only took 10 hours of my life.
Okay, with the right guidance at hand, we can now register our Windows device with Entra ID to enable token protection.
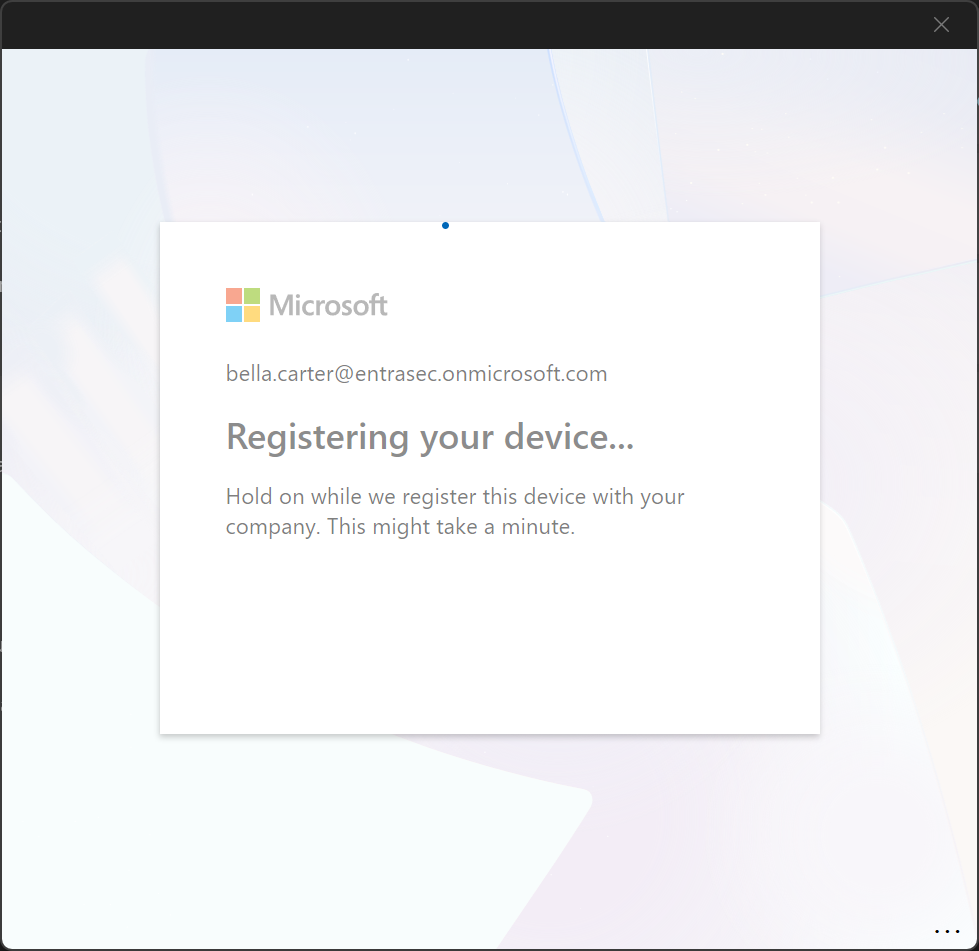
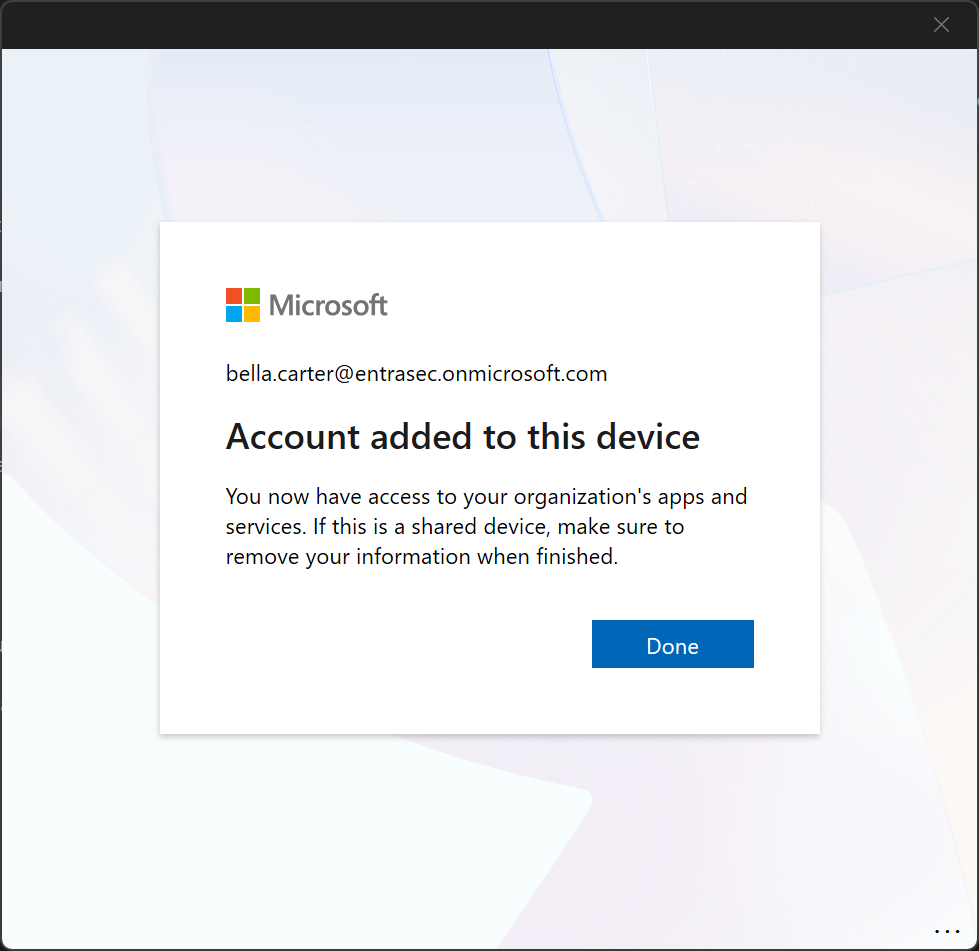
With the device registered, we can then access our virtual desktops using the Windows App and a passkey.
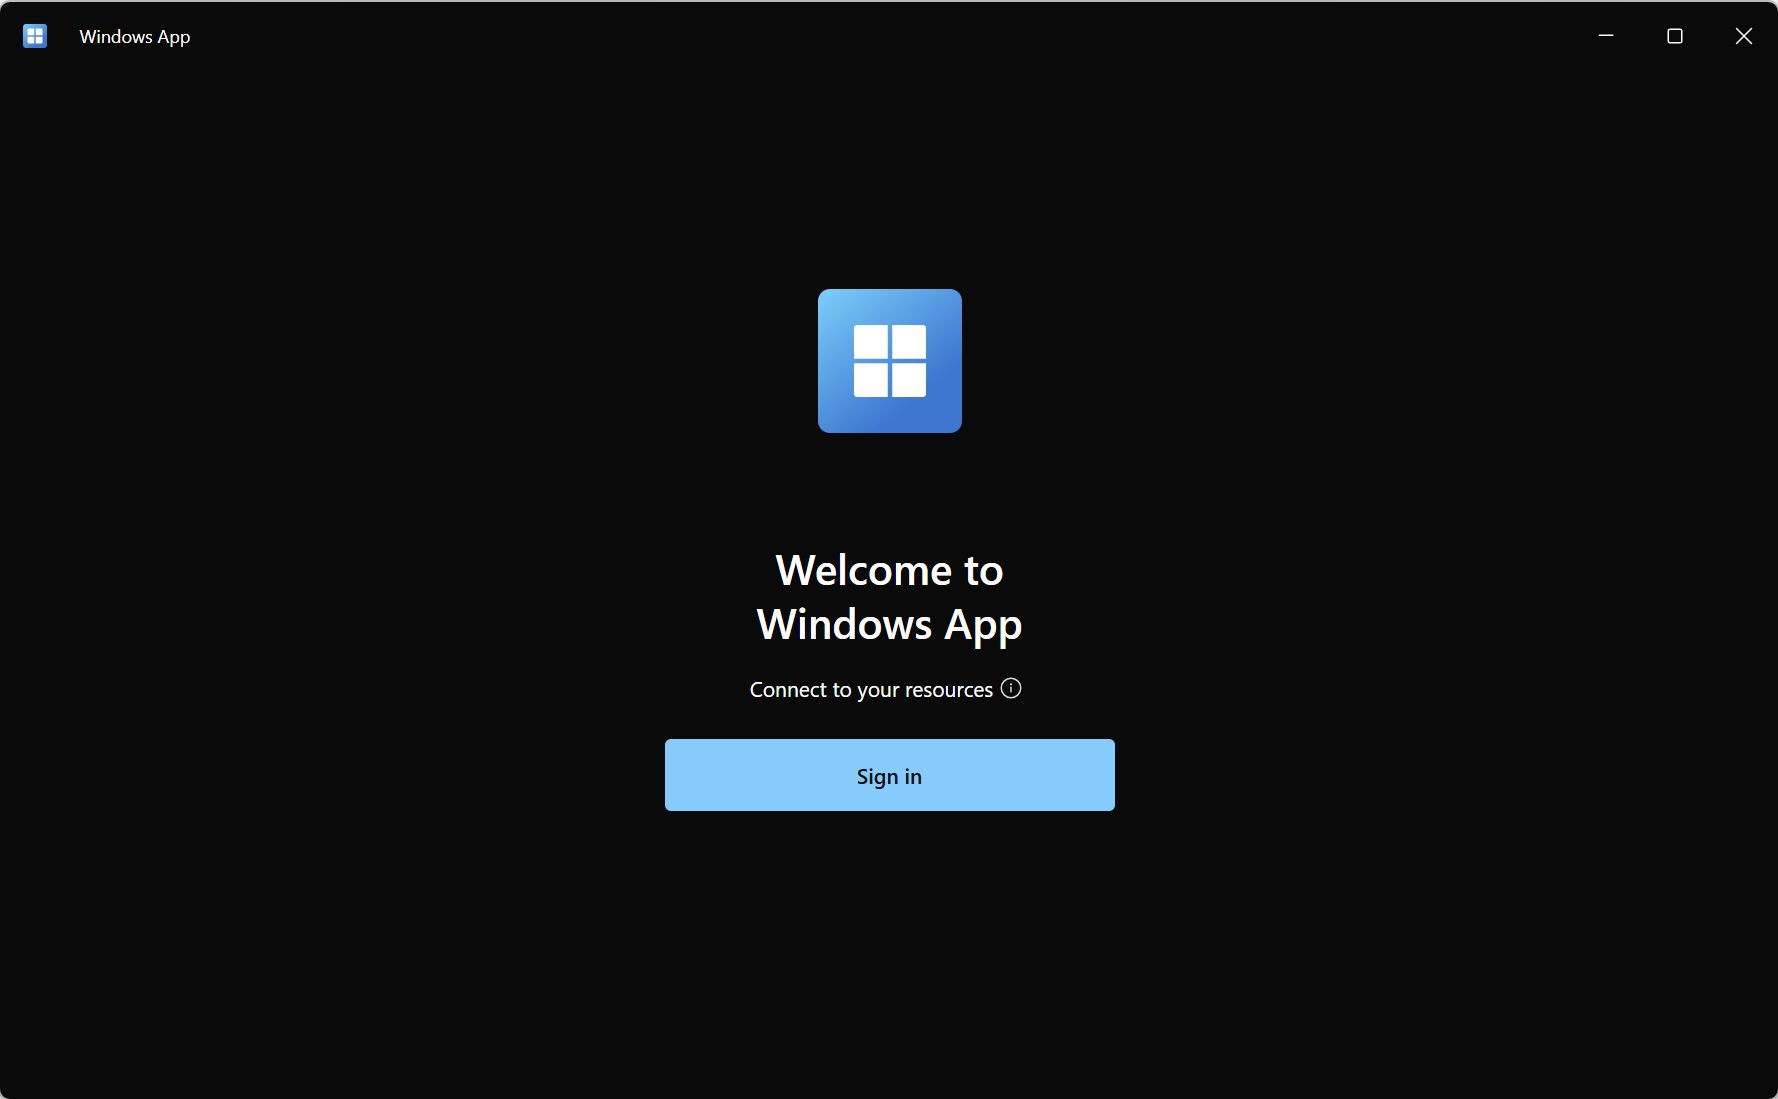
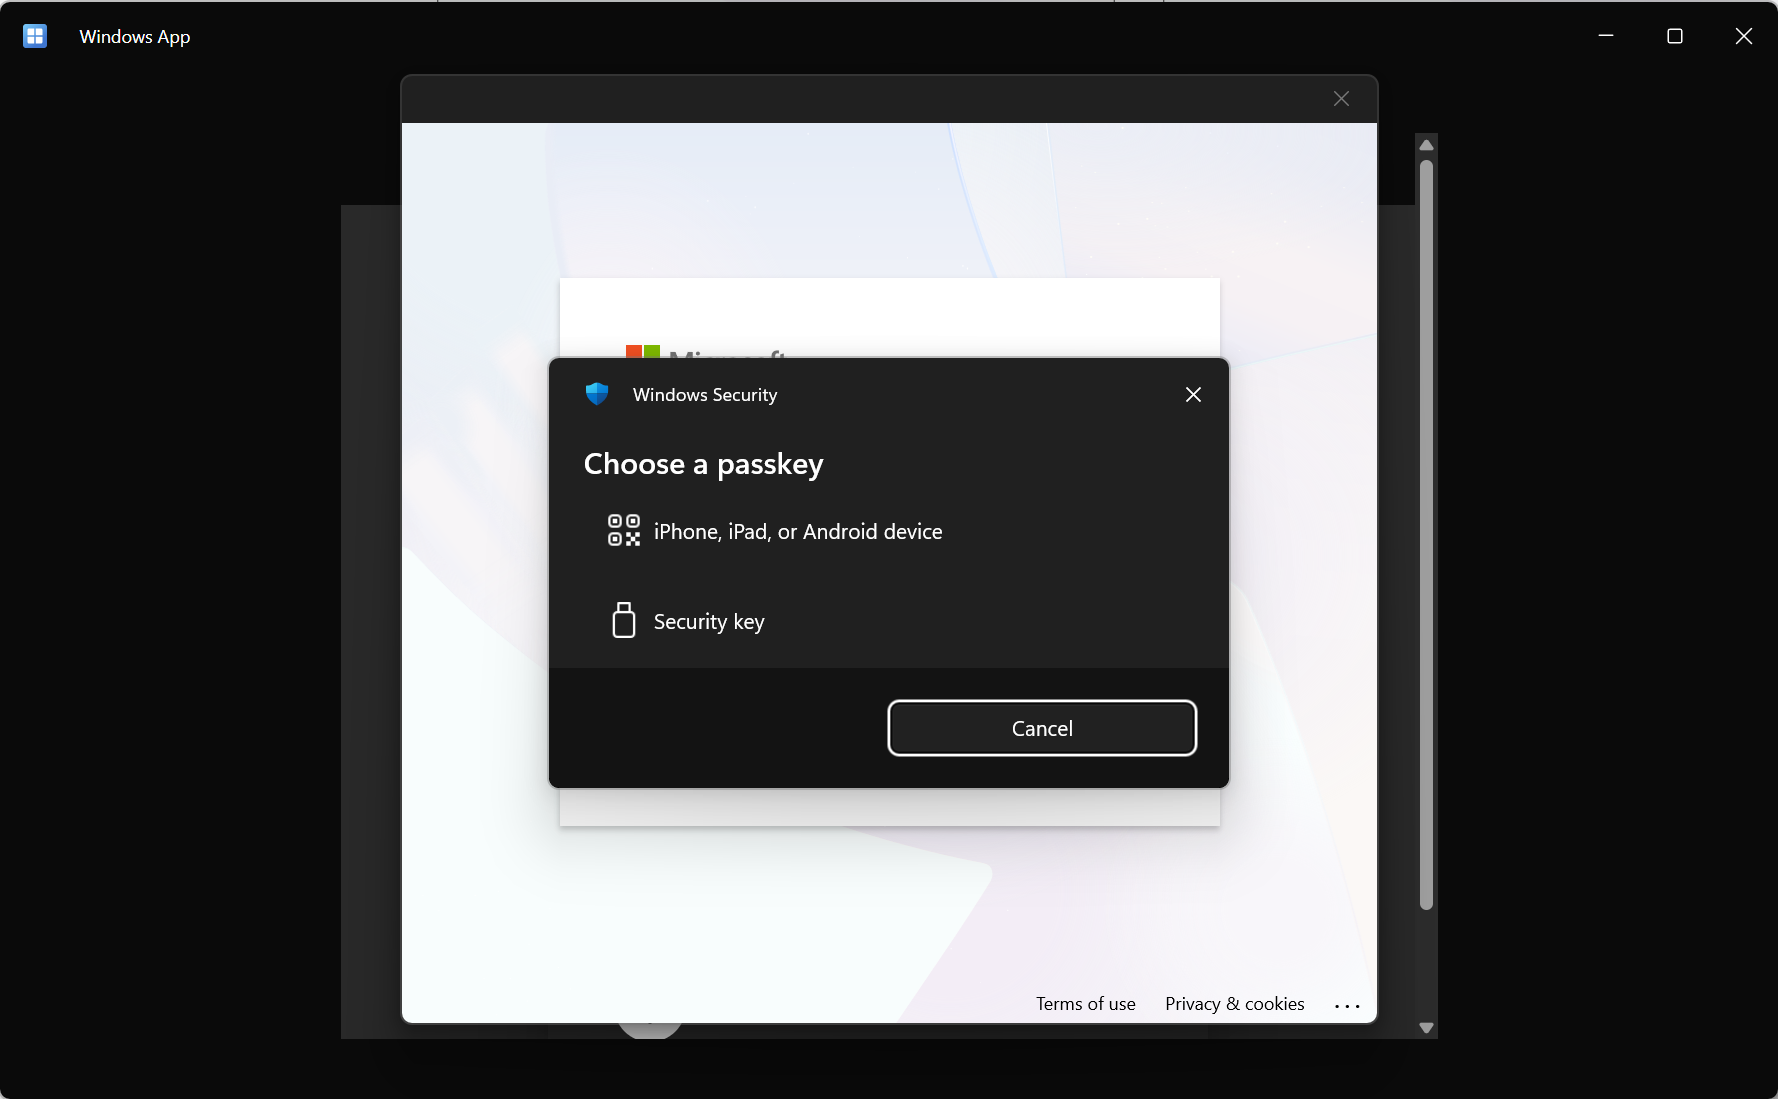
Quick note on the passkey thing. When you enforce a passkey, and the user is not enrolled yet, do know that the Windows App, for whatever reason, does not support the interrupt registration wizard. See: Security Info Registration. Entra ID’s rabbit hole. - JanBakker.tech (Caveat 3: Interrupt wizard, passkeys, and the Windows App (macOS and Windows)
That said, in order to support this pattern, you need:
- An Entra registered Windows 10/11 device
- A user with a passkey already enrolled
Although Token protection is supported on macOS, I’m not sure whether you can register your MacBook with Entra ID without being enrolled in MDM.
Let’s wrap up#
So we talked about the challenges to support BYOD devices, but we also see the need to support the usecase of personal devices being able to access Windows 365 or Azure Virtual desktop.
So, if you are going to poke holes in your Conditional Access configuration (and I know you will), you can use Token Protection, Sign-in Frequency, and Authentication Strength to add an extra layer of security to mitigate (some of) the risk.
Stay safe!
Comments
Comments load when you scroll here.